Klimate Controll illumination Mounting Instructions (E)
Dear customer,
Please read this manual carefully. This avoids expensive mistakes on your climate control part.
Under no circumstances will PuschesParts be liable for any damage to the installation.
Expansion of the center console
To expand the climate control unit, the center console must be removed from your BMW E31.
- first build your radio with the associated unlocking tools.
(Protect your shift knob and the center console with a thick towel)
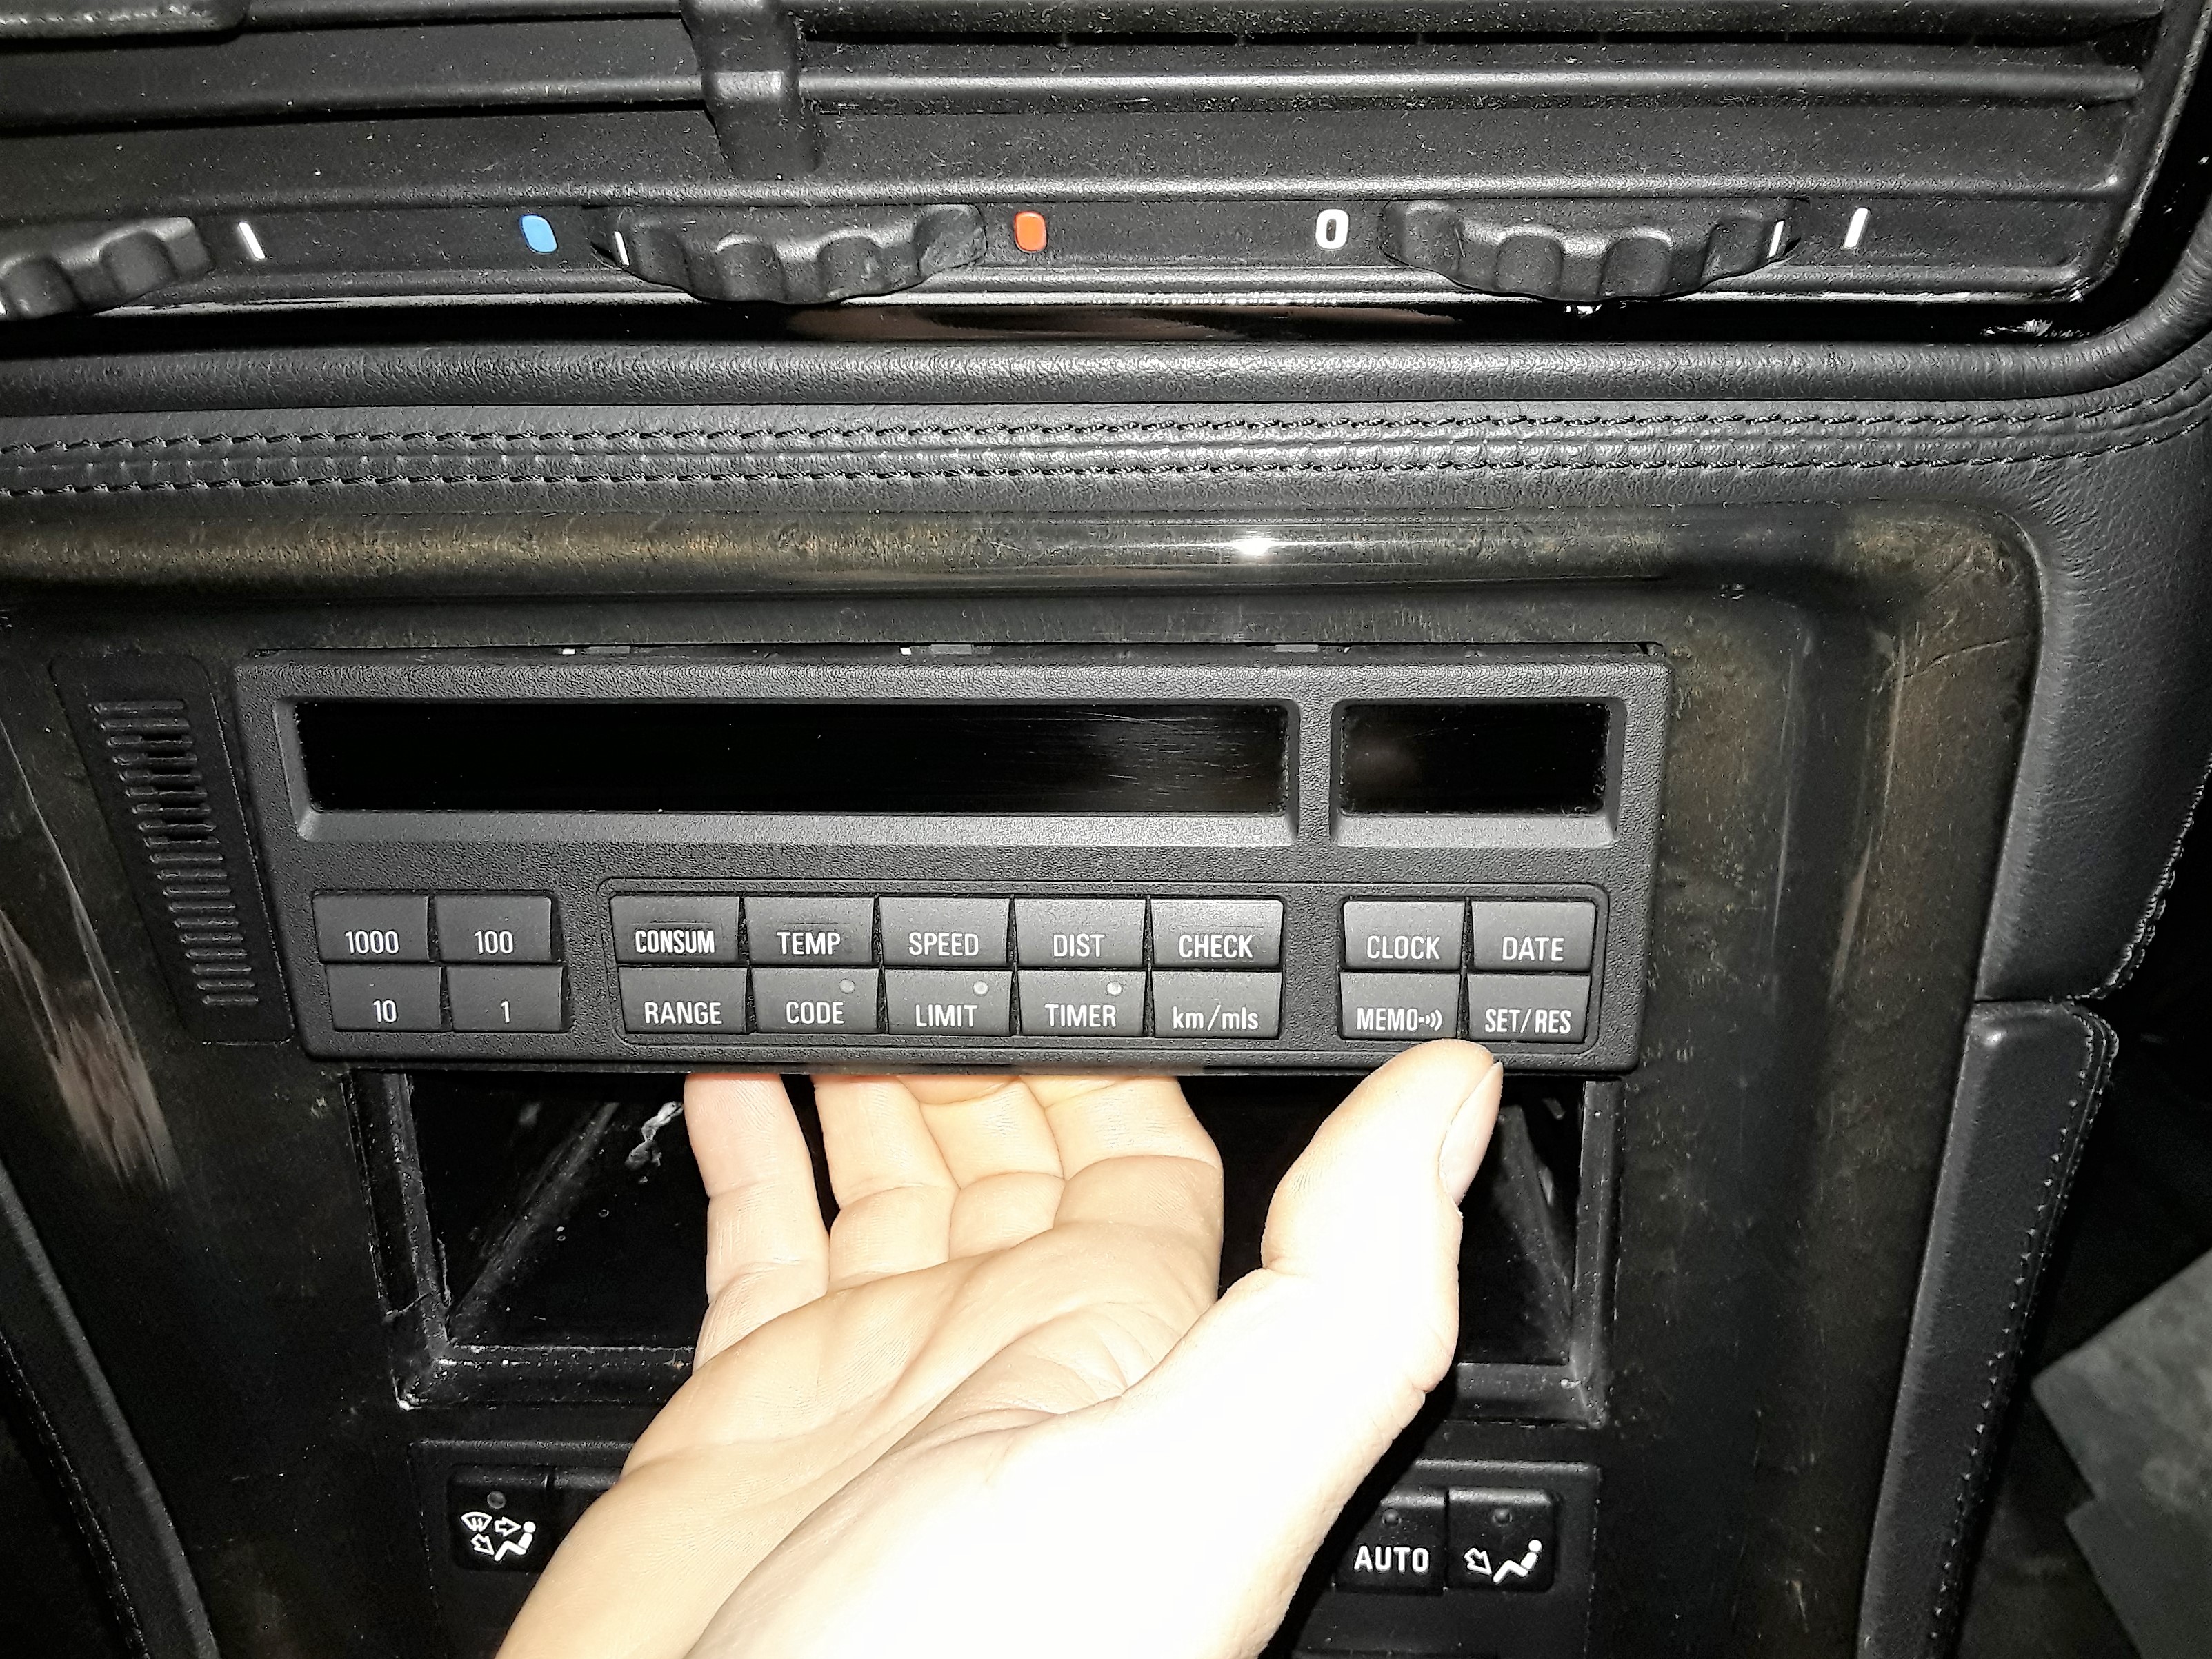
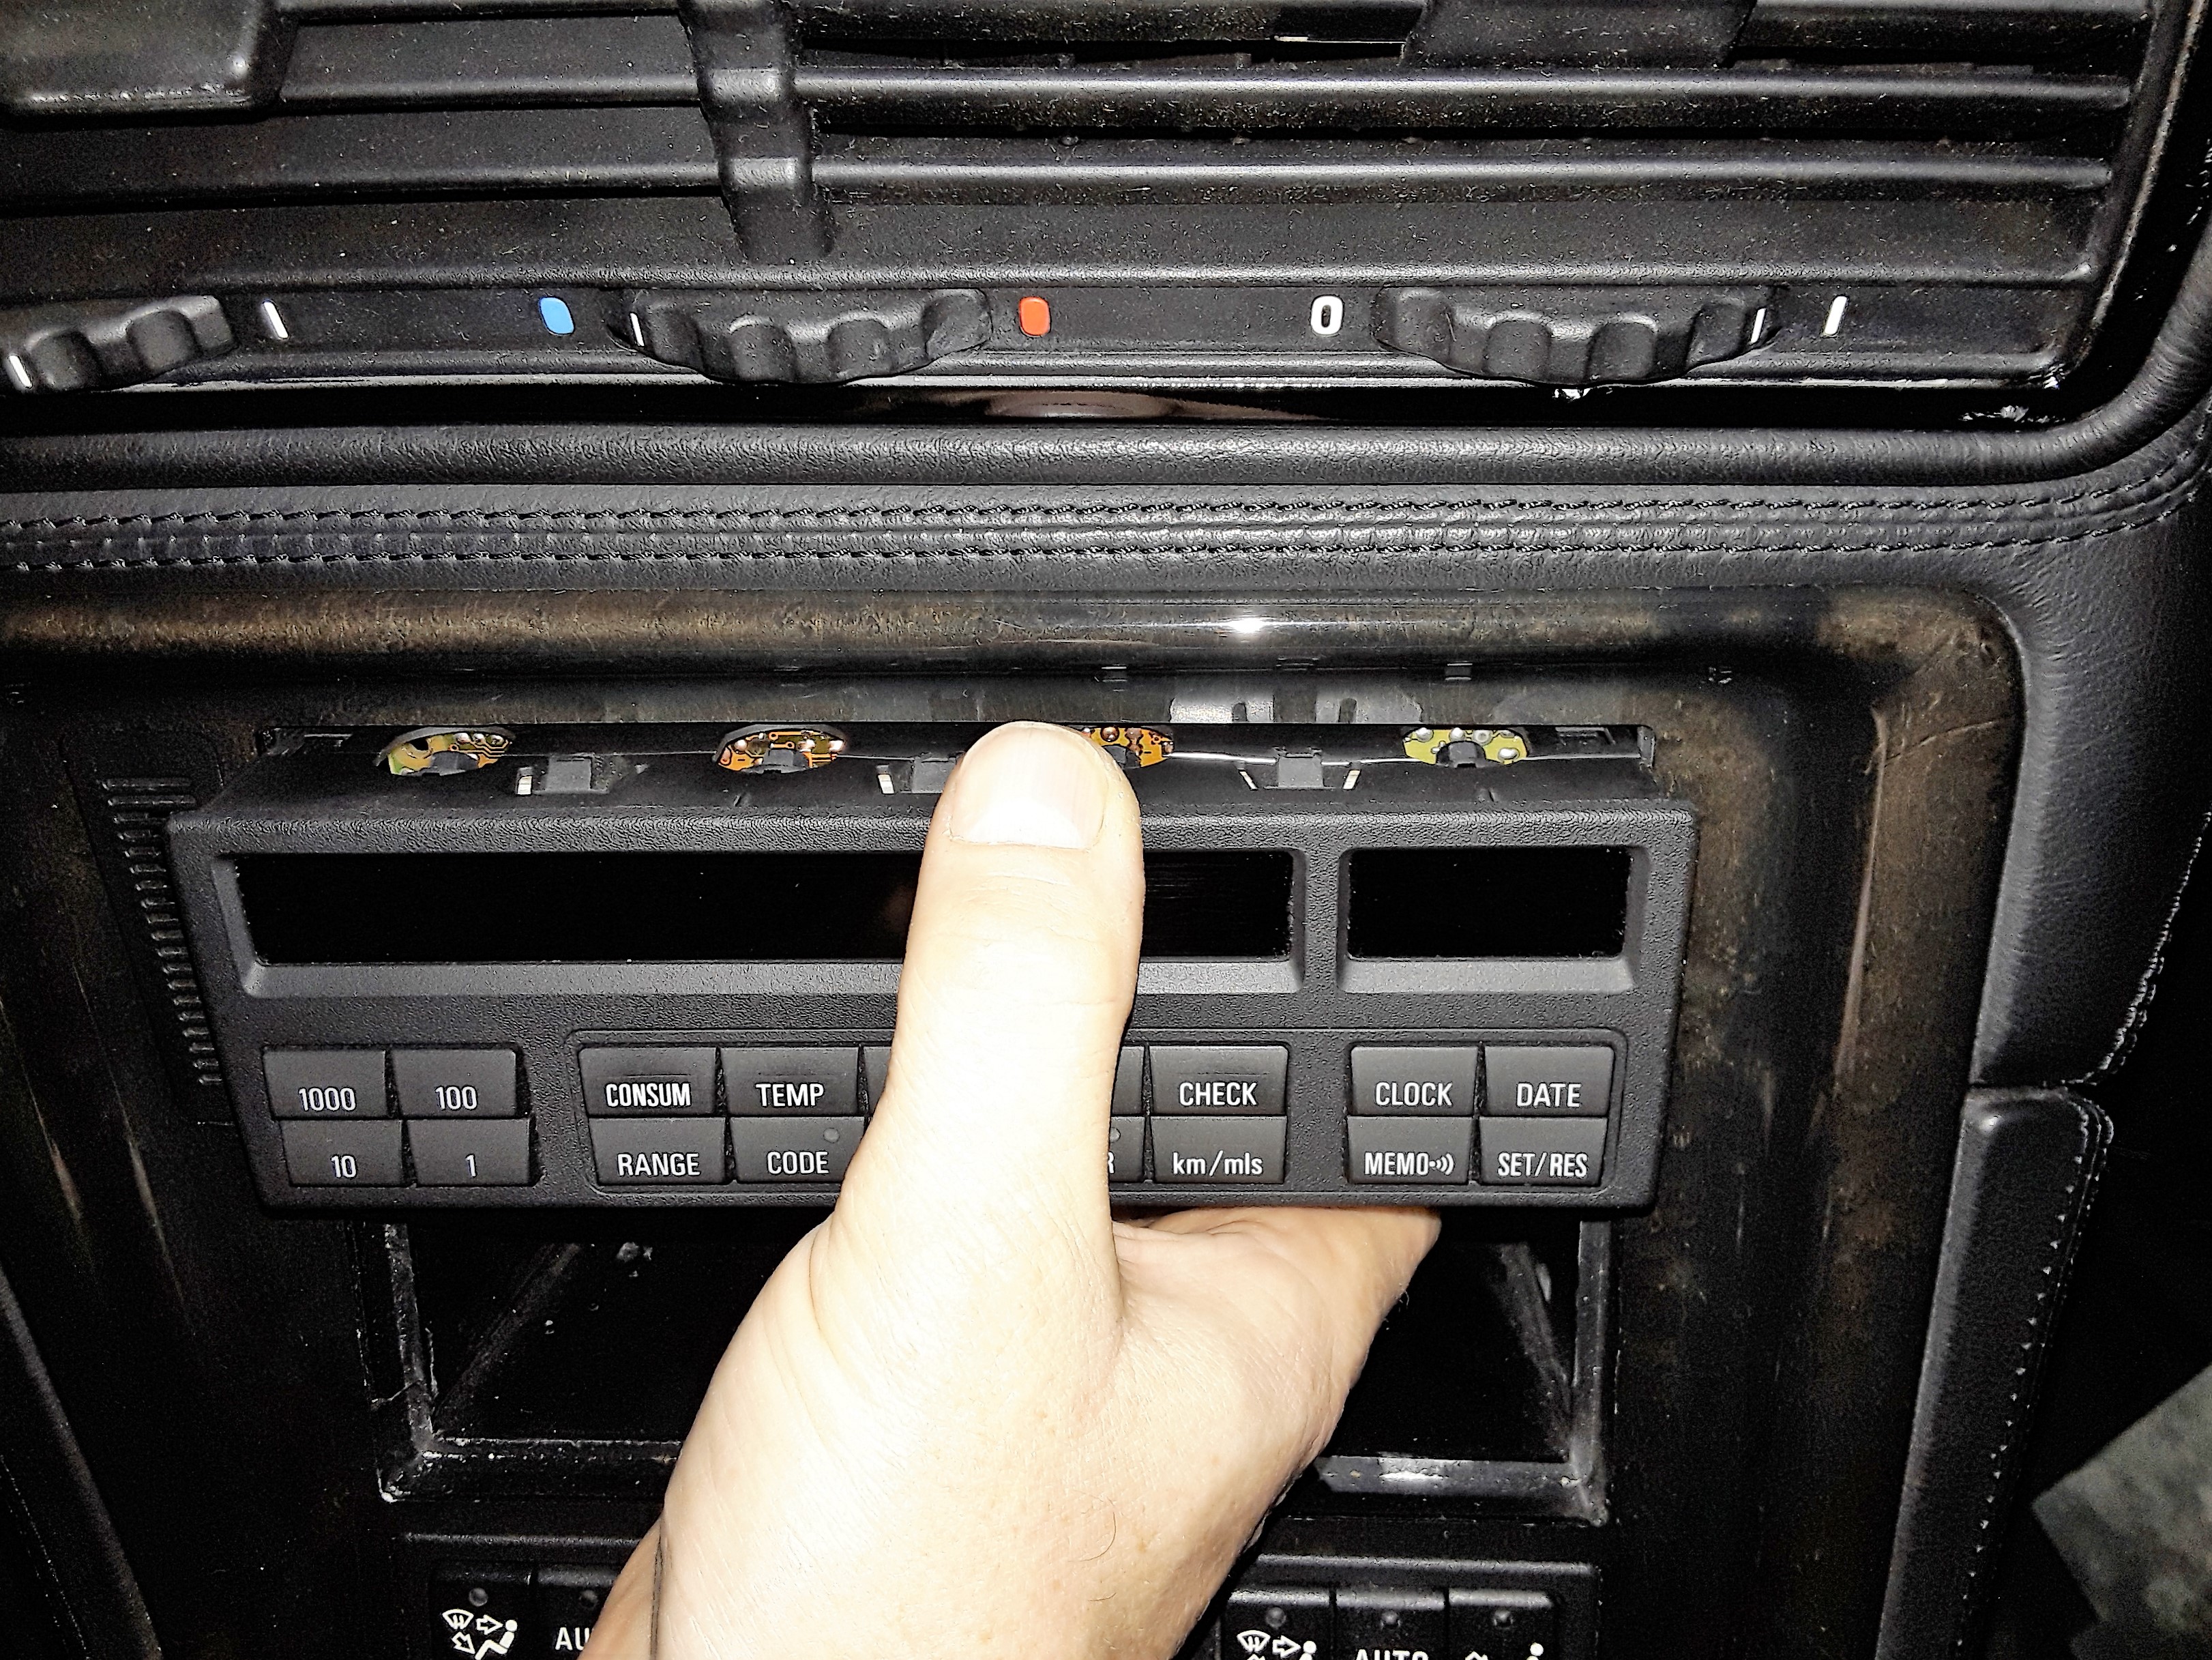
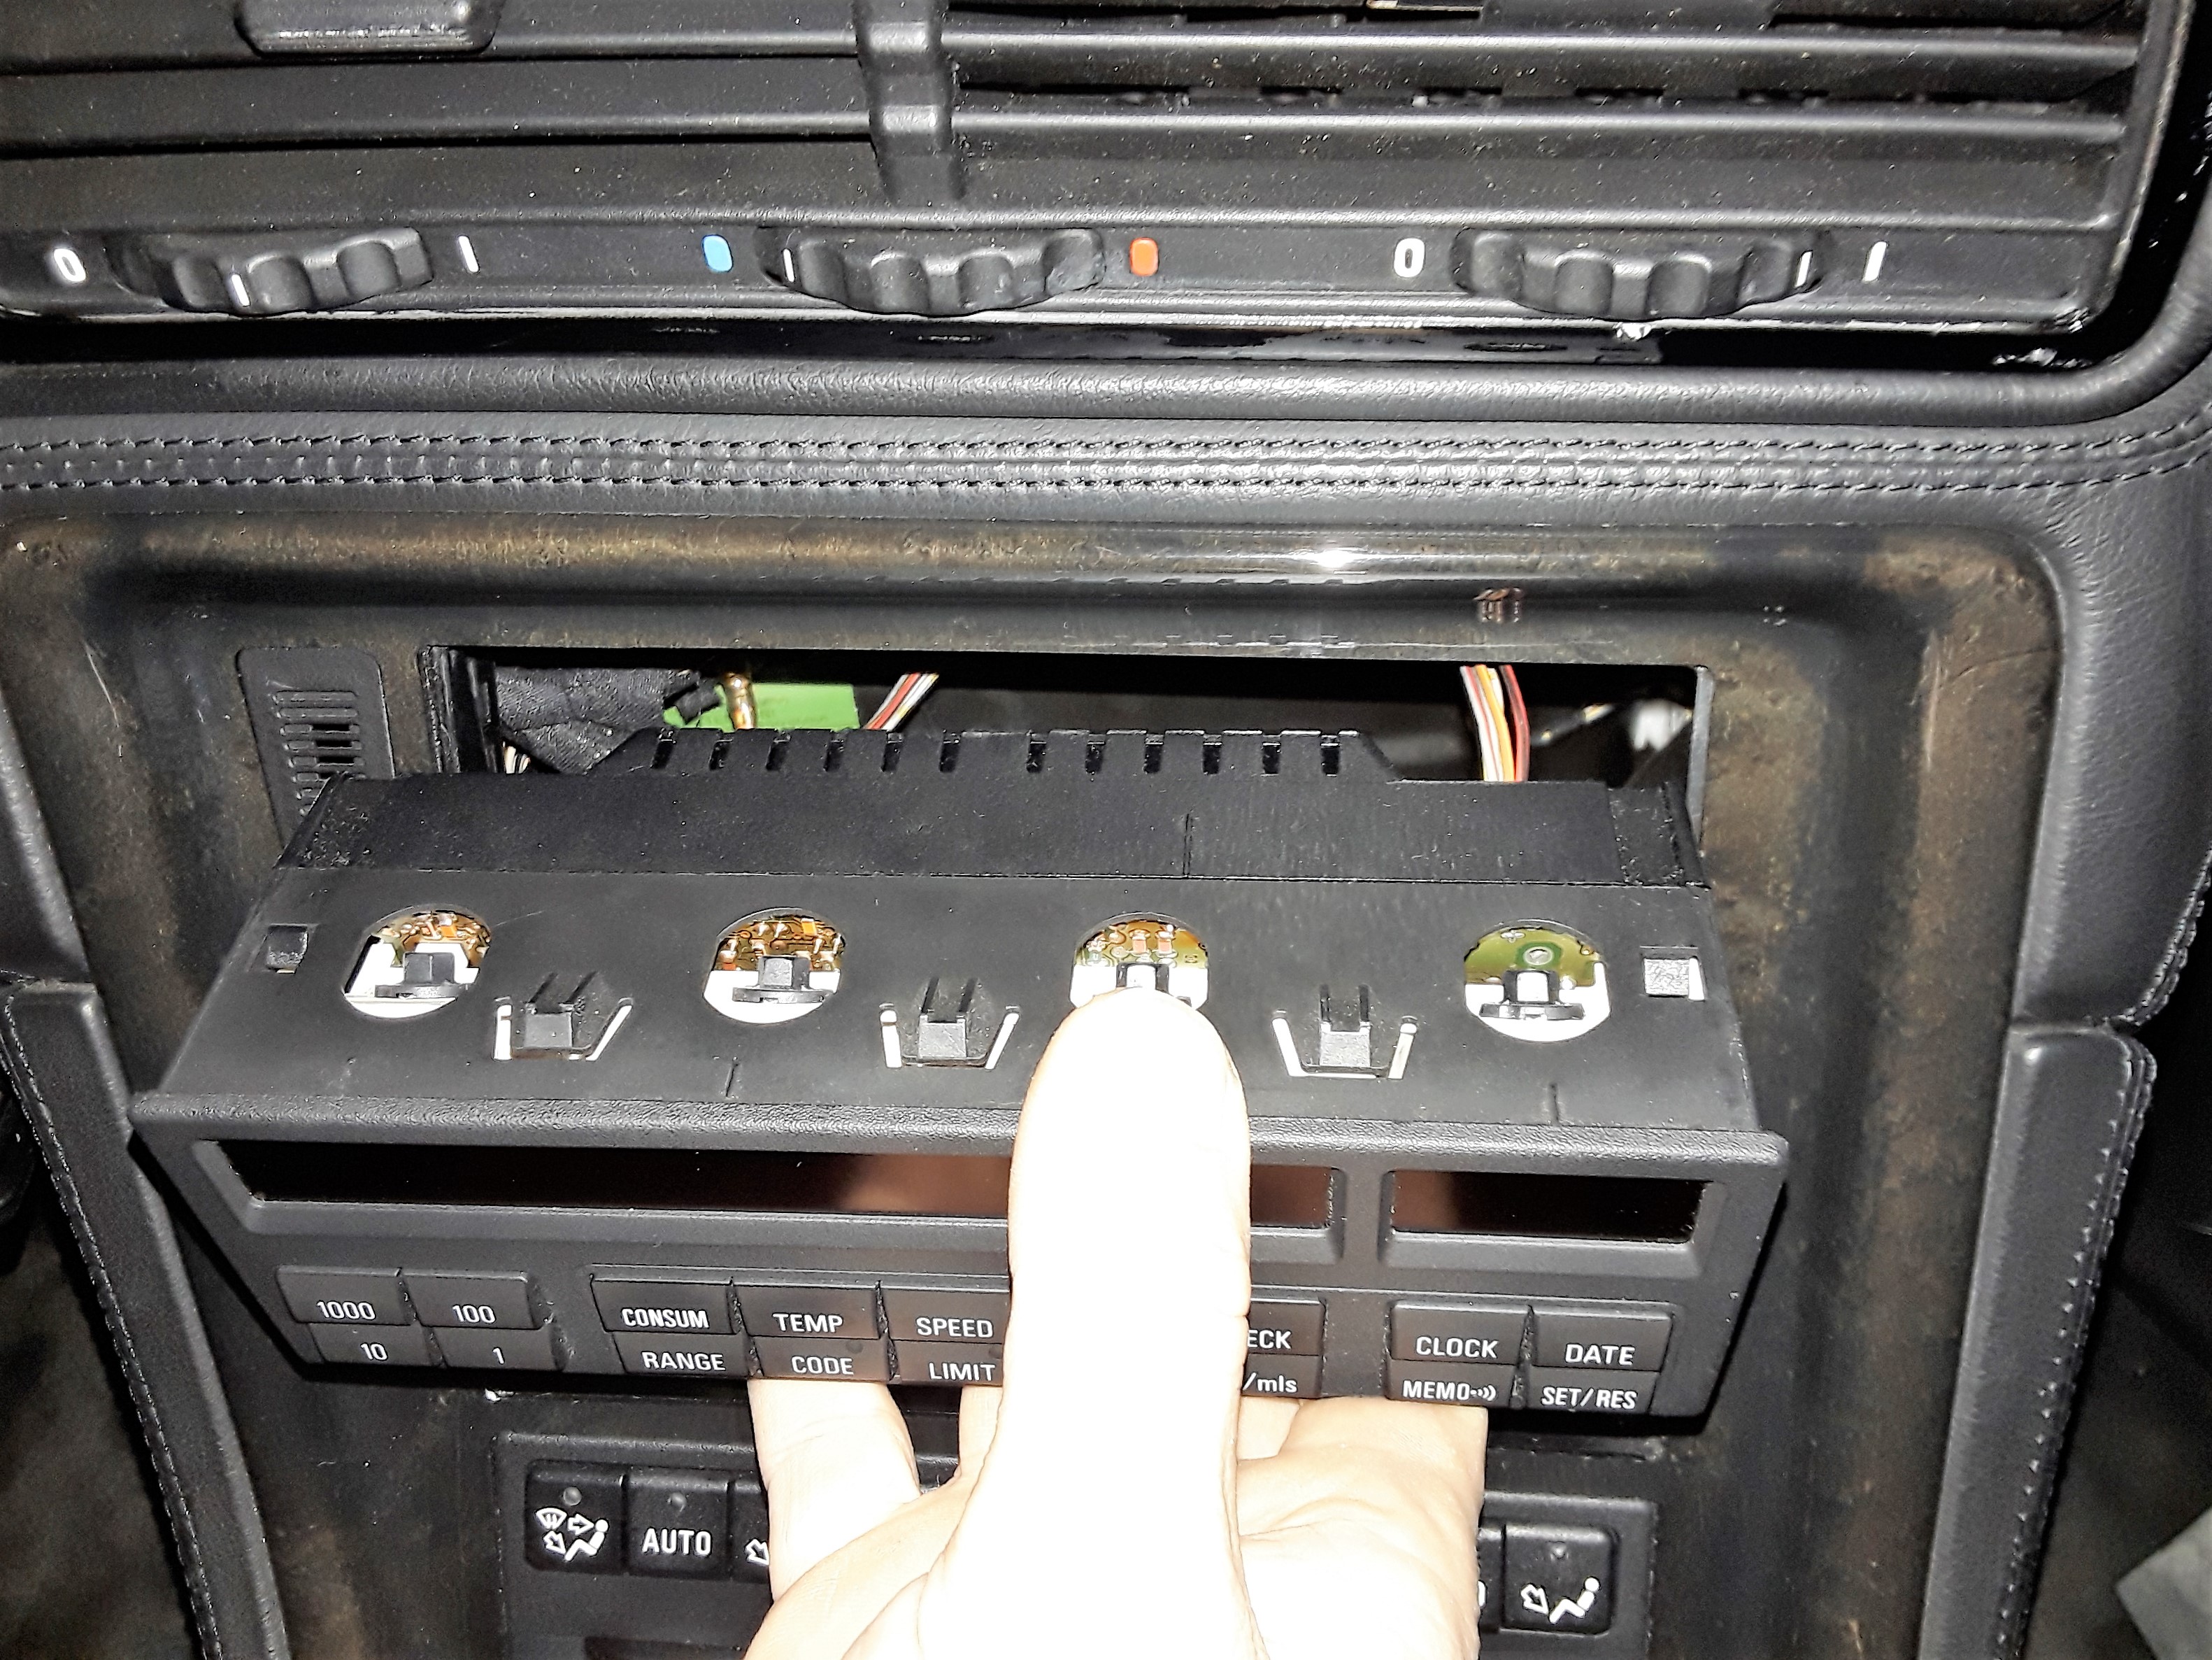
- after that, you will dismantle the MID. Tilt it slightly forward to the front. Now press the
Grip down until the climate control part can be pulled out forwards. Unlock the plug at the
Unlatch the nose and fold the strap down. The plug can now be removed.
- The shift lever can now be pulled upwards. This needs great power!
(Please tilt your head to the side when pulling the shift lever to avoid collisions and nockouts.)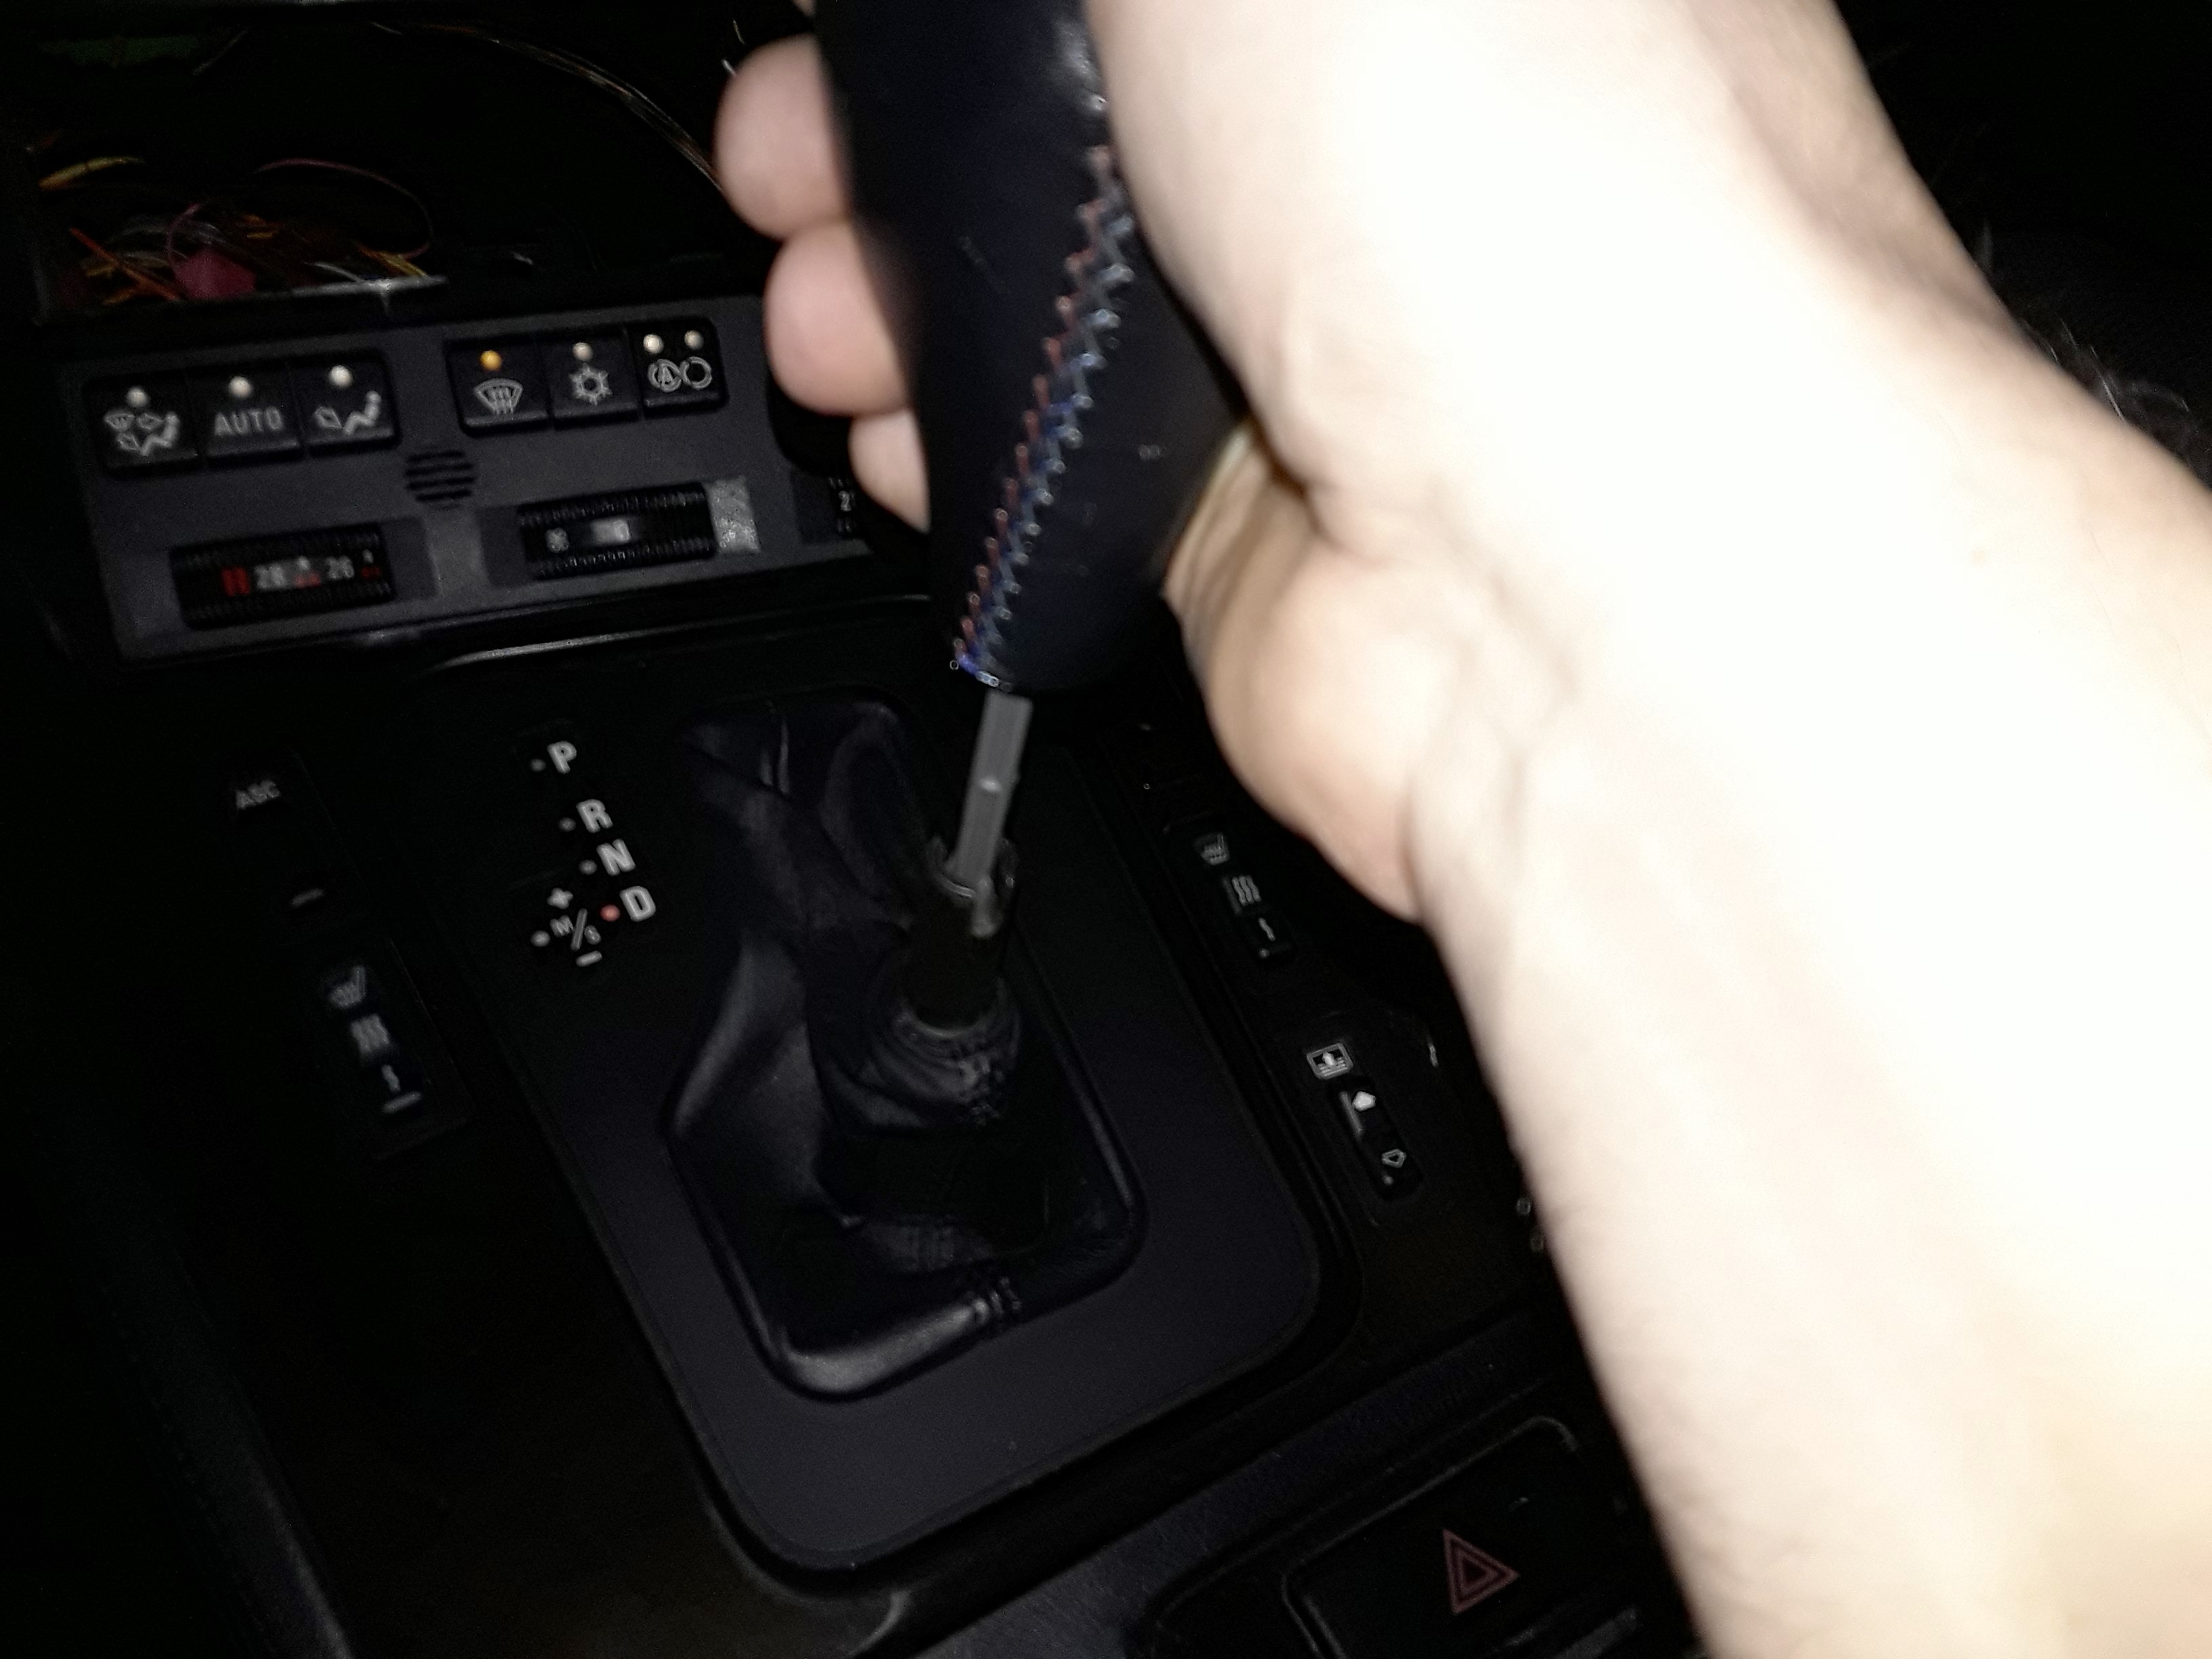
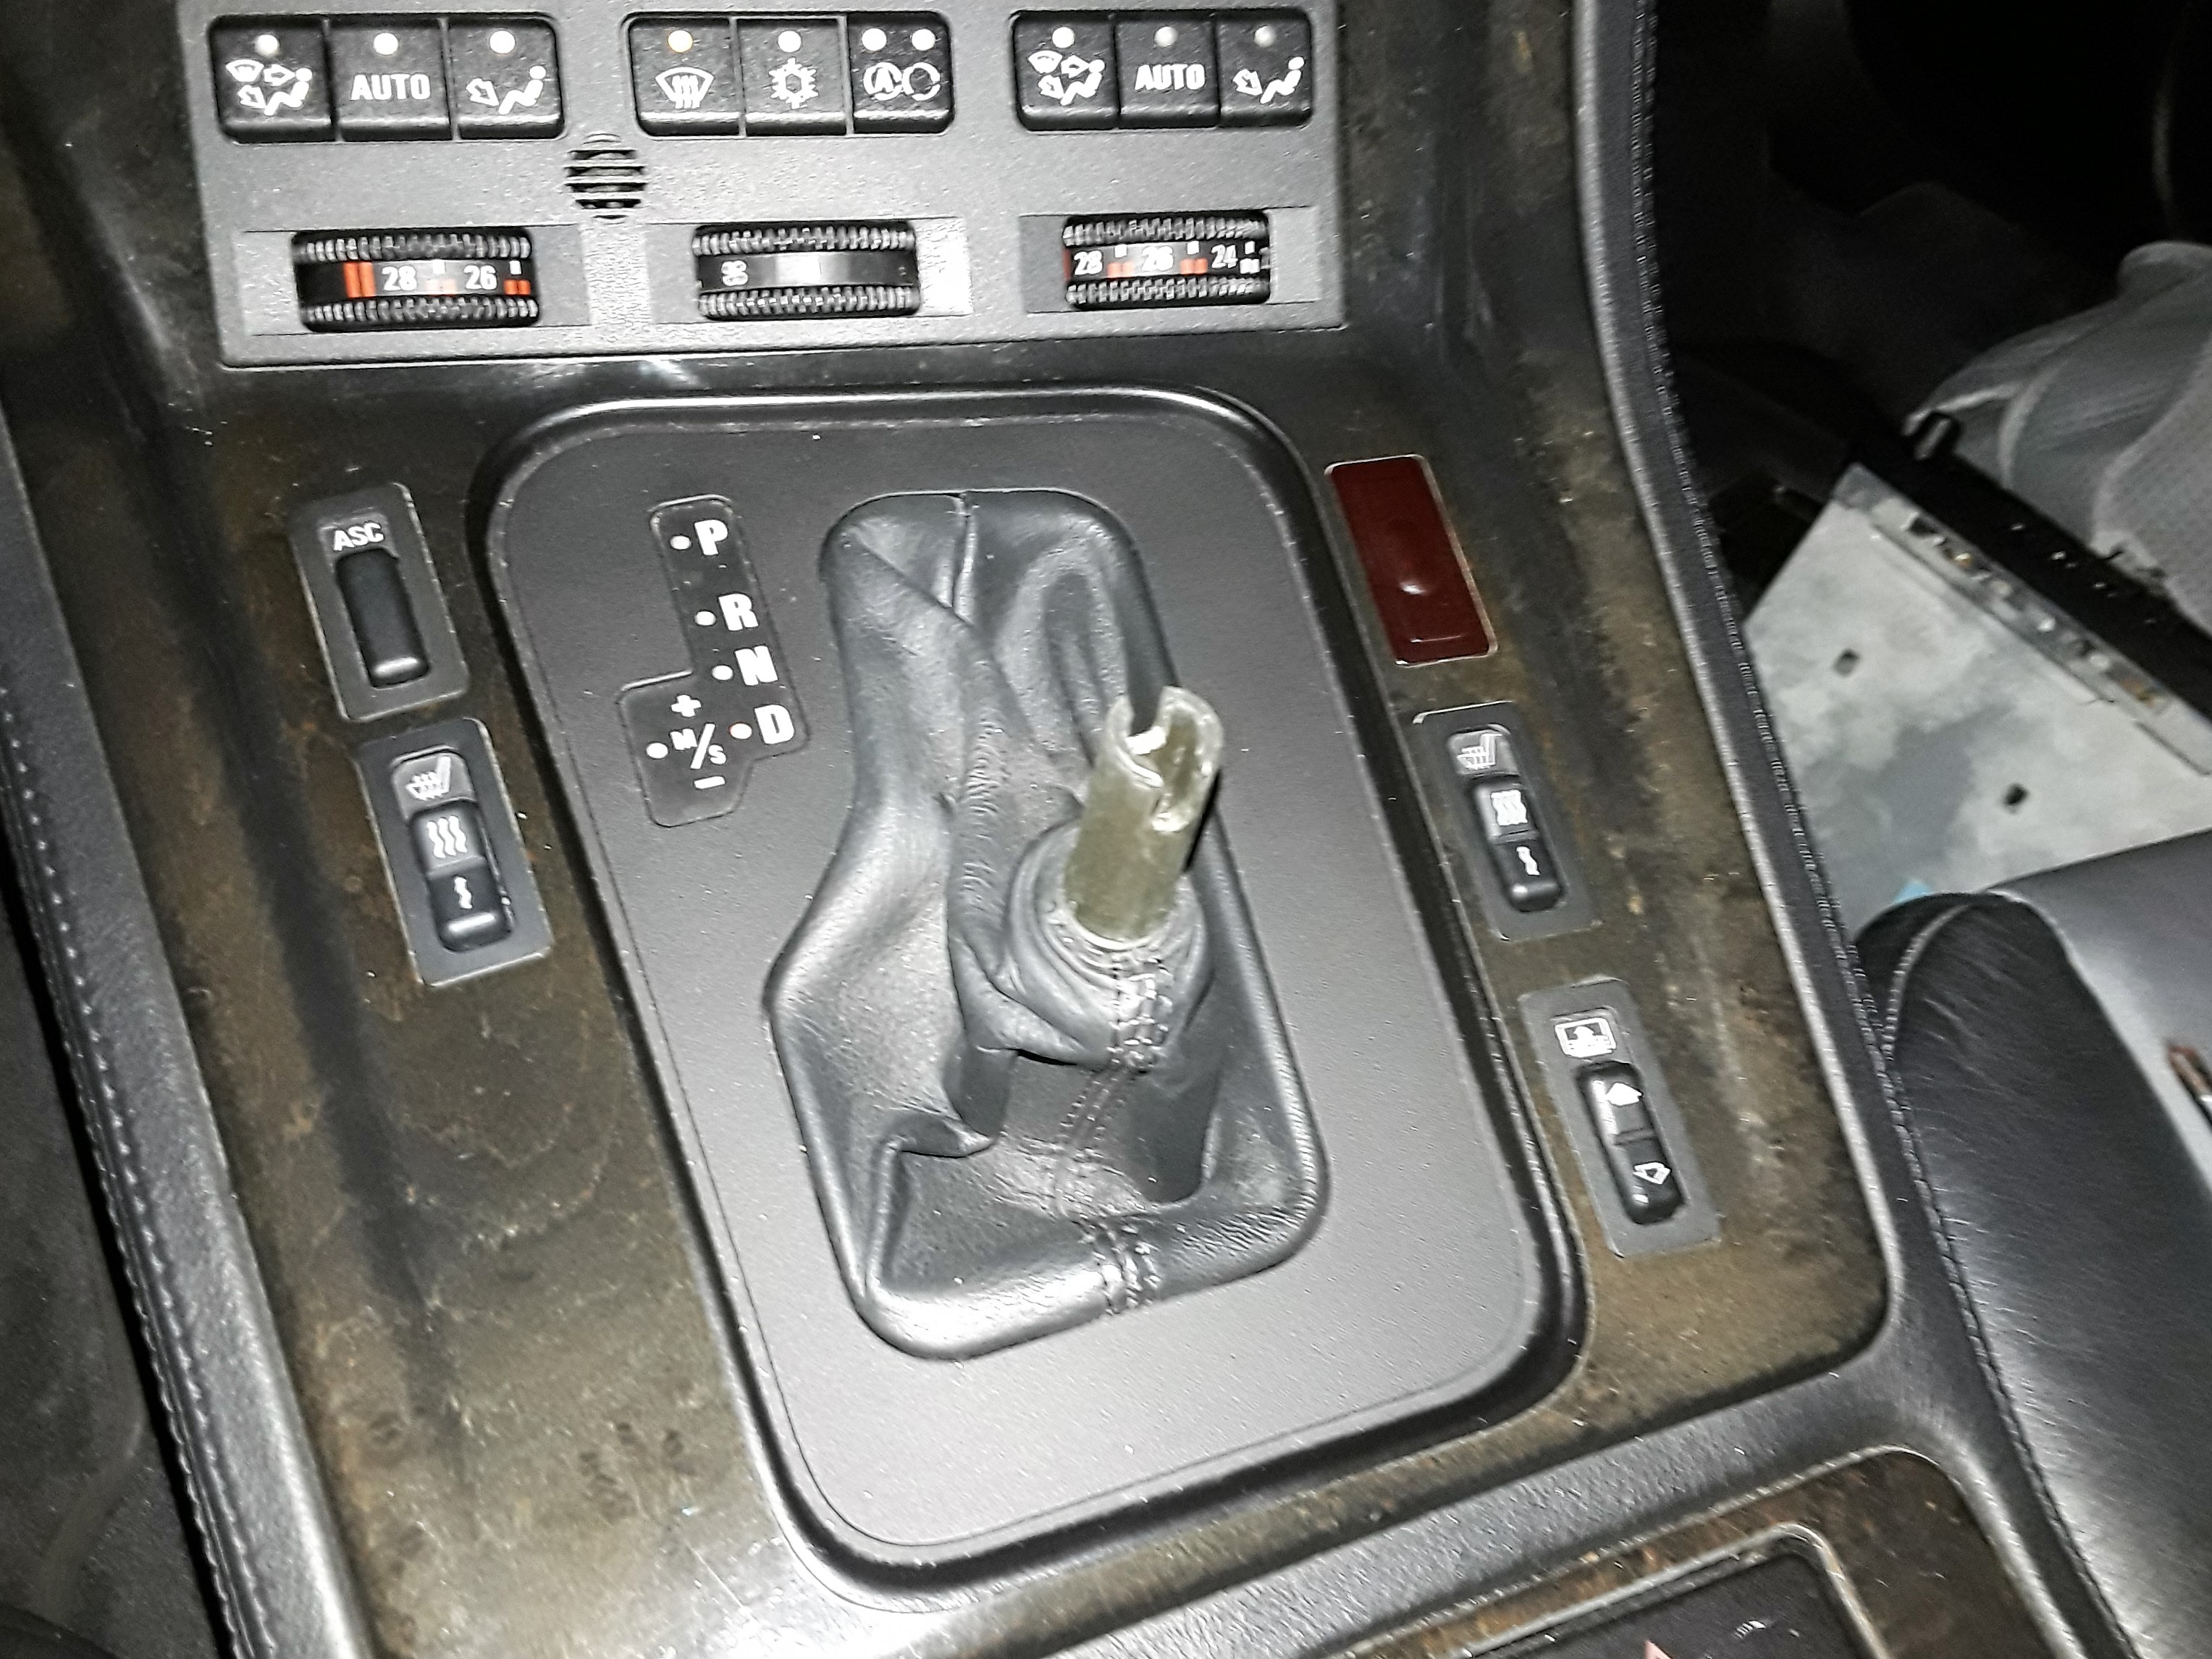
- When removing the saddle bag, the holder edge of the saddle bag must now be pulled upwards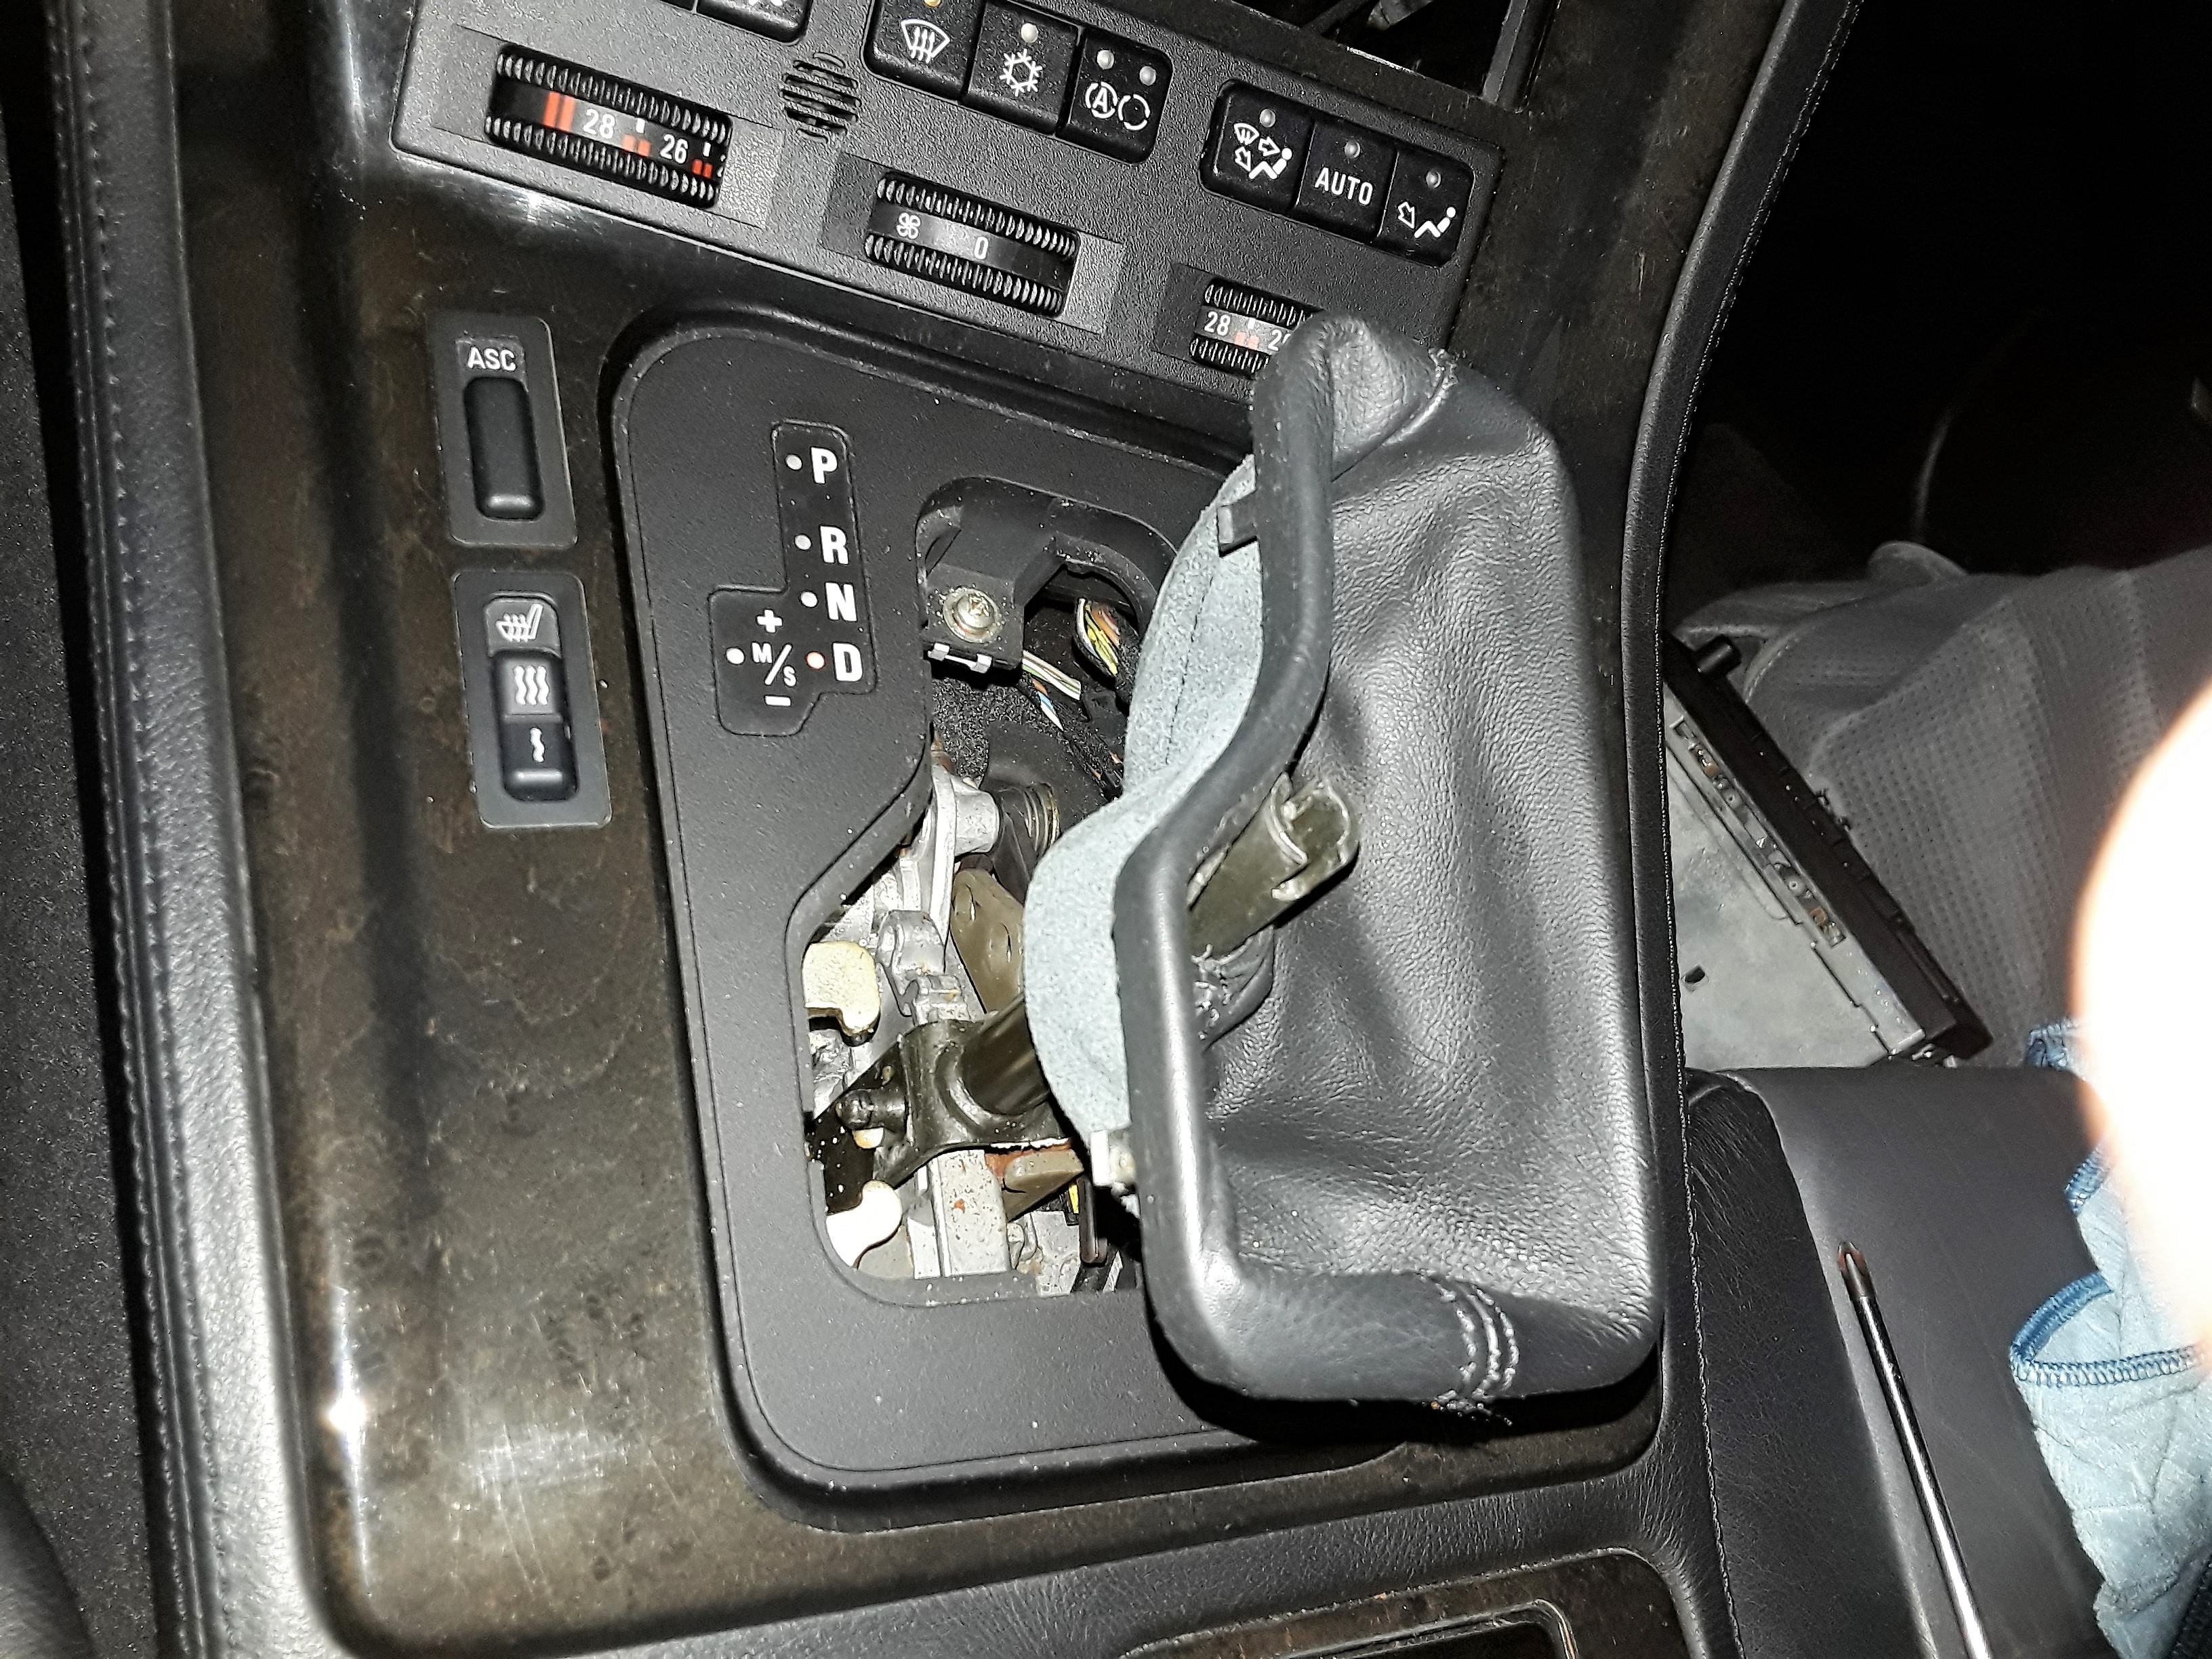
- In the case of automatic vehicles, the gear shift lever must now be clipped carefully.
Now the link can be removed by removing the two cross screws.
Remove the two cables for the lamp and switch by gently rocking back and forth.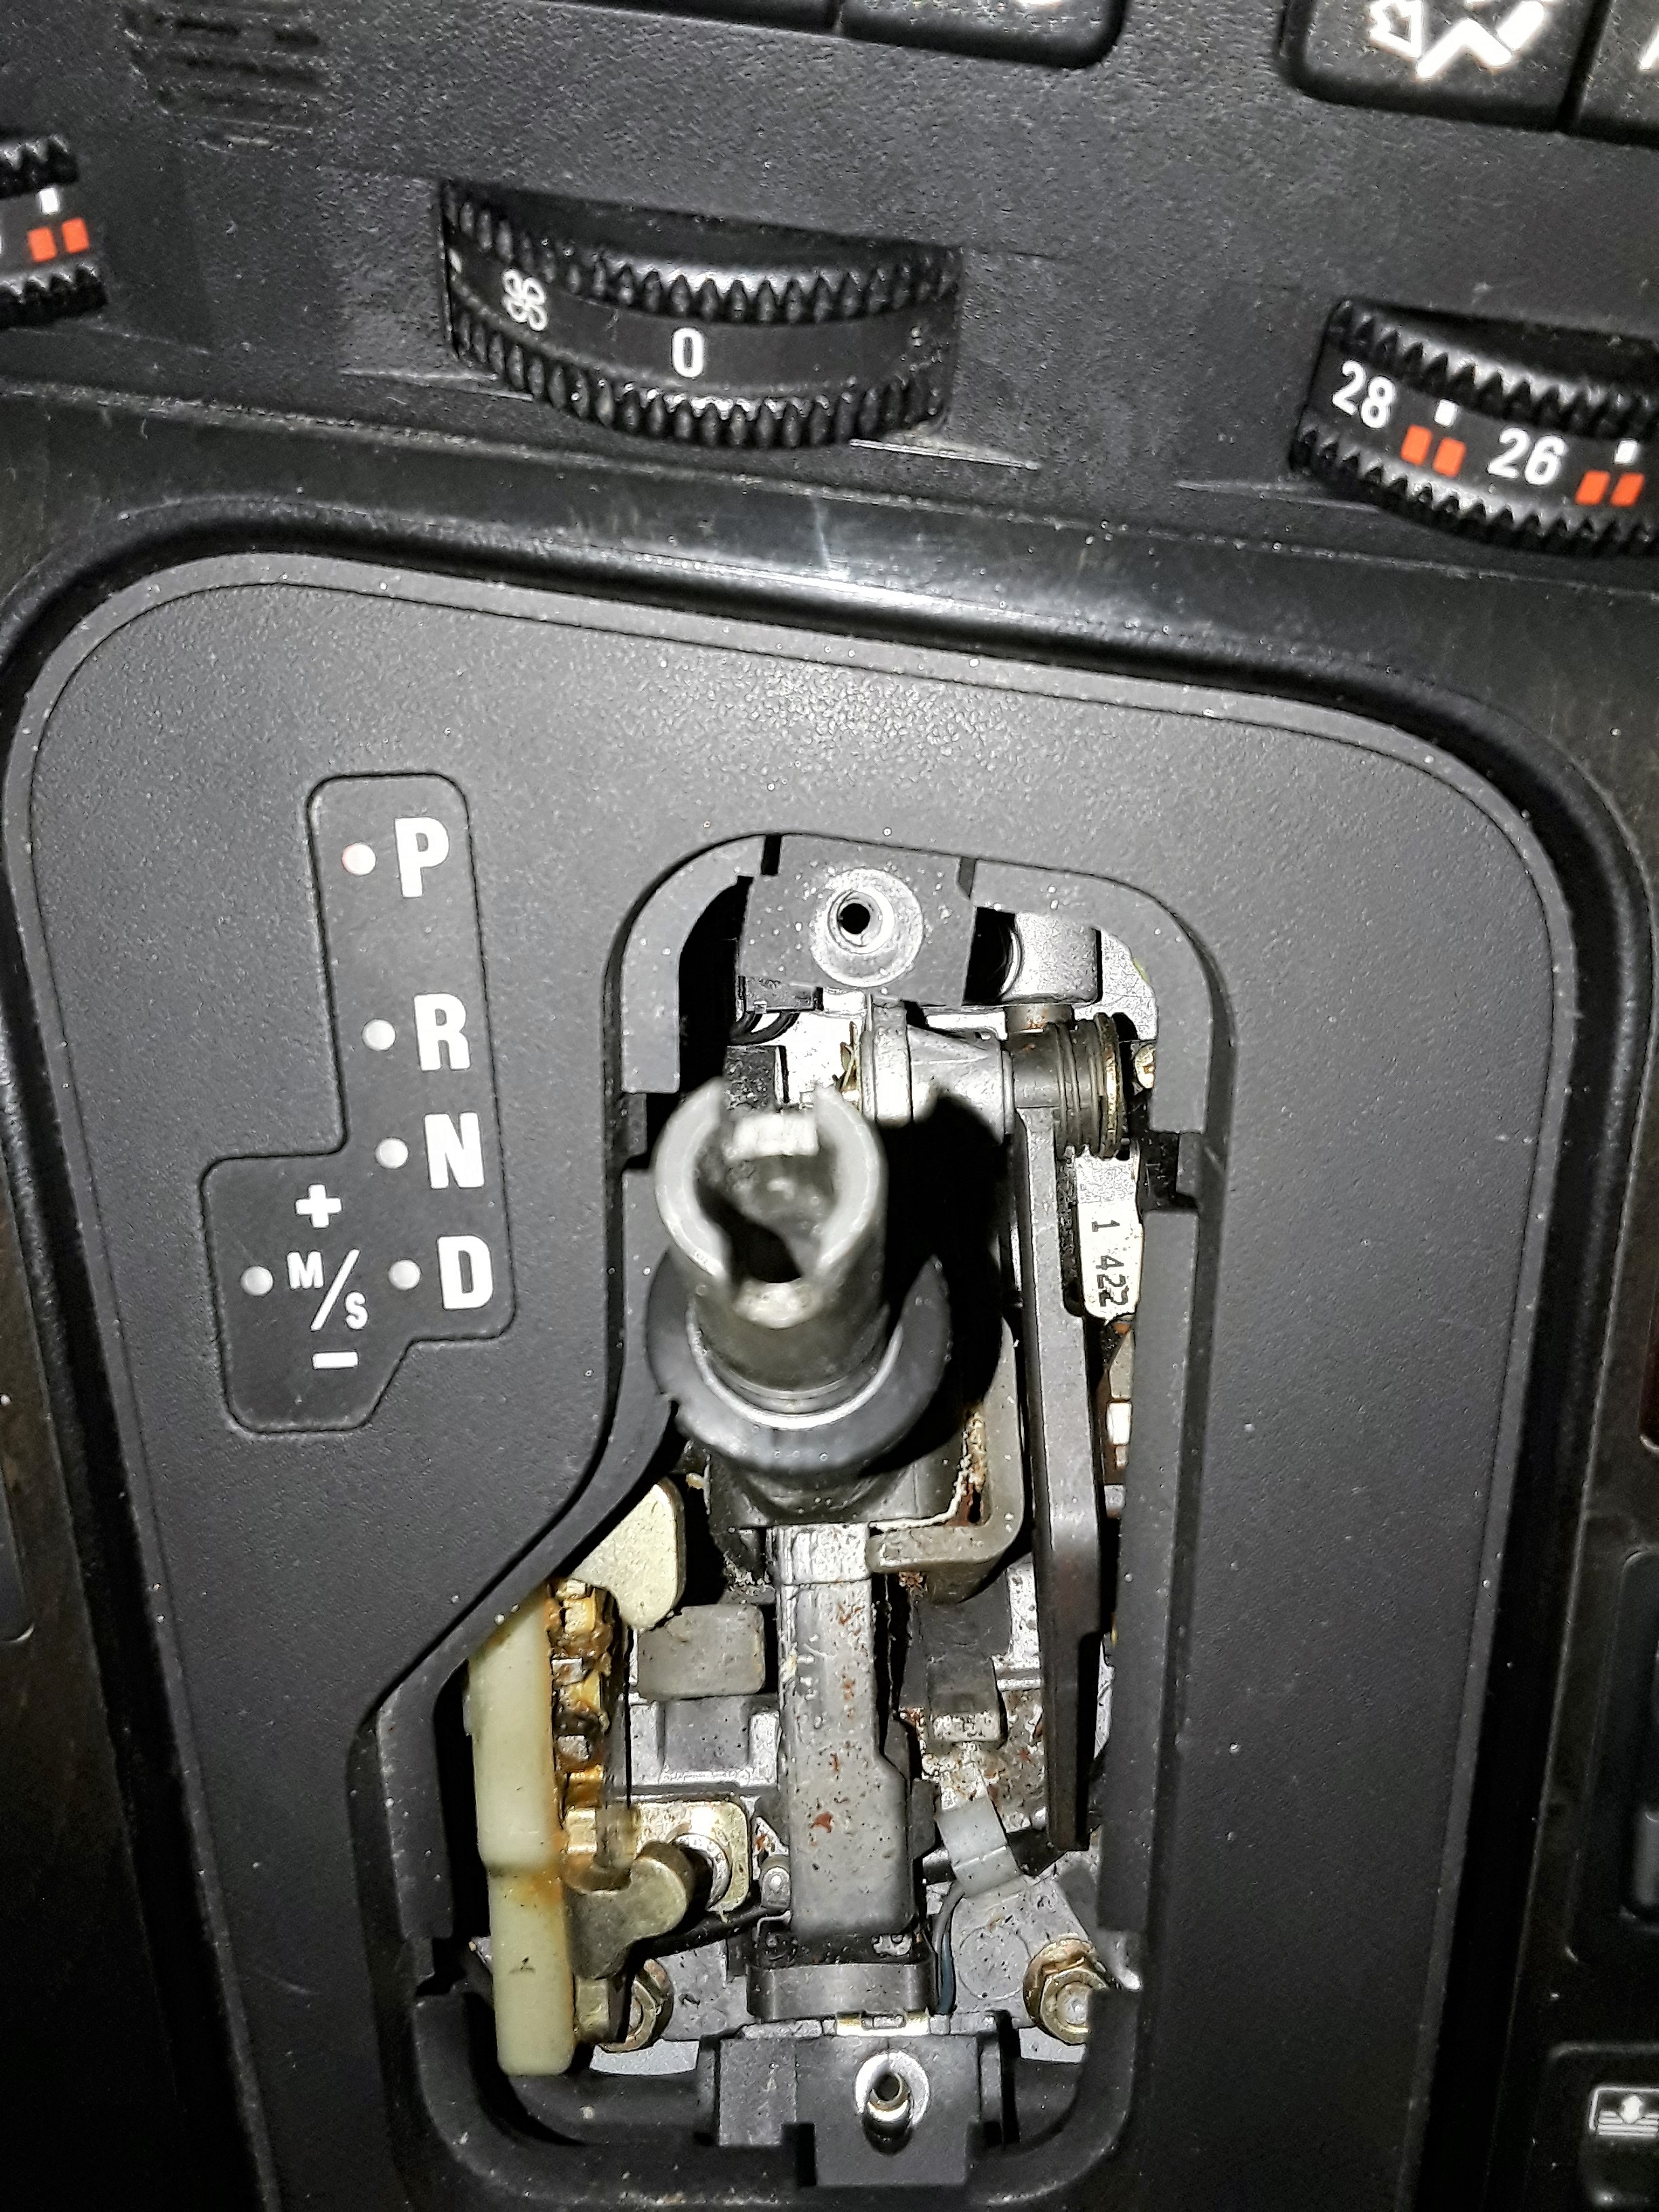
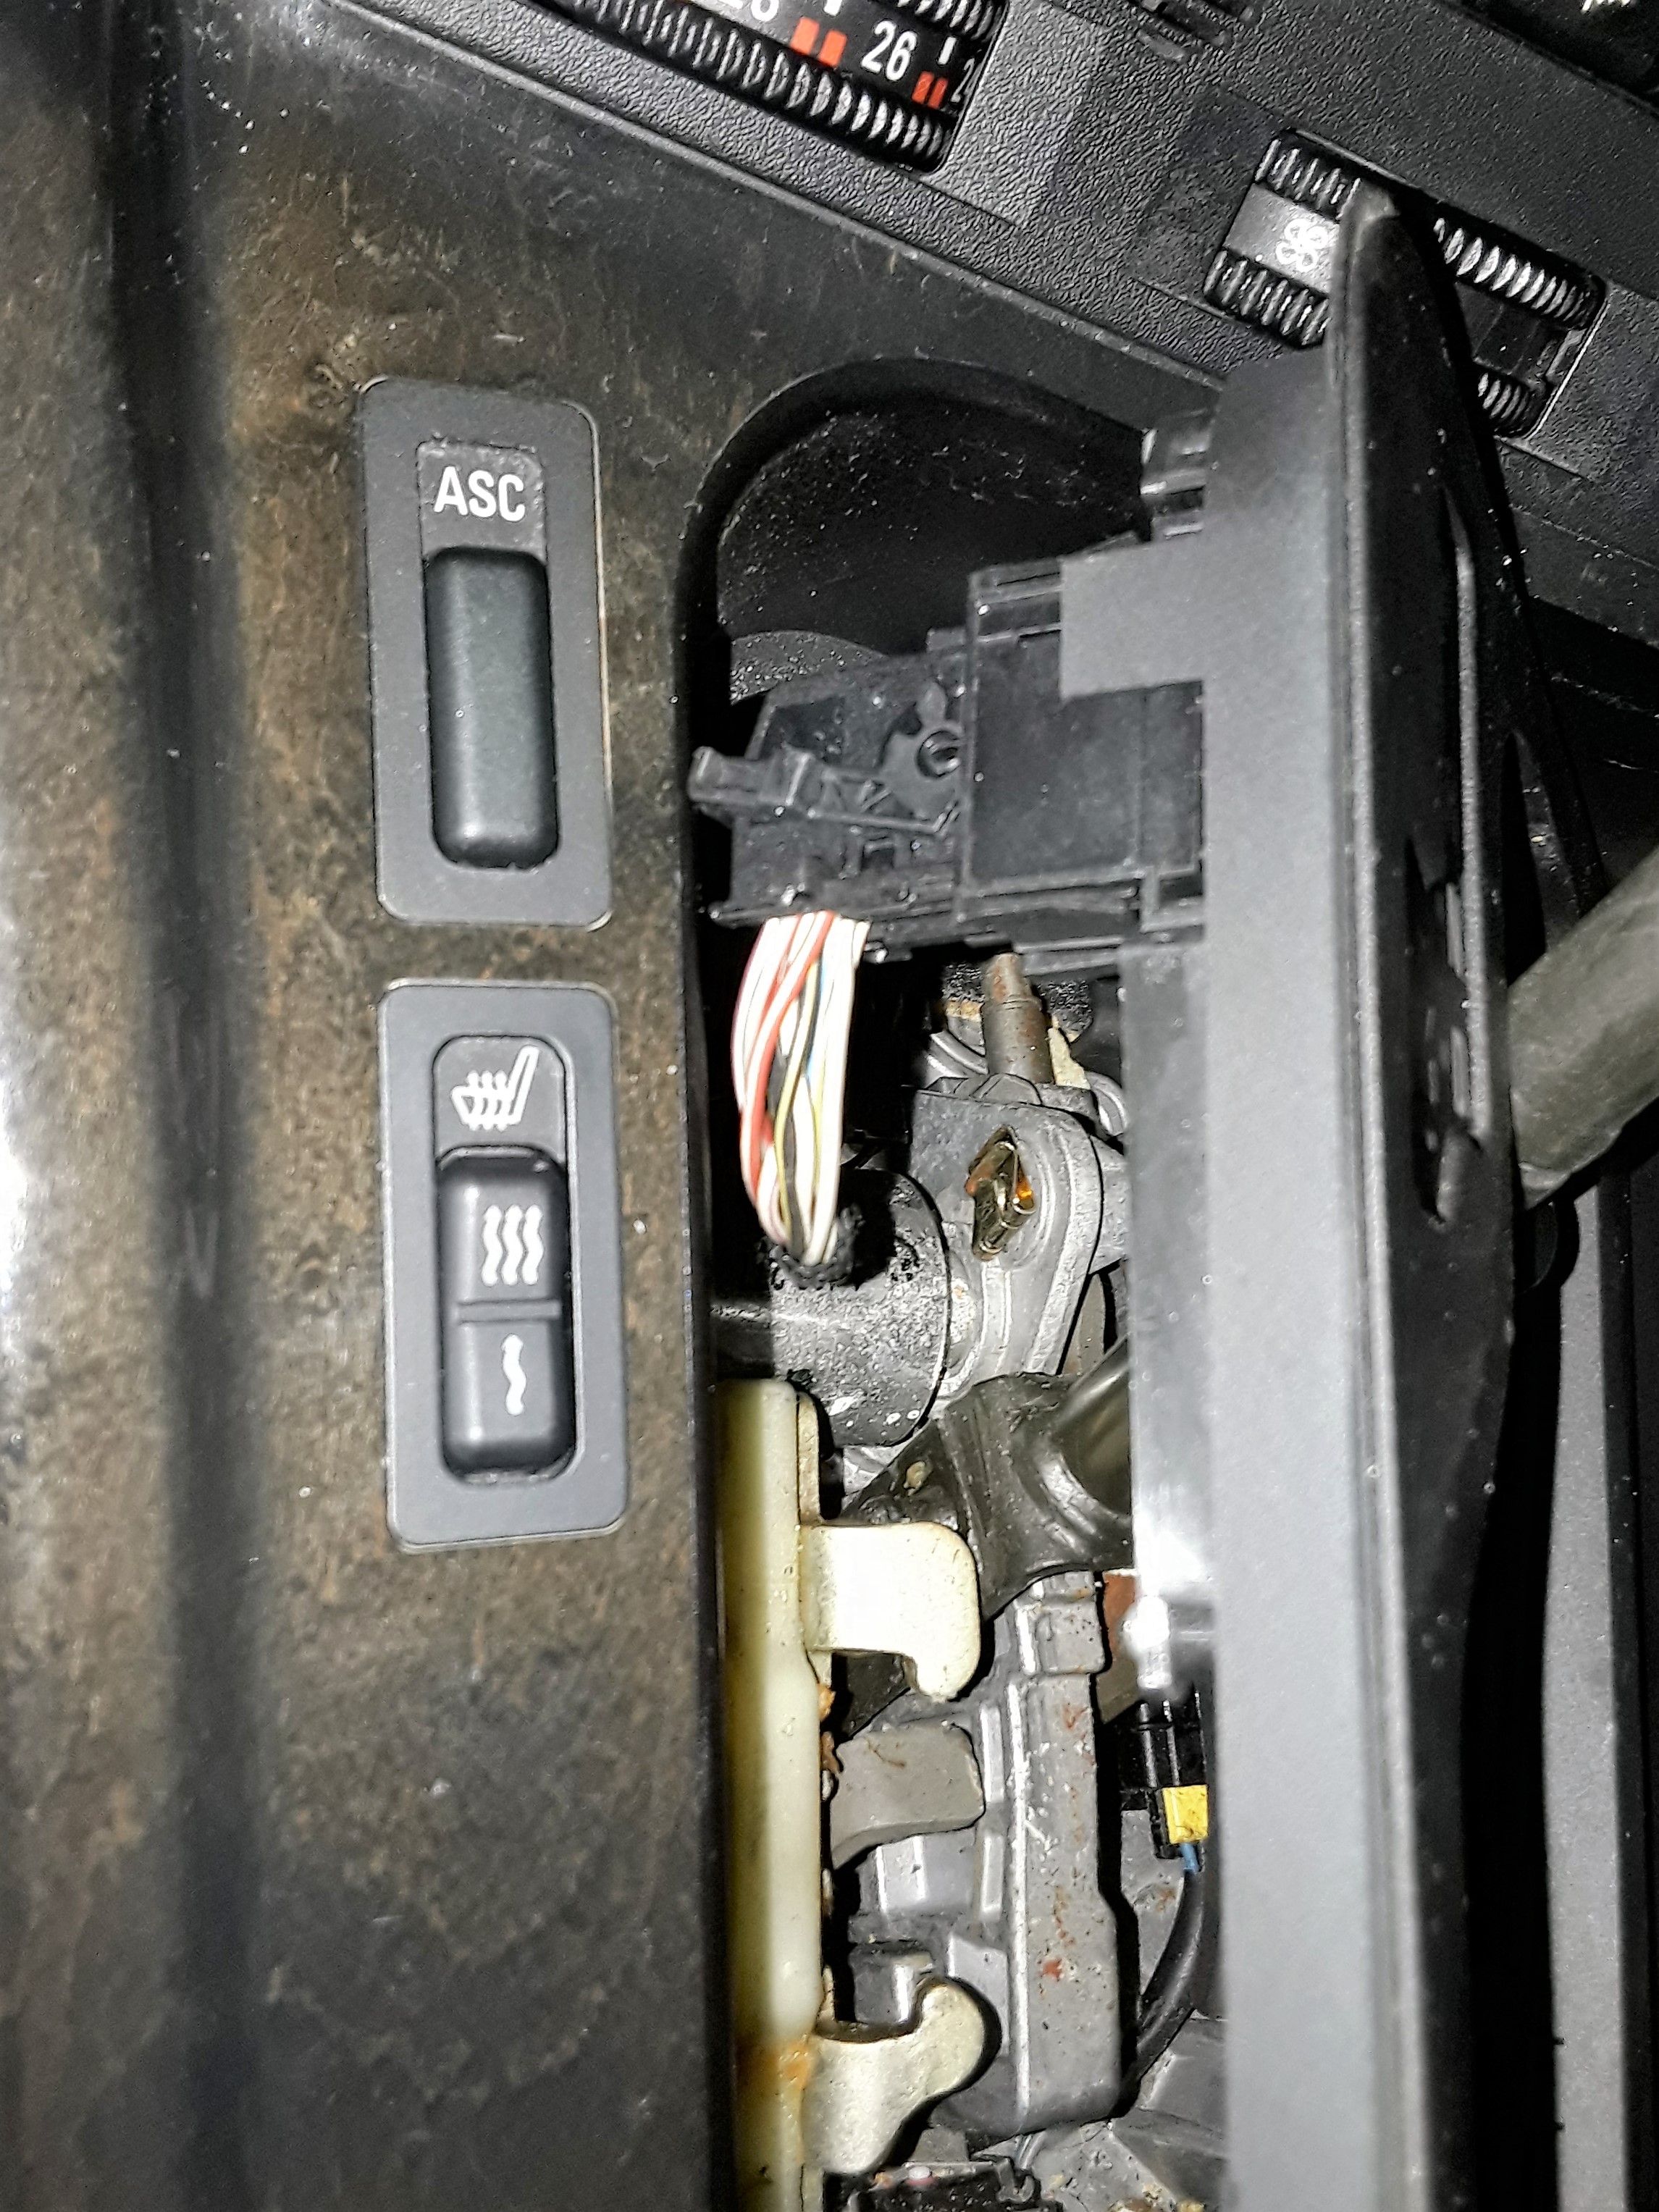
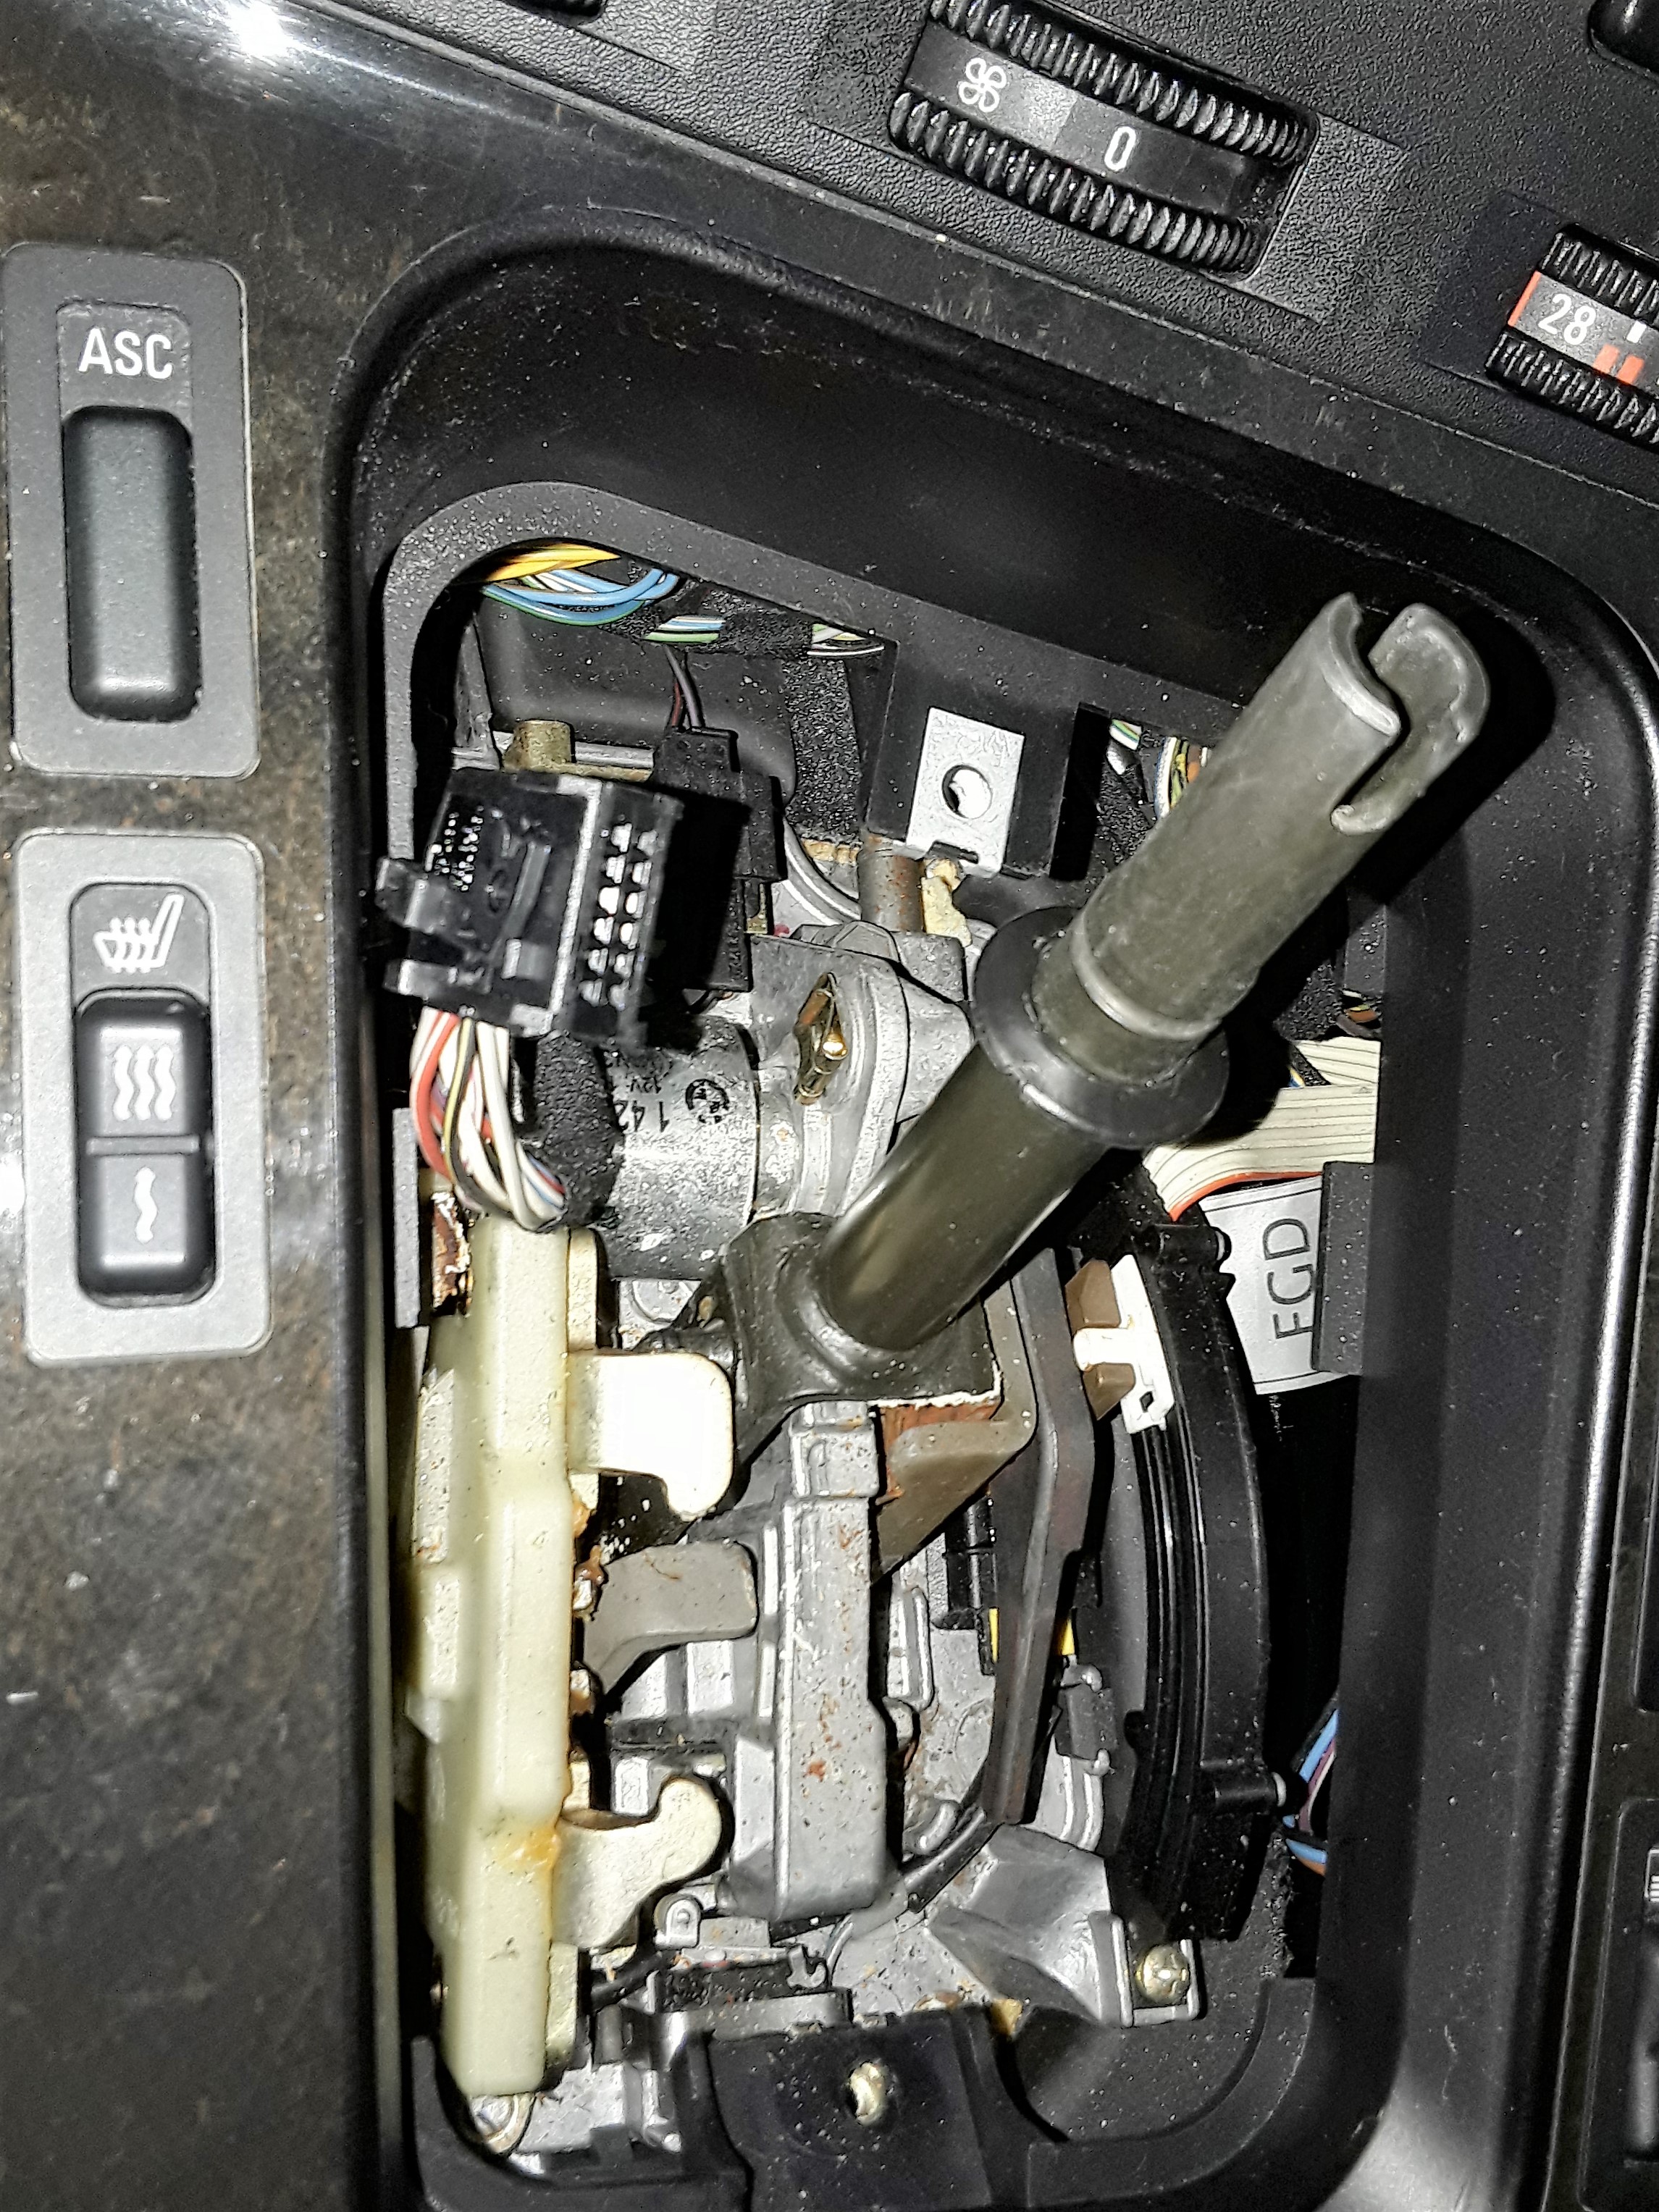
- The center console is bolted on top by 2 screws (covered by two plastic covers).
For precious wood consoles, these are 3 screws located at the top of the radio shaft.
The console can now be lifted out of the mount.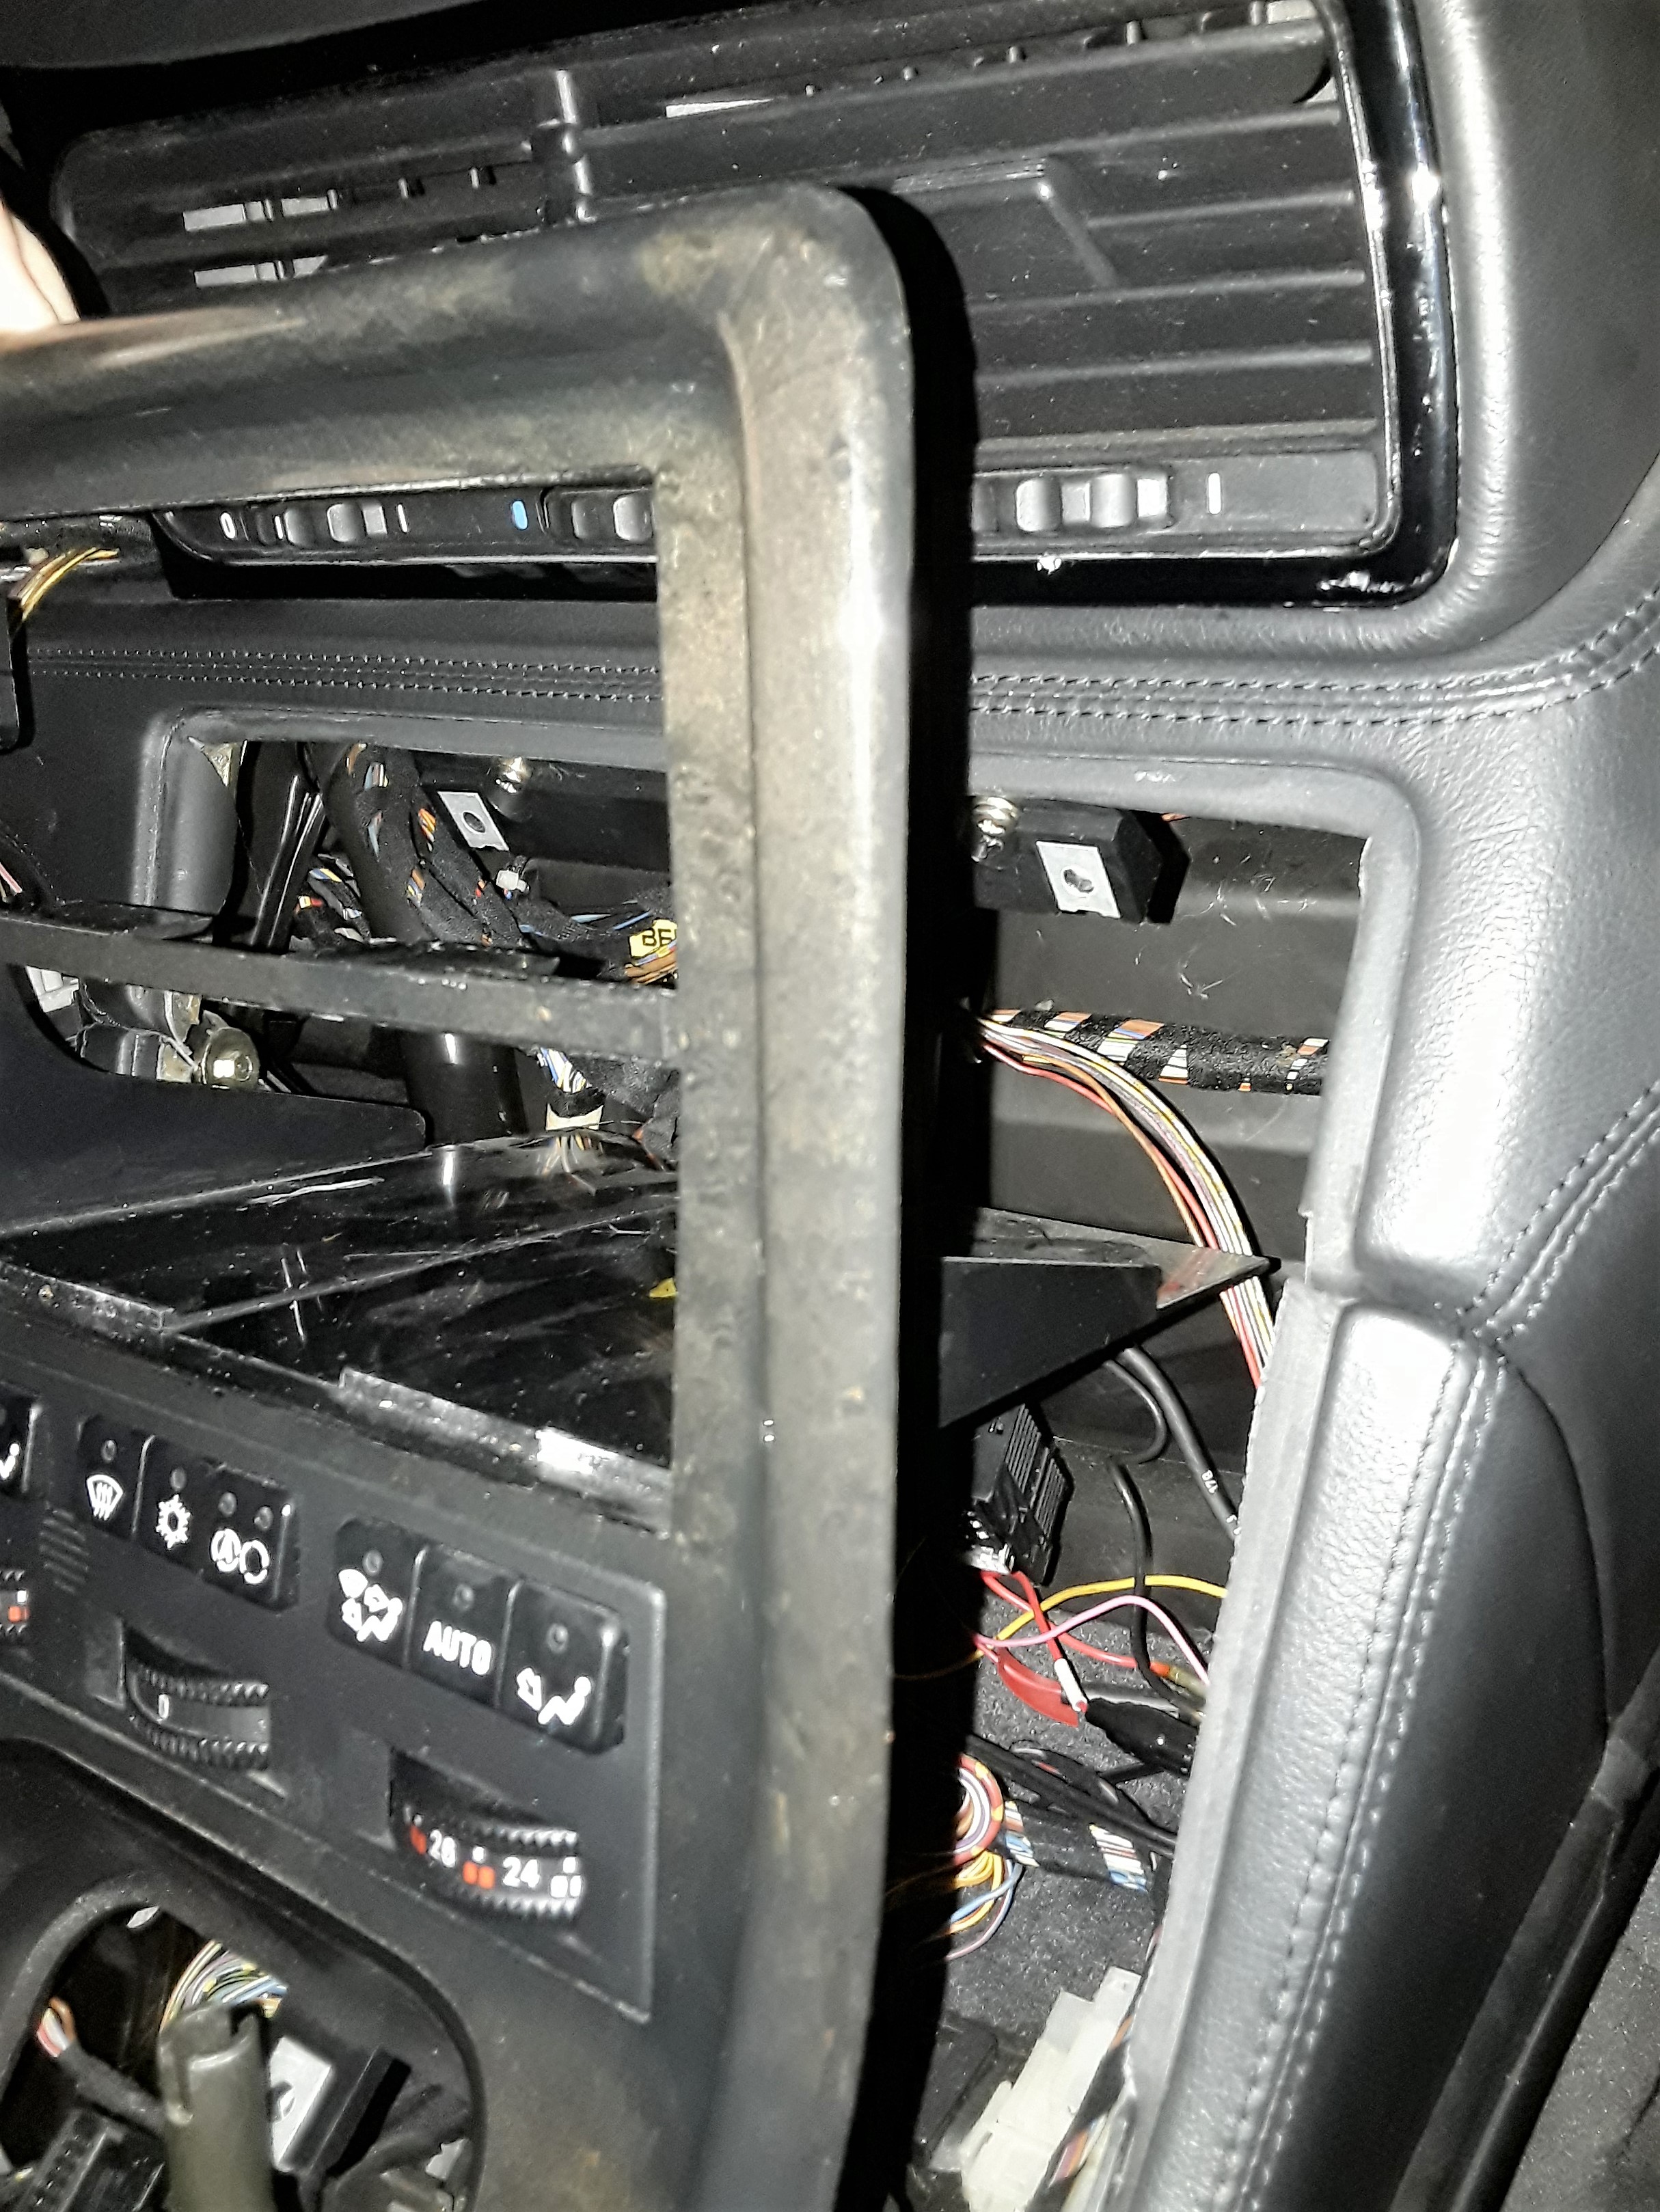
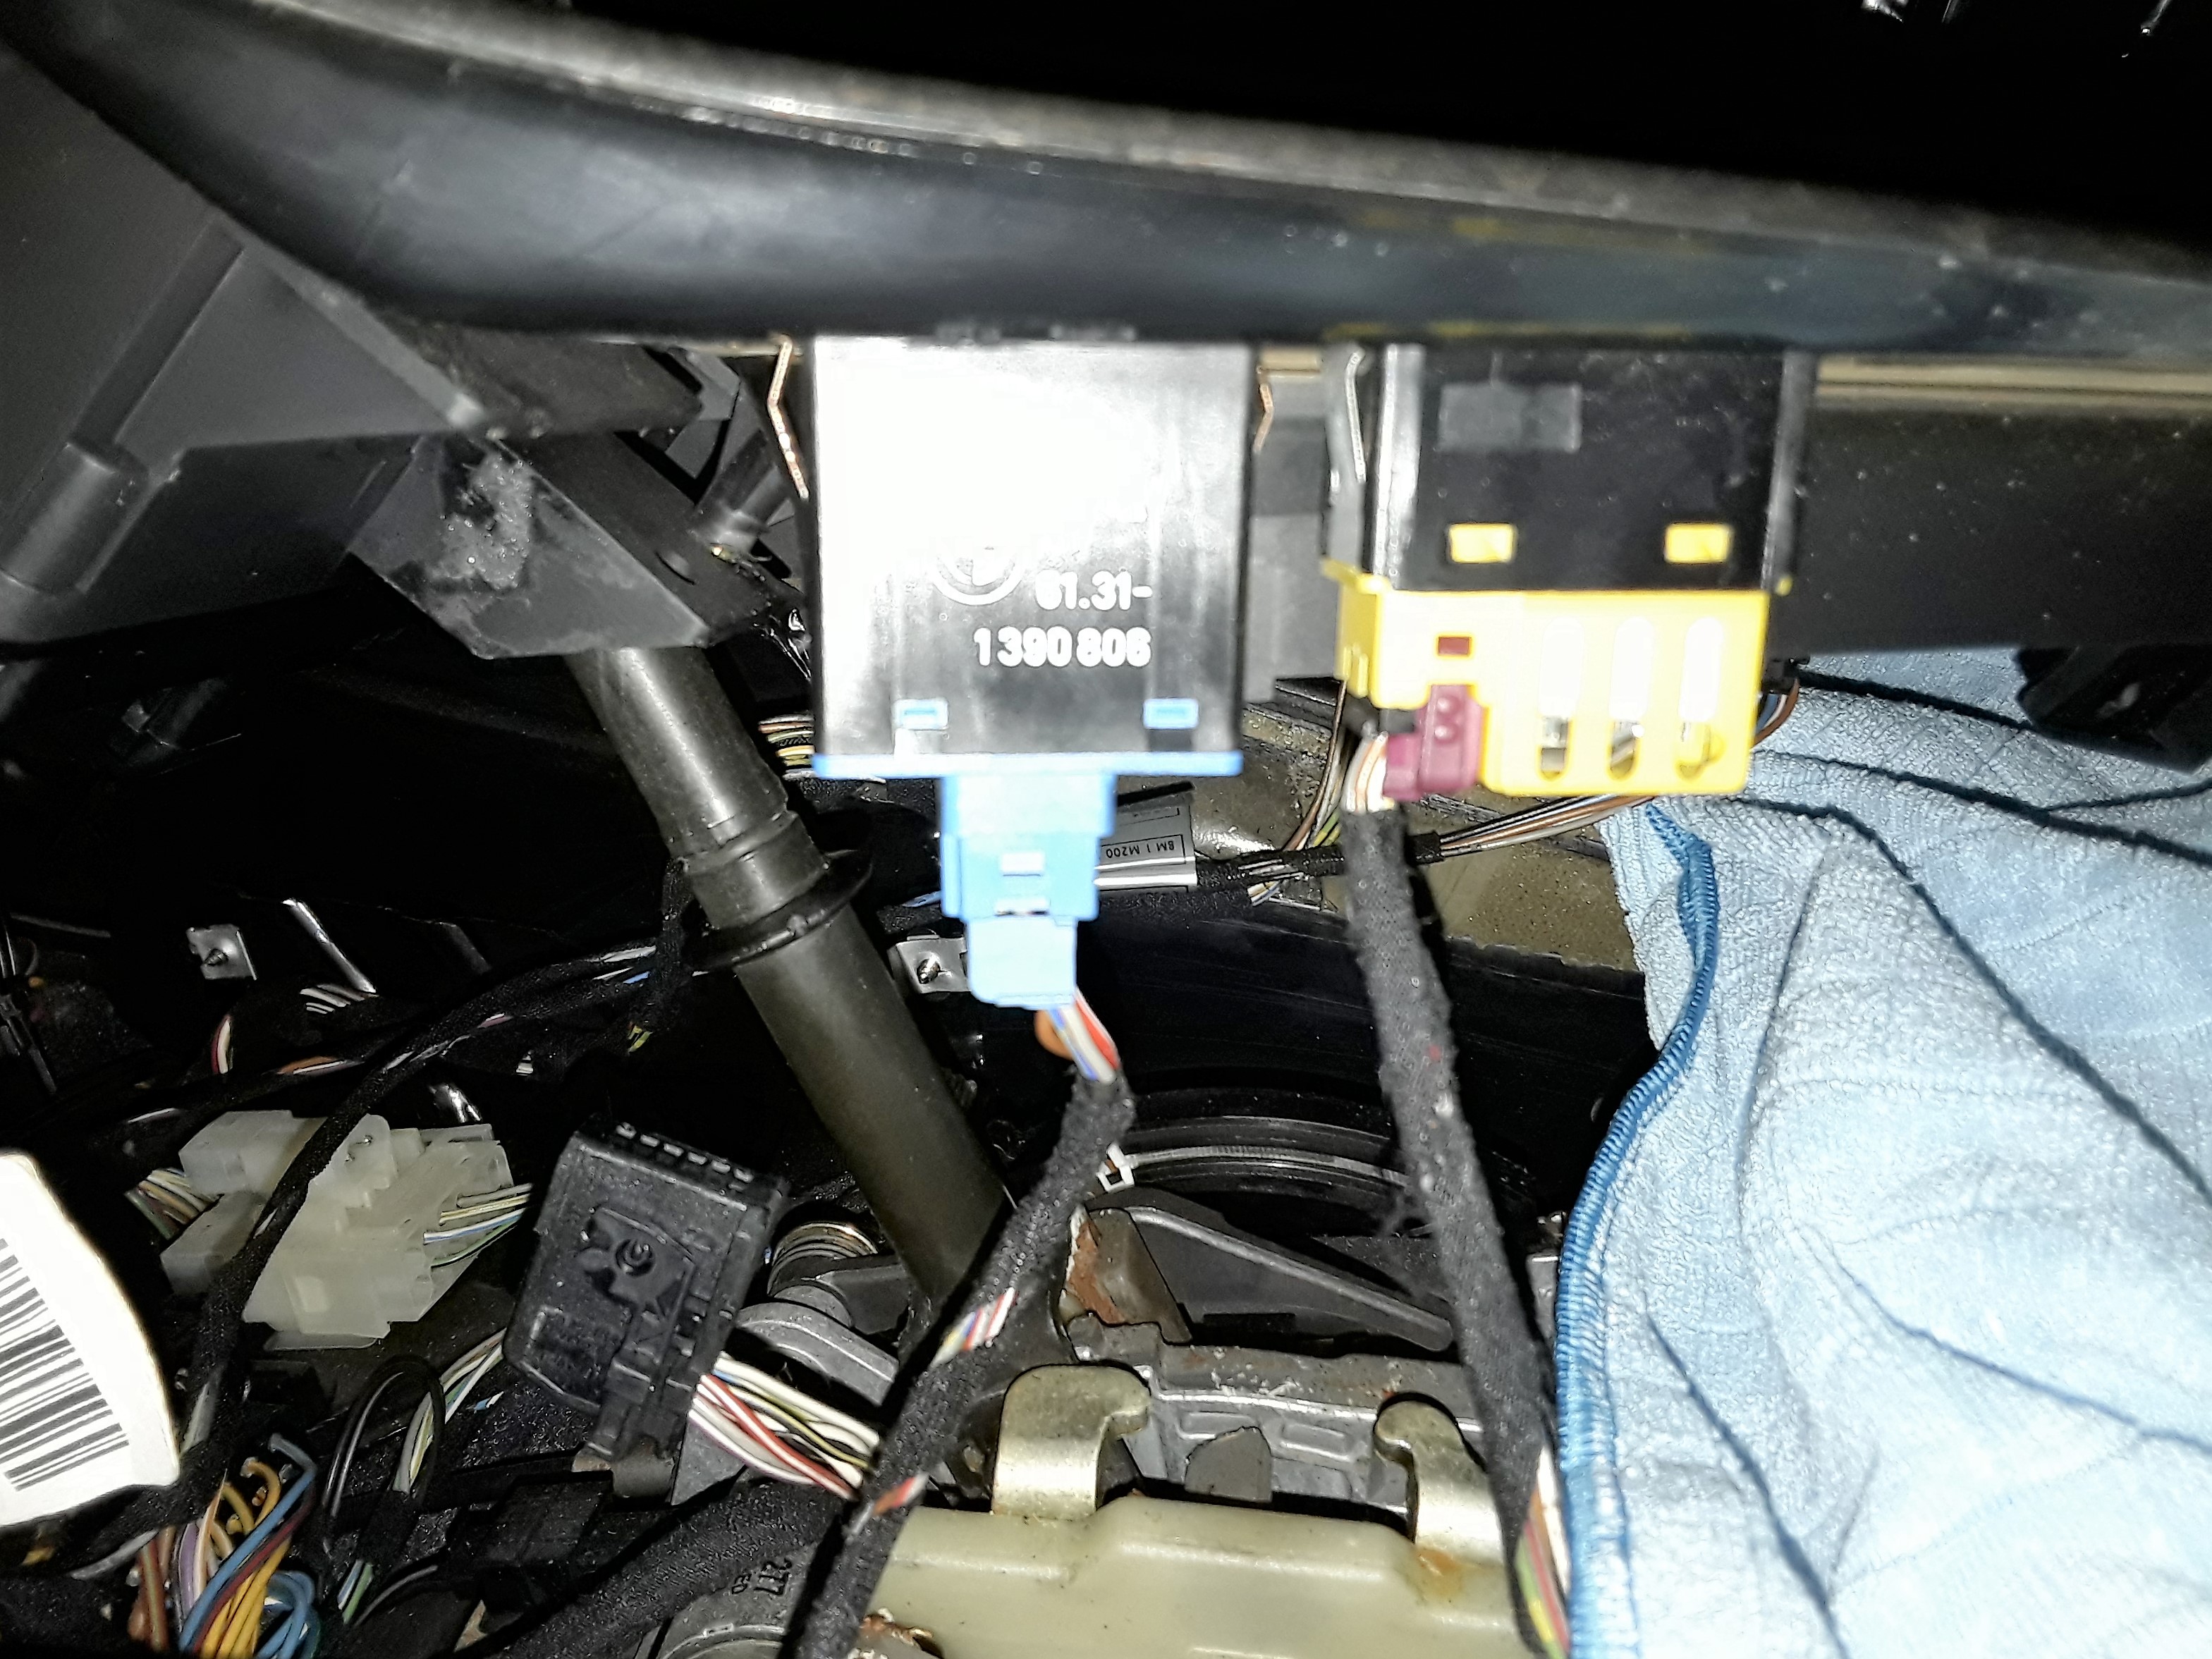
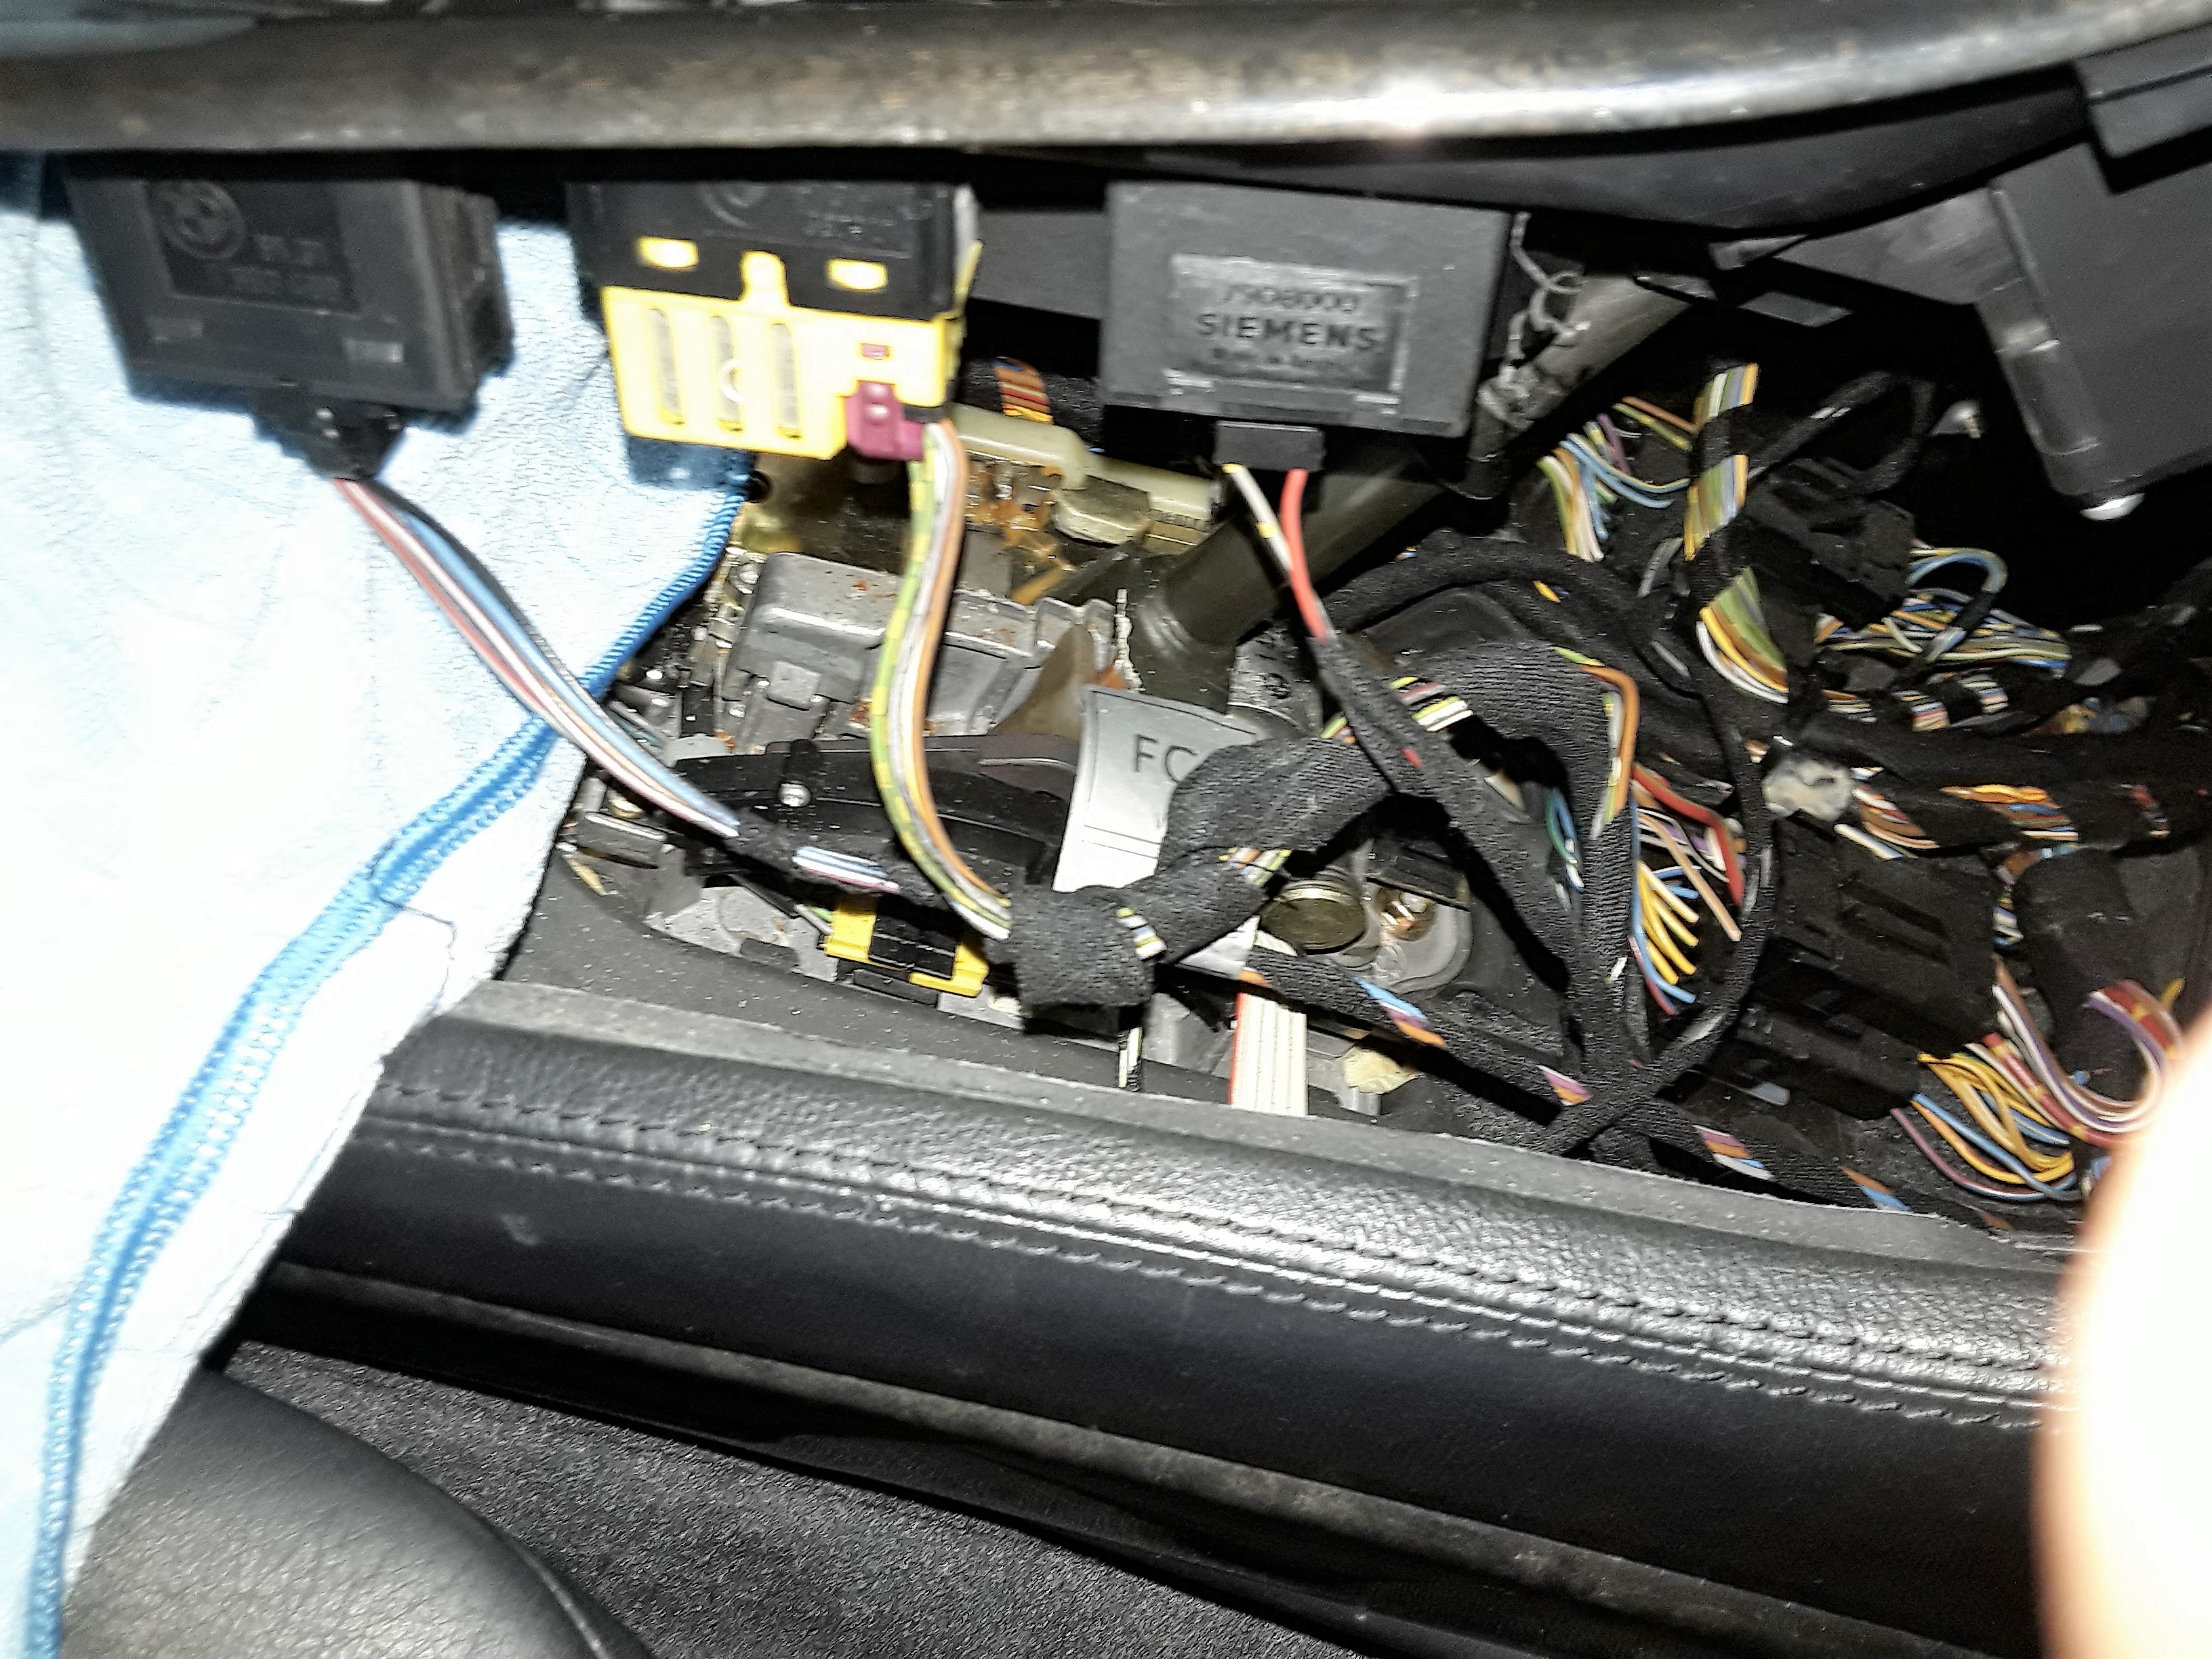
- Further cables for the seat heating roller blind and the climate control unit can now be disconnected.
If you are unsure, take a few photos to remember.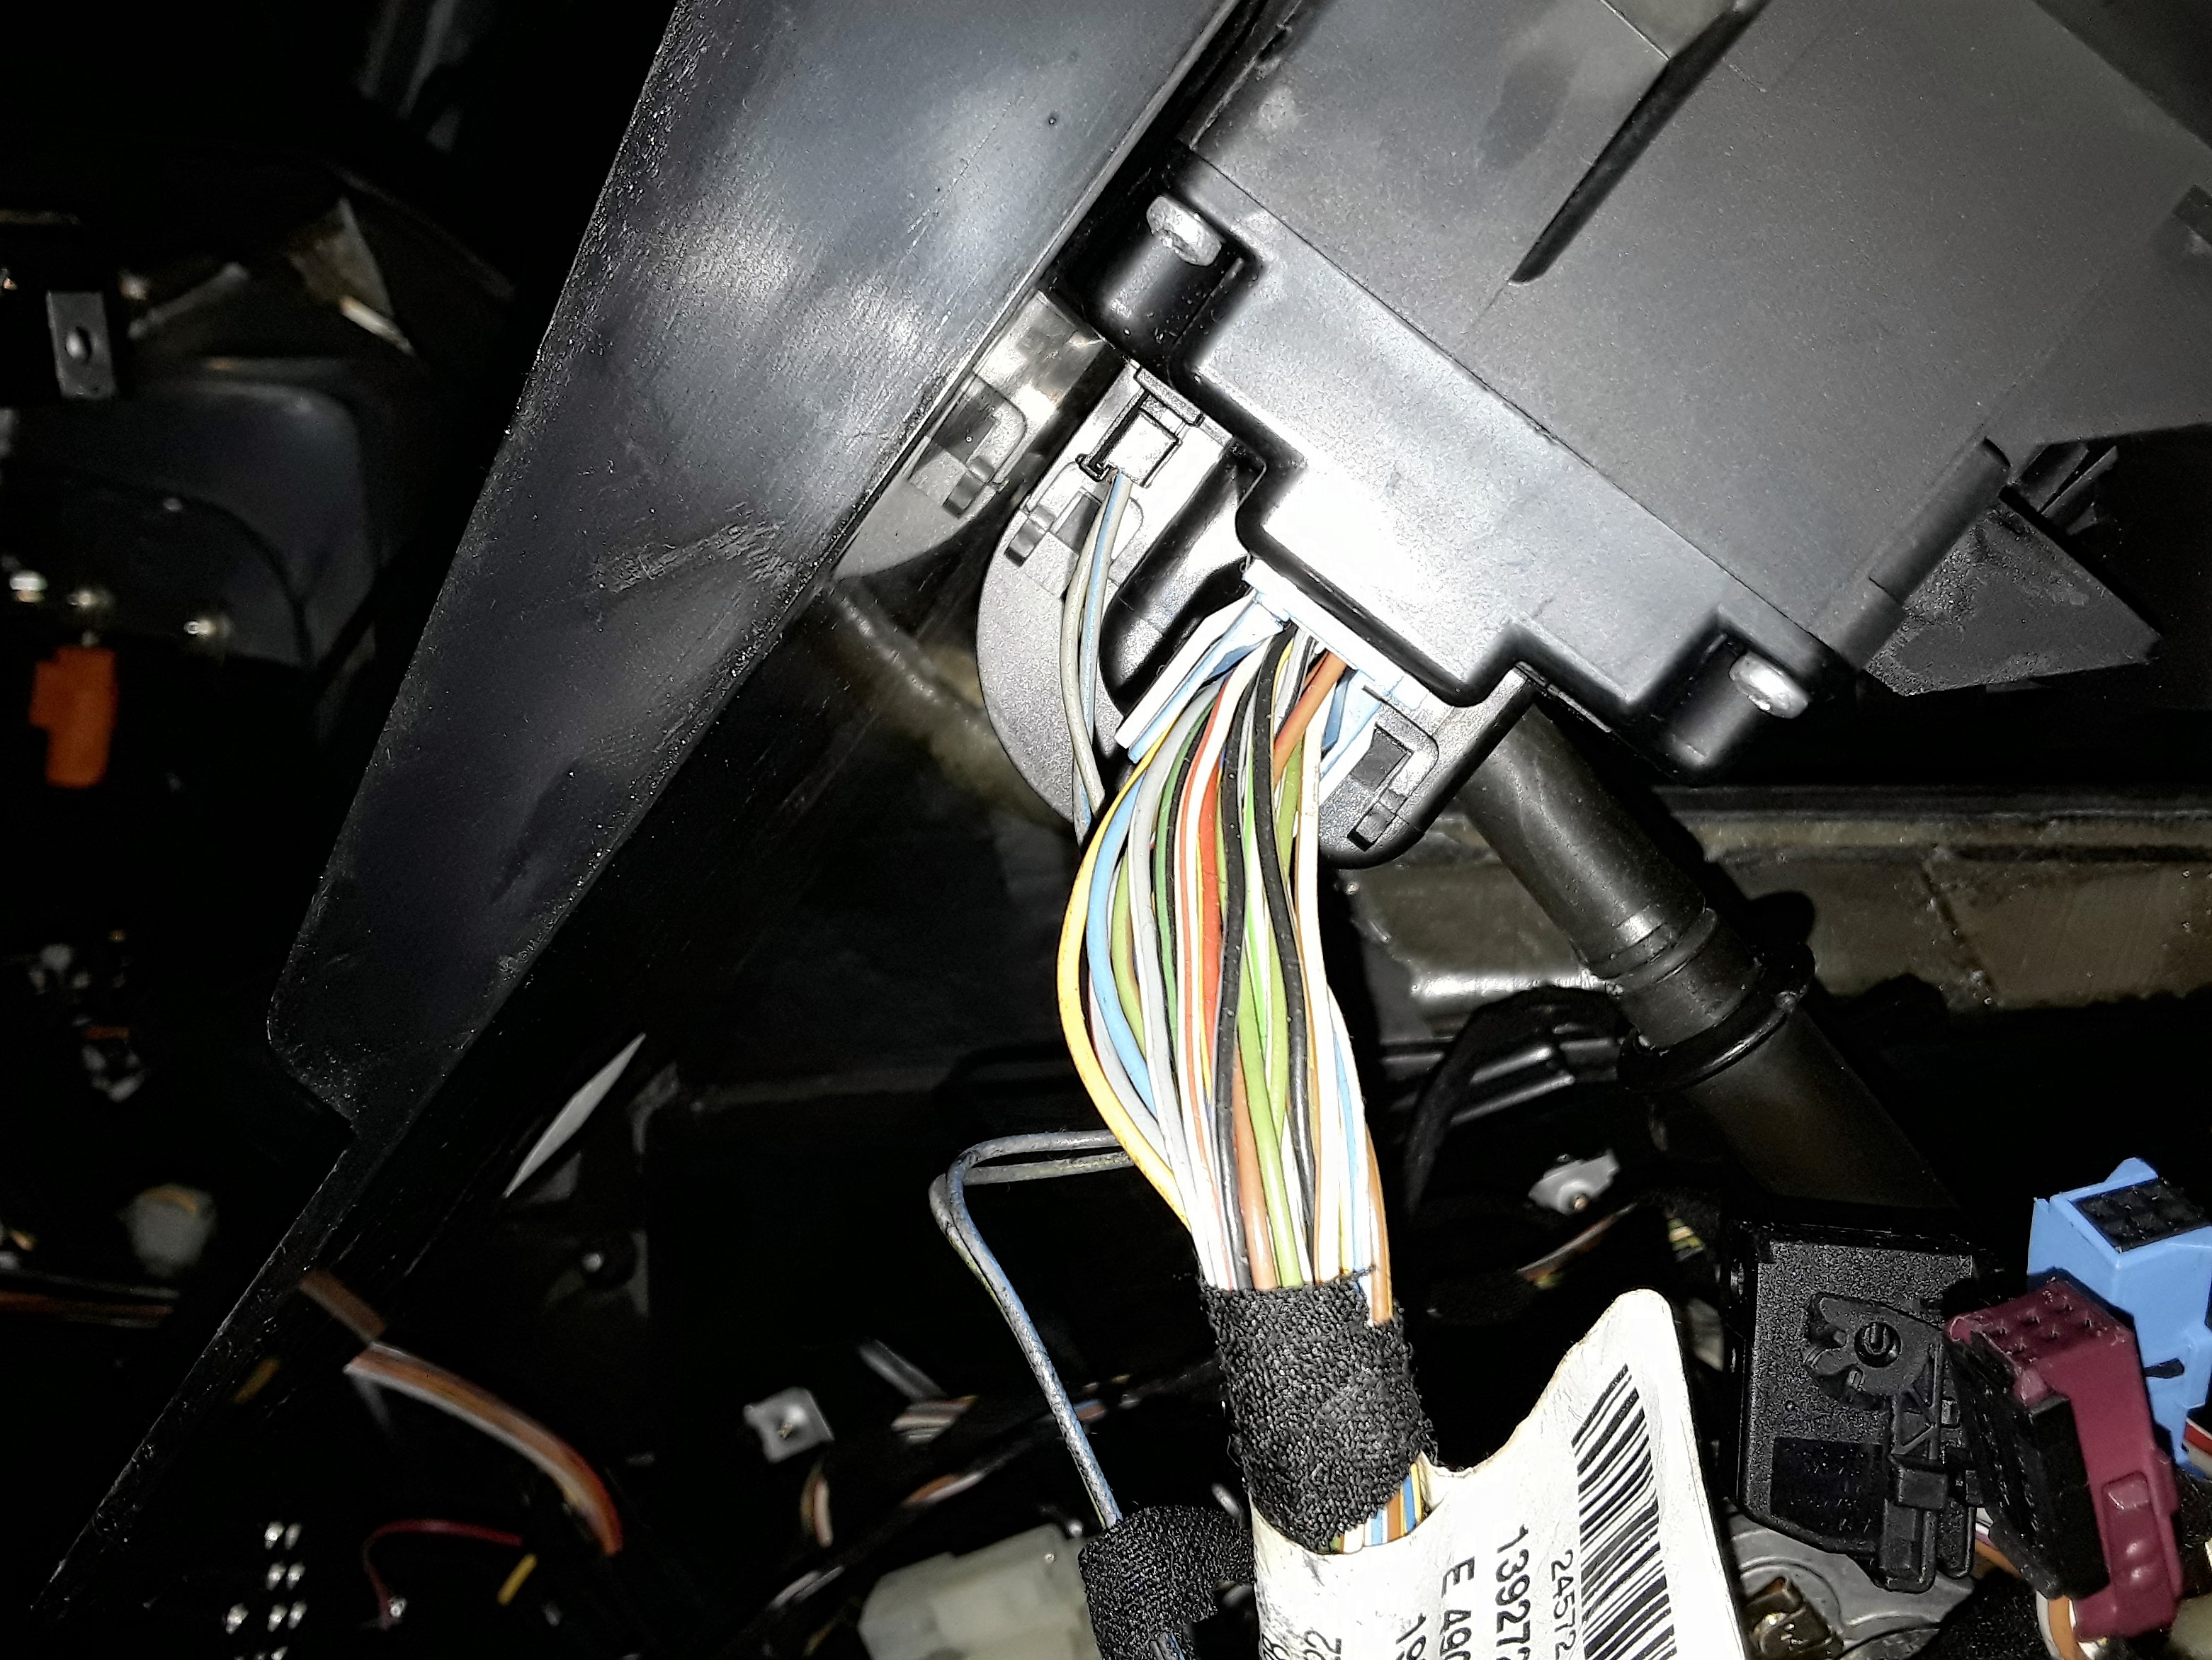
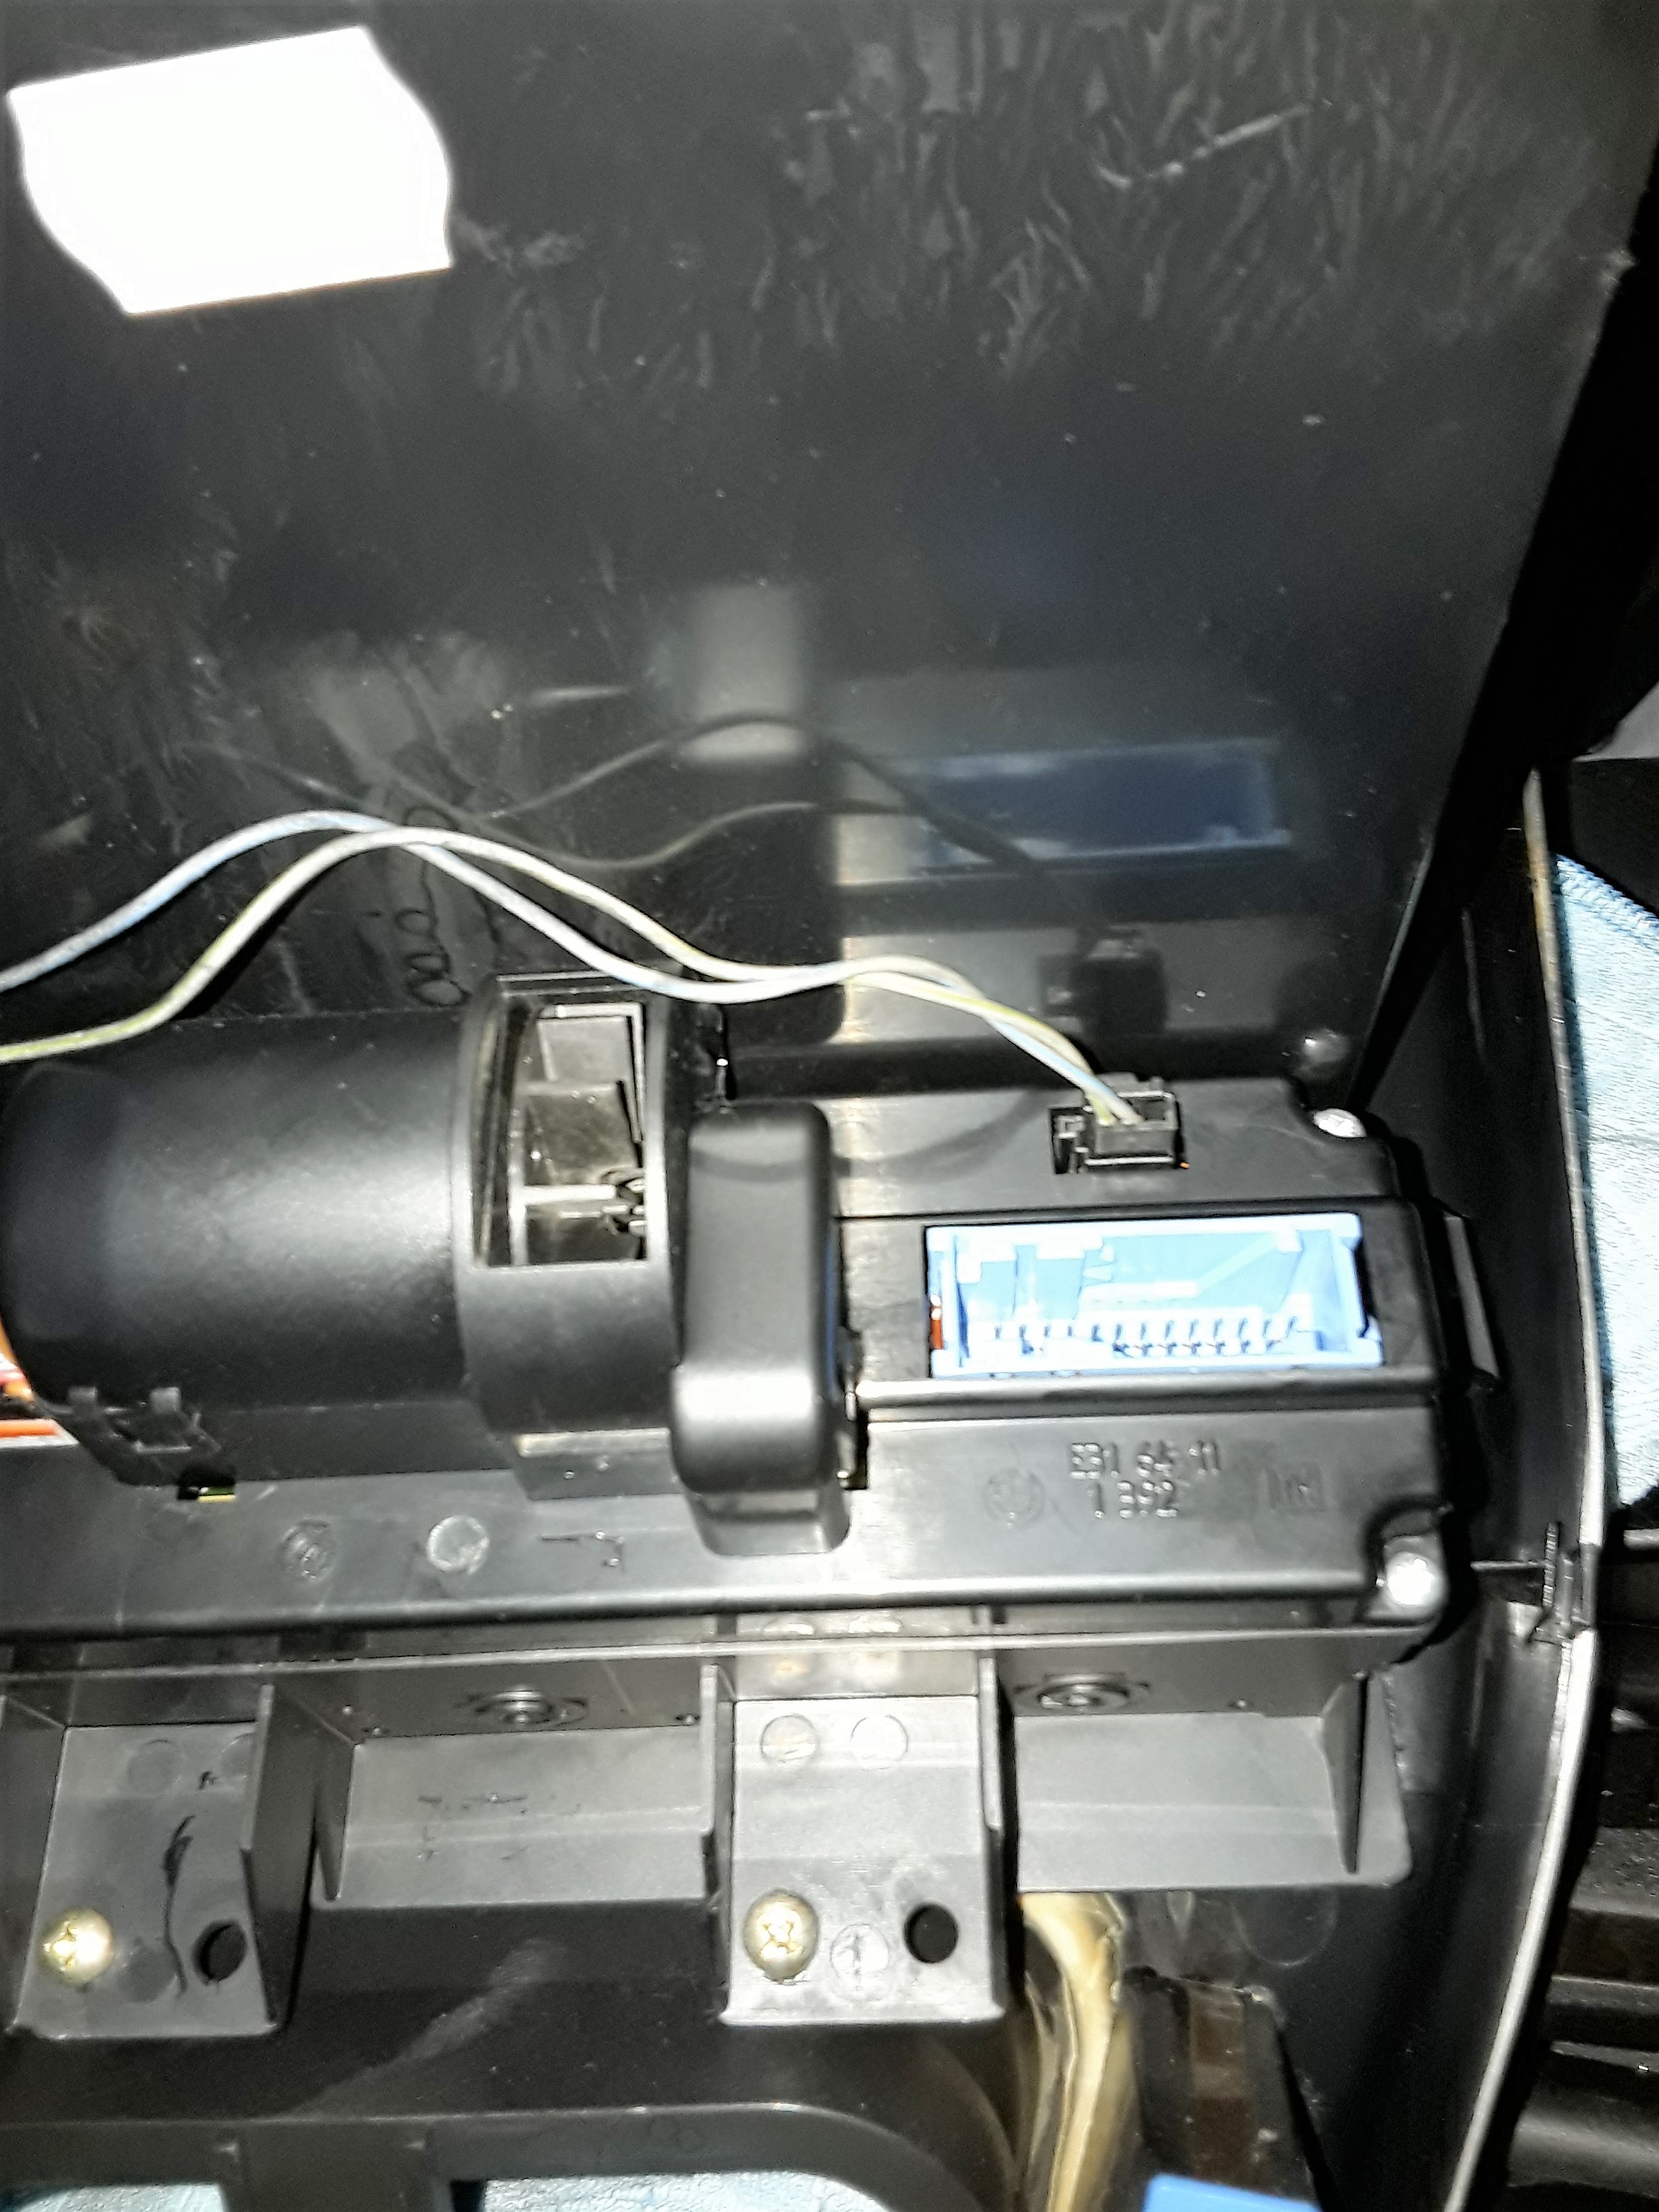
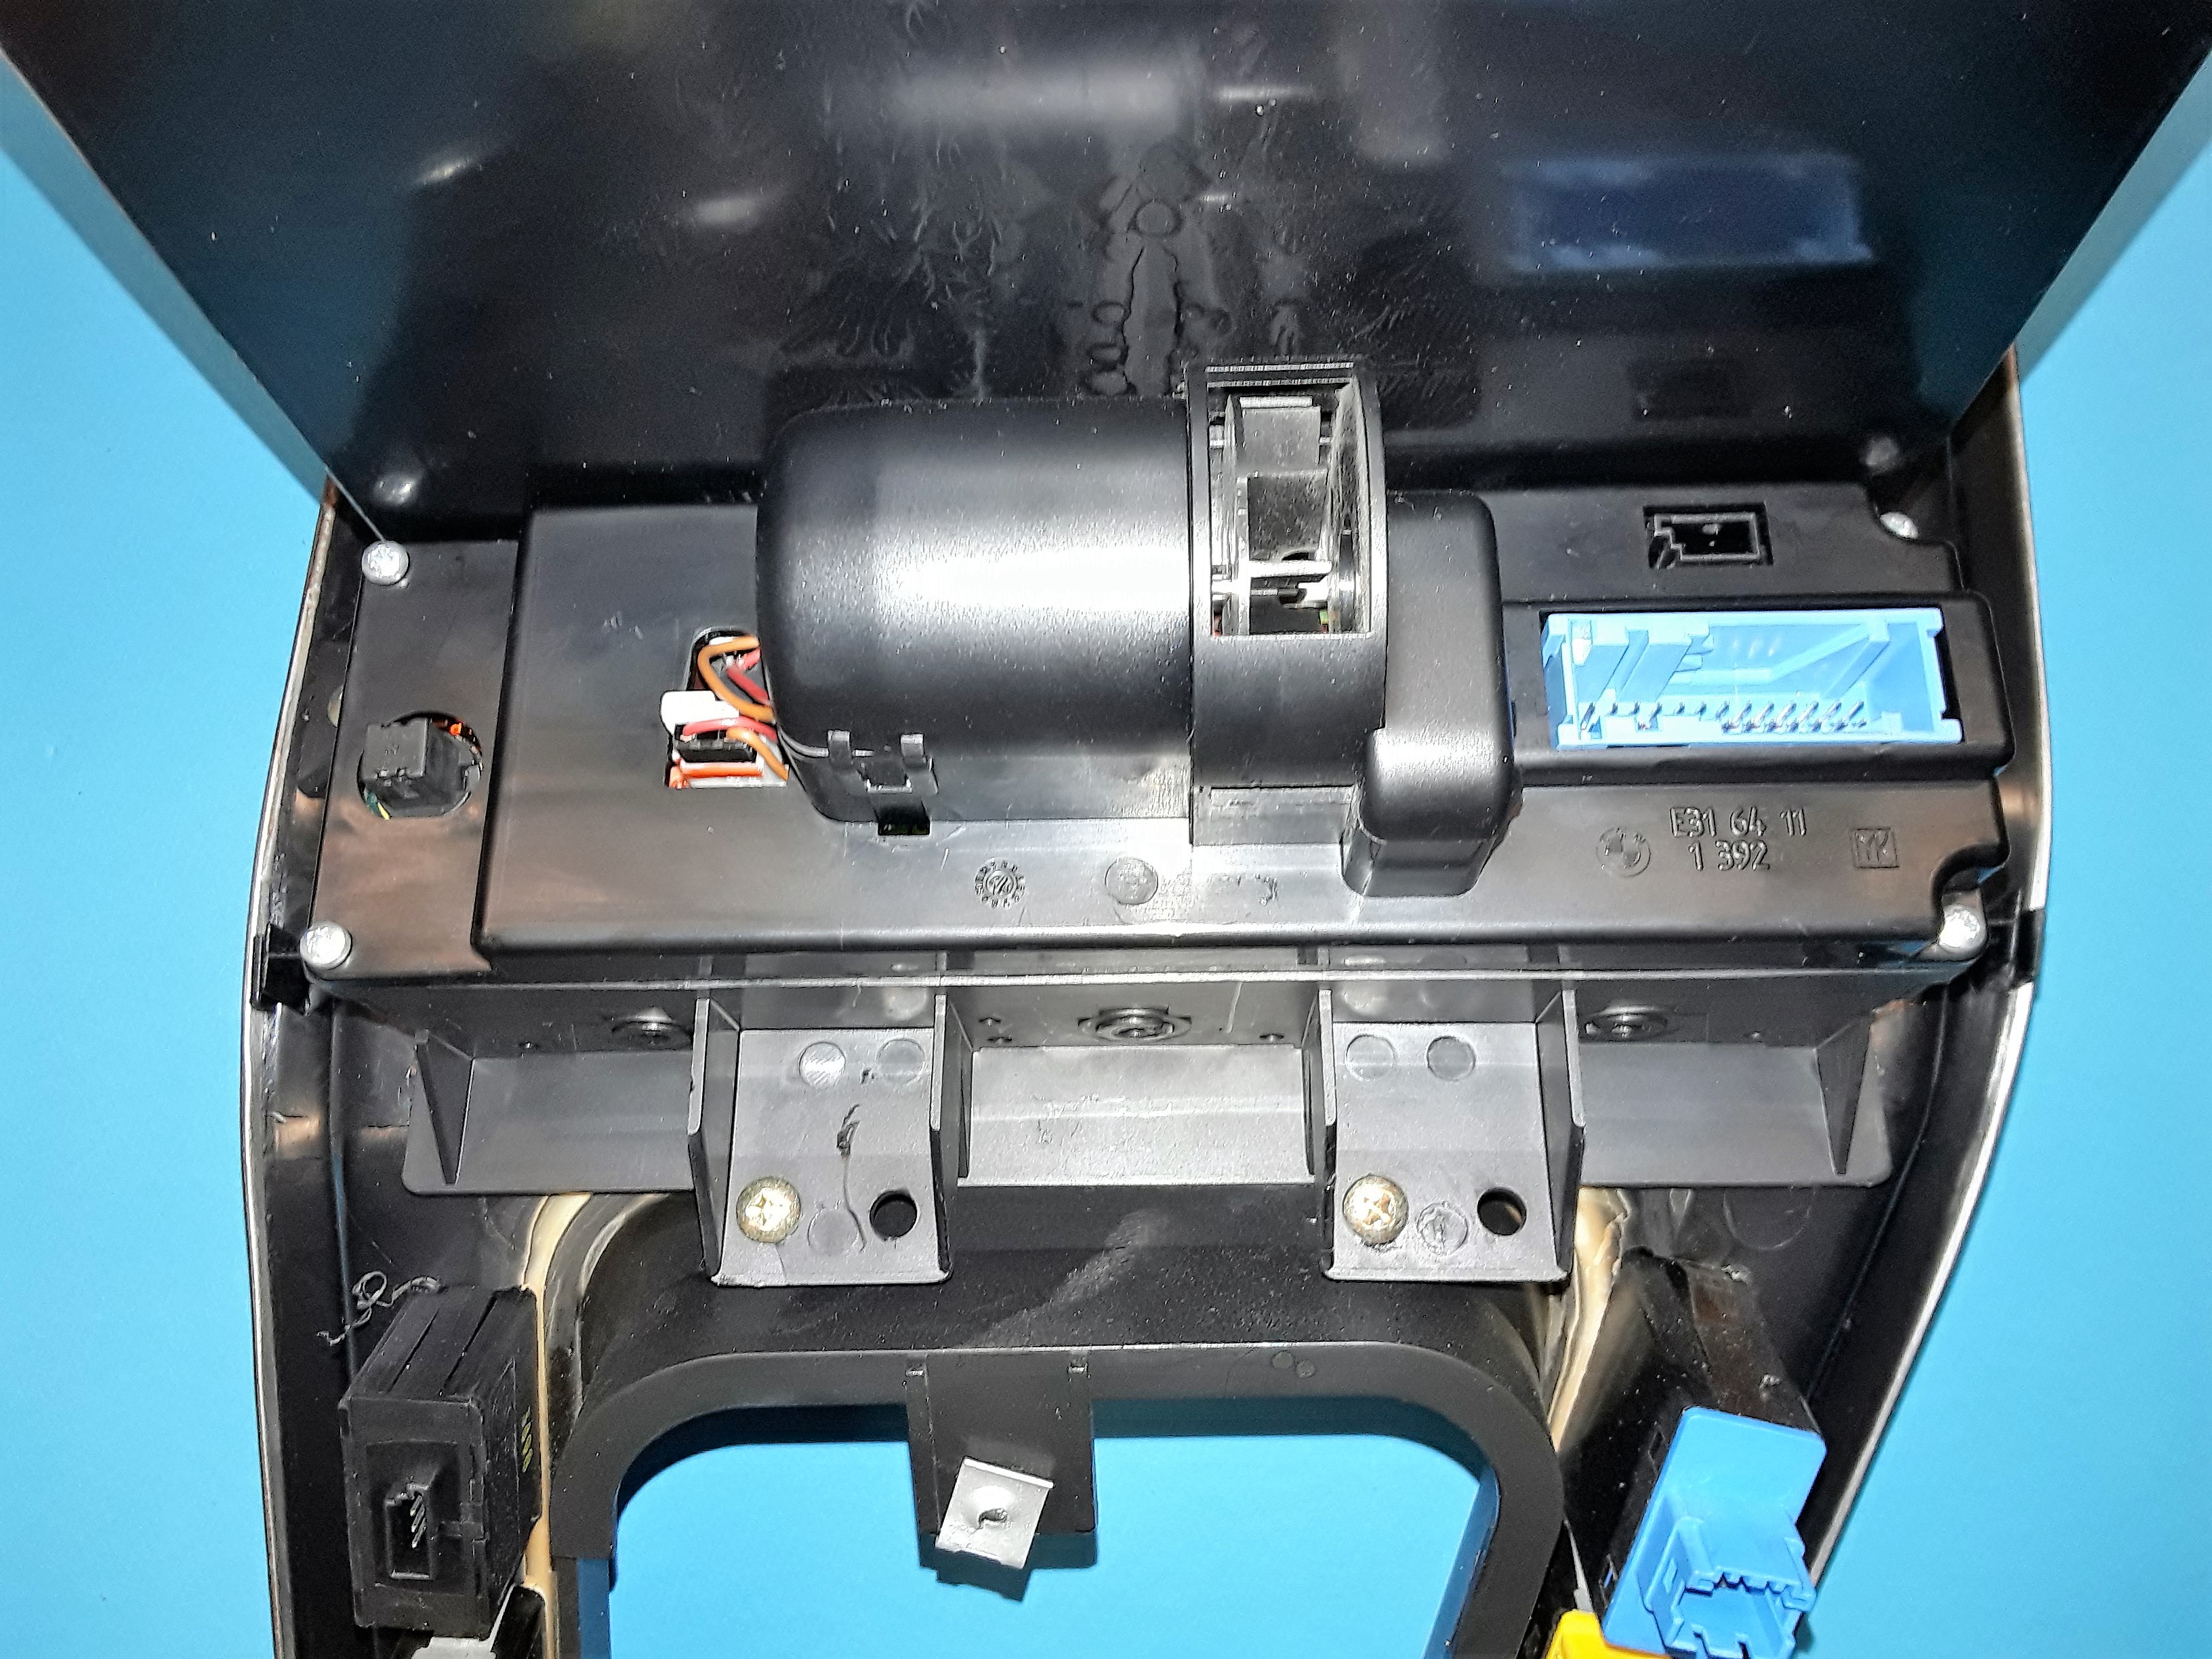
- The climate control unit is screwed from the rear to the center console with 4 cross-slotted screws.
These are to be removed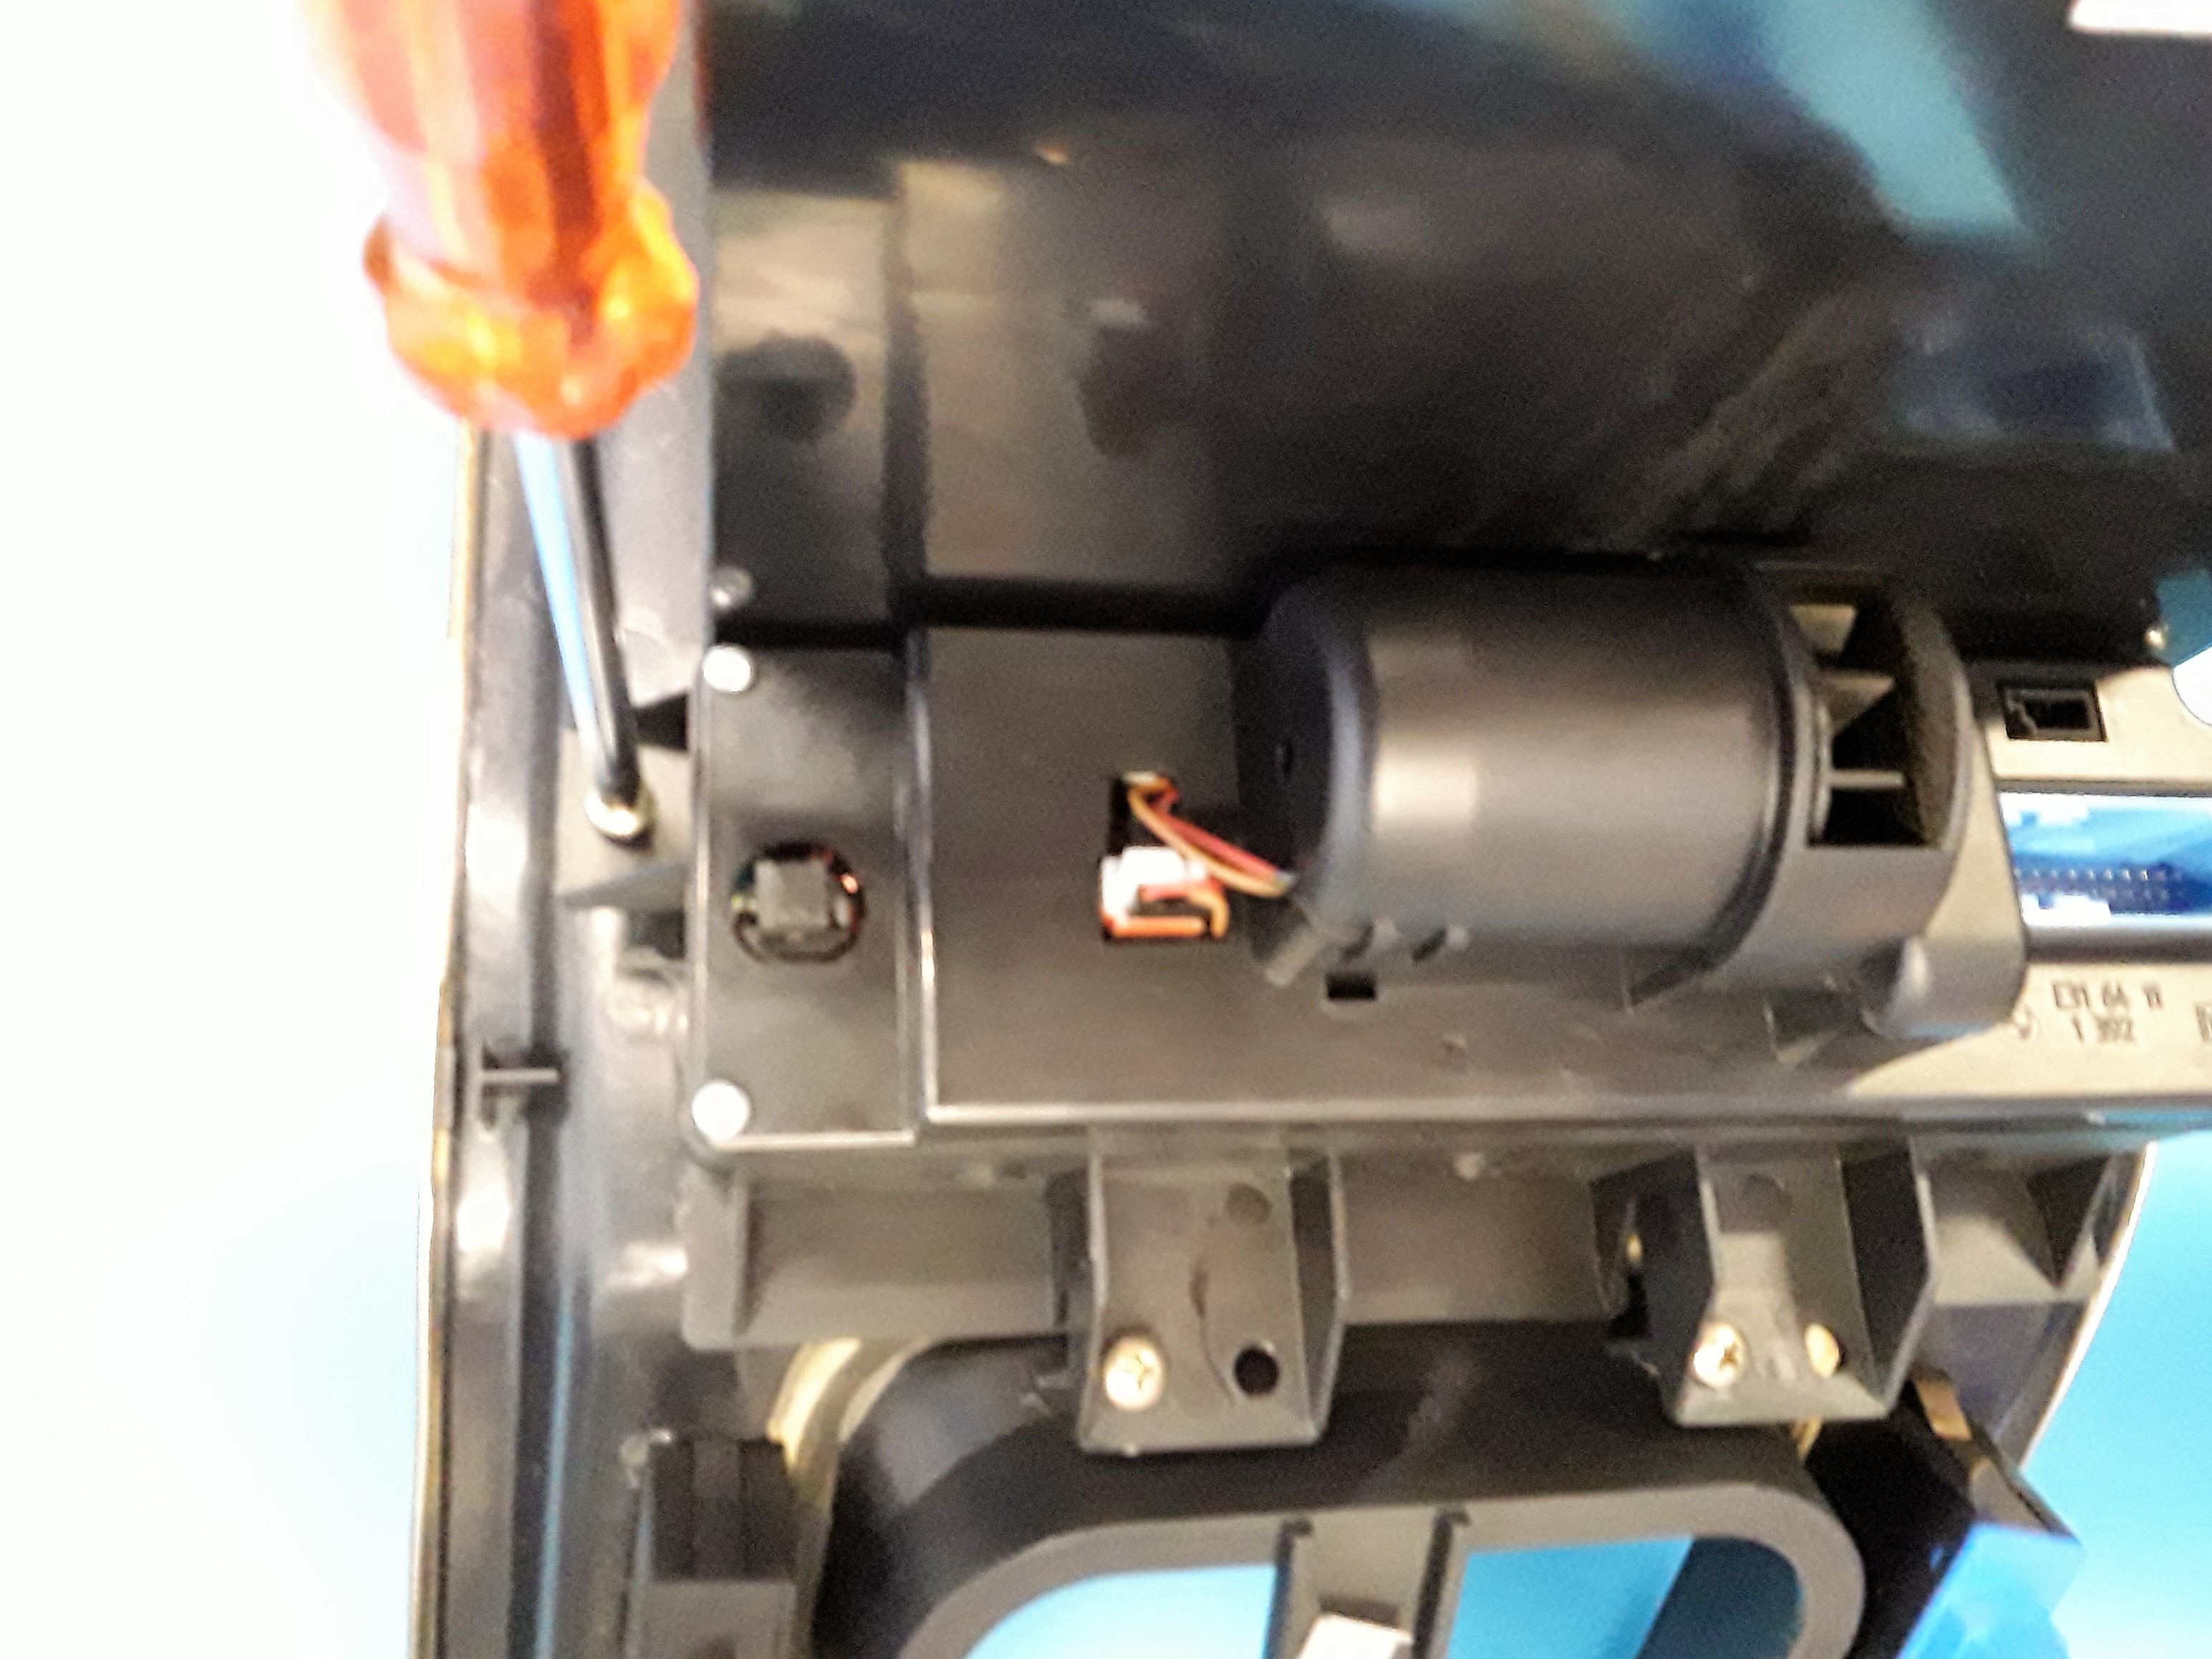
Disassembling the climate control part.
You need the following tools:
- electronic soldering iron with max 50W
- medium cross screwdriver
- small cross screwdriver
- small flat screwdriver
- pointed pliers
- soft brush
- place the climate control unit on a suitable support to protect the surface.
- To remove the buttons it is necessary that they are ALL UNLOCKED.
Pulling the keys when pressed can destroy the switch !!!
Use a flat-headed screwdriver to pry the buttons one after the other.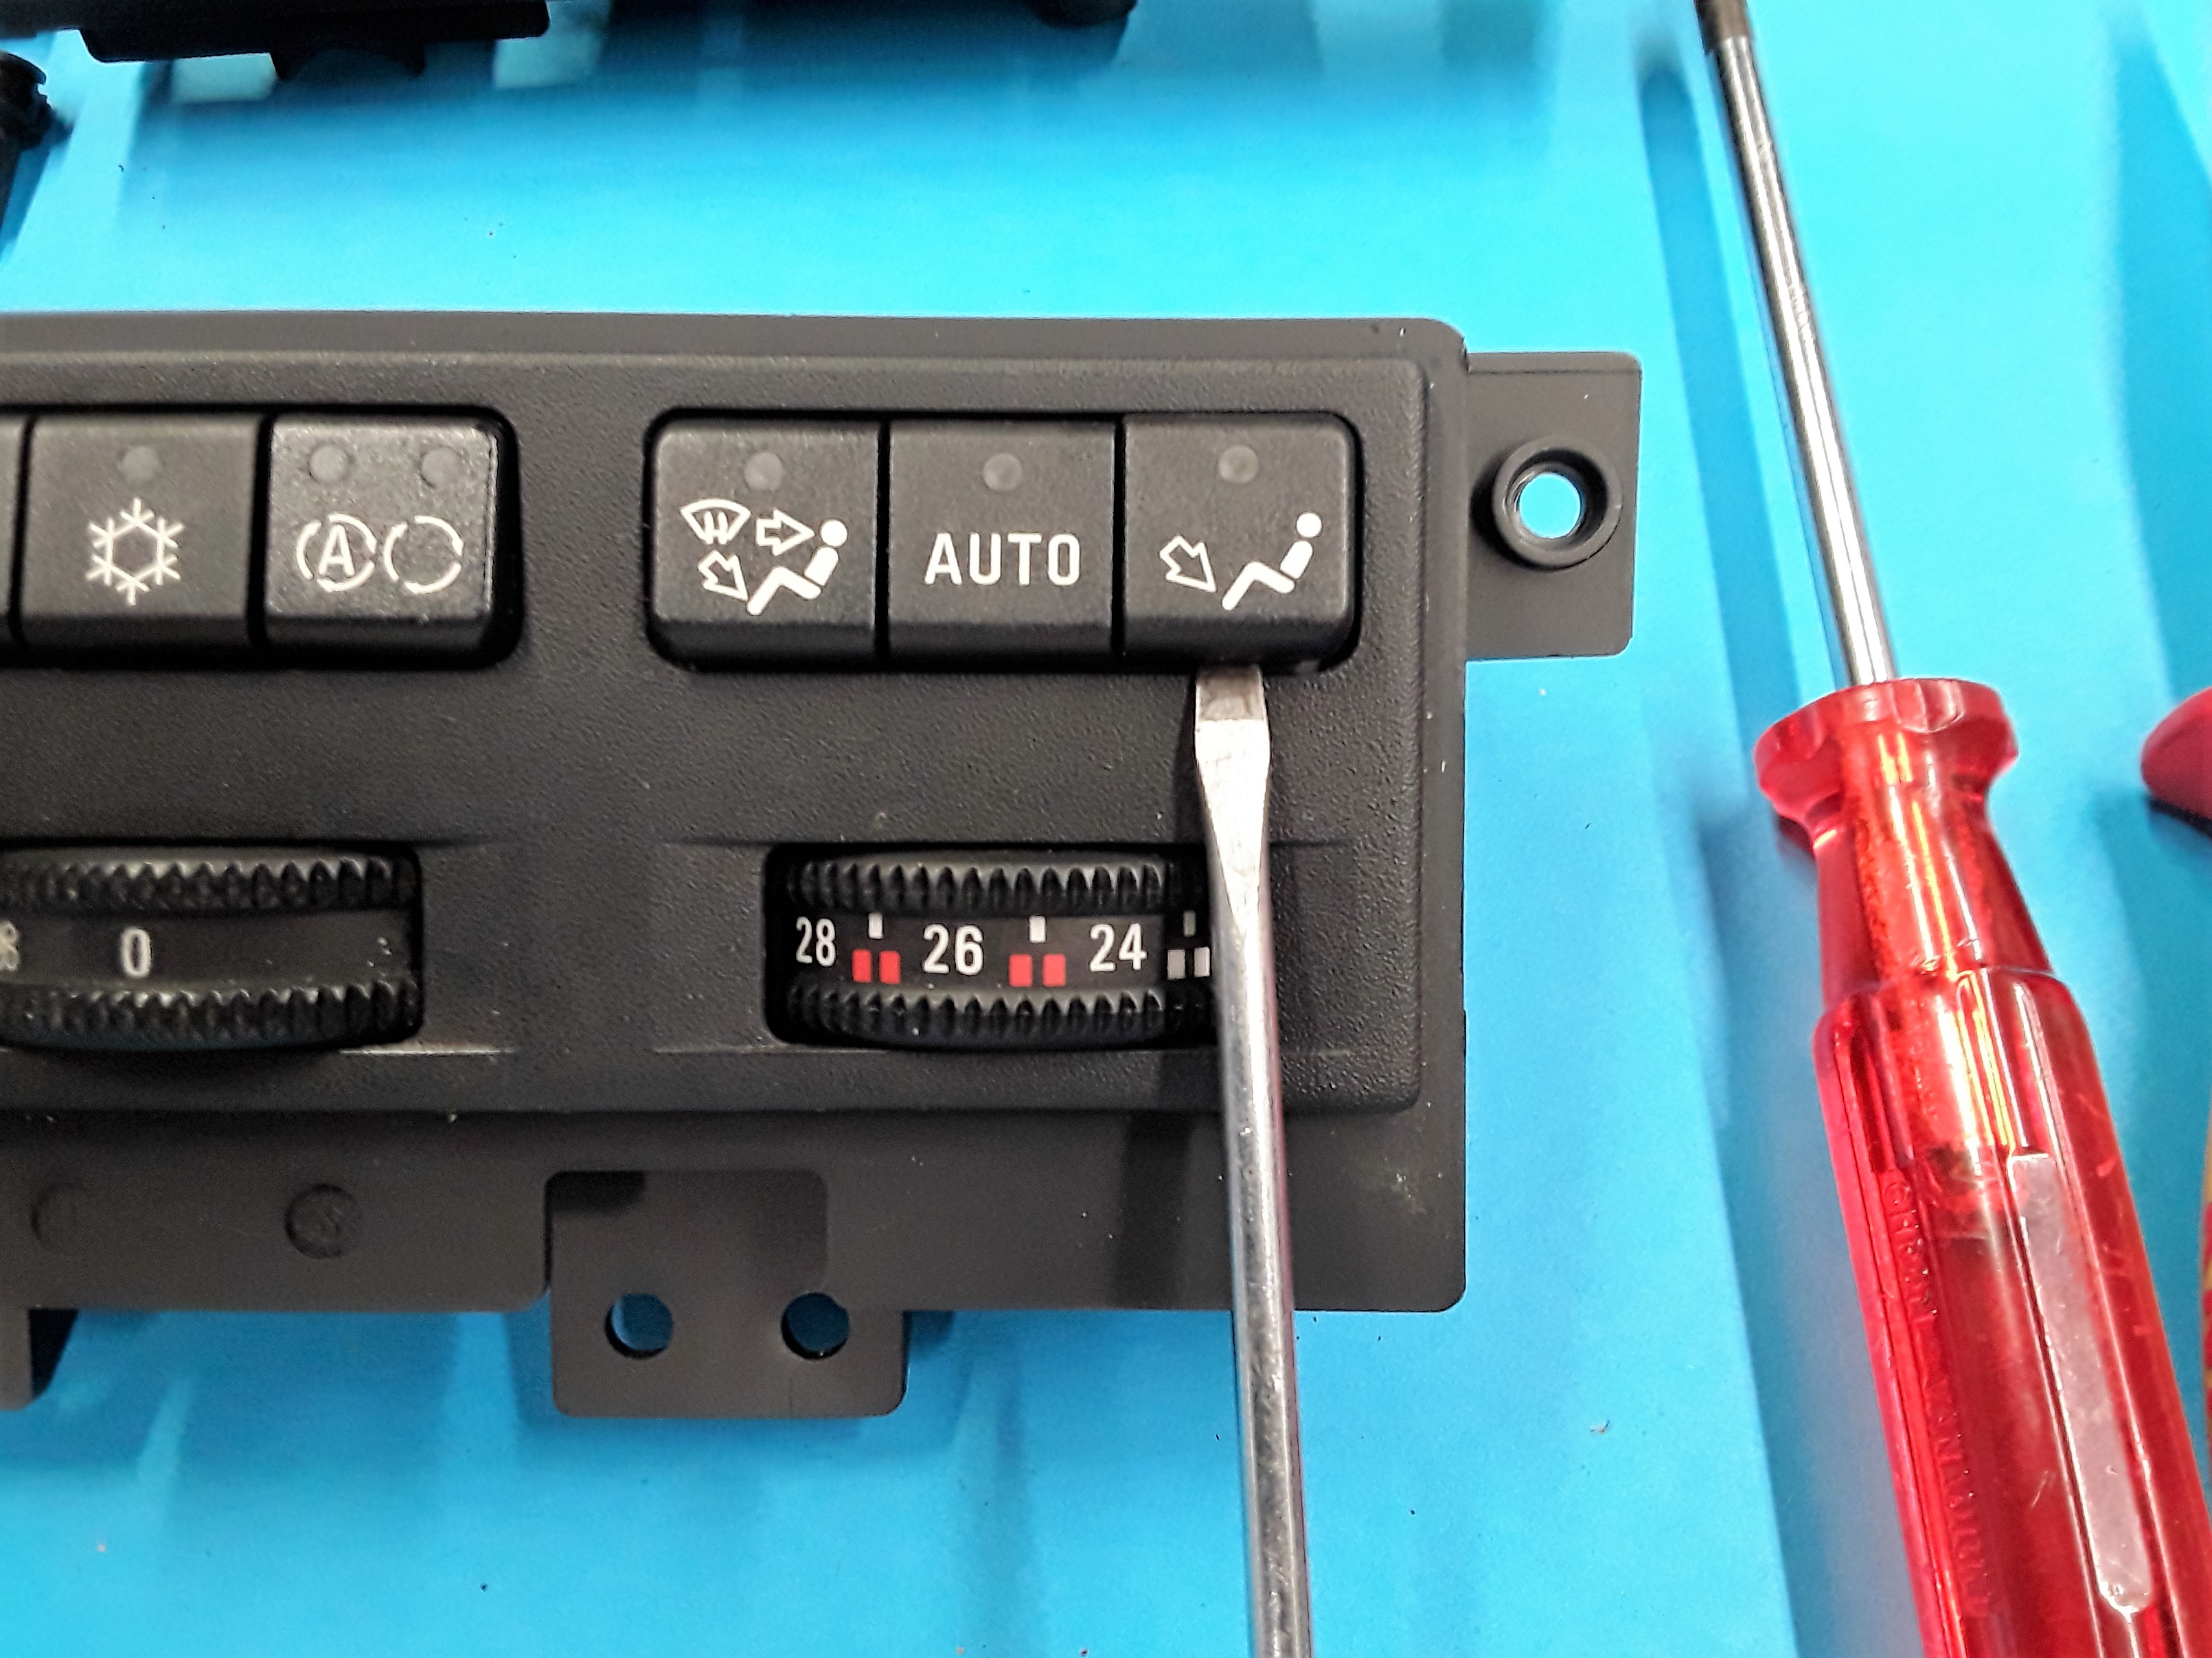
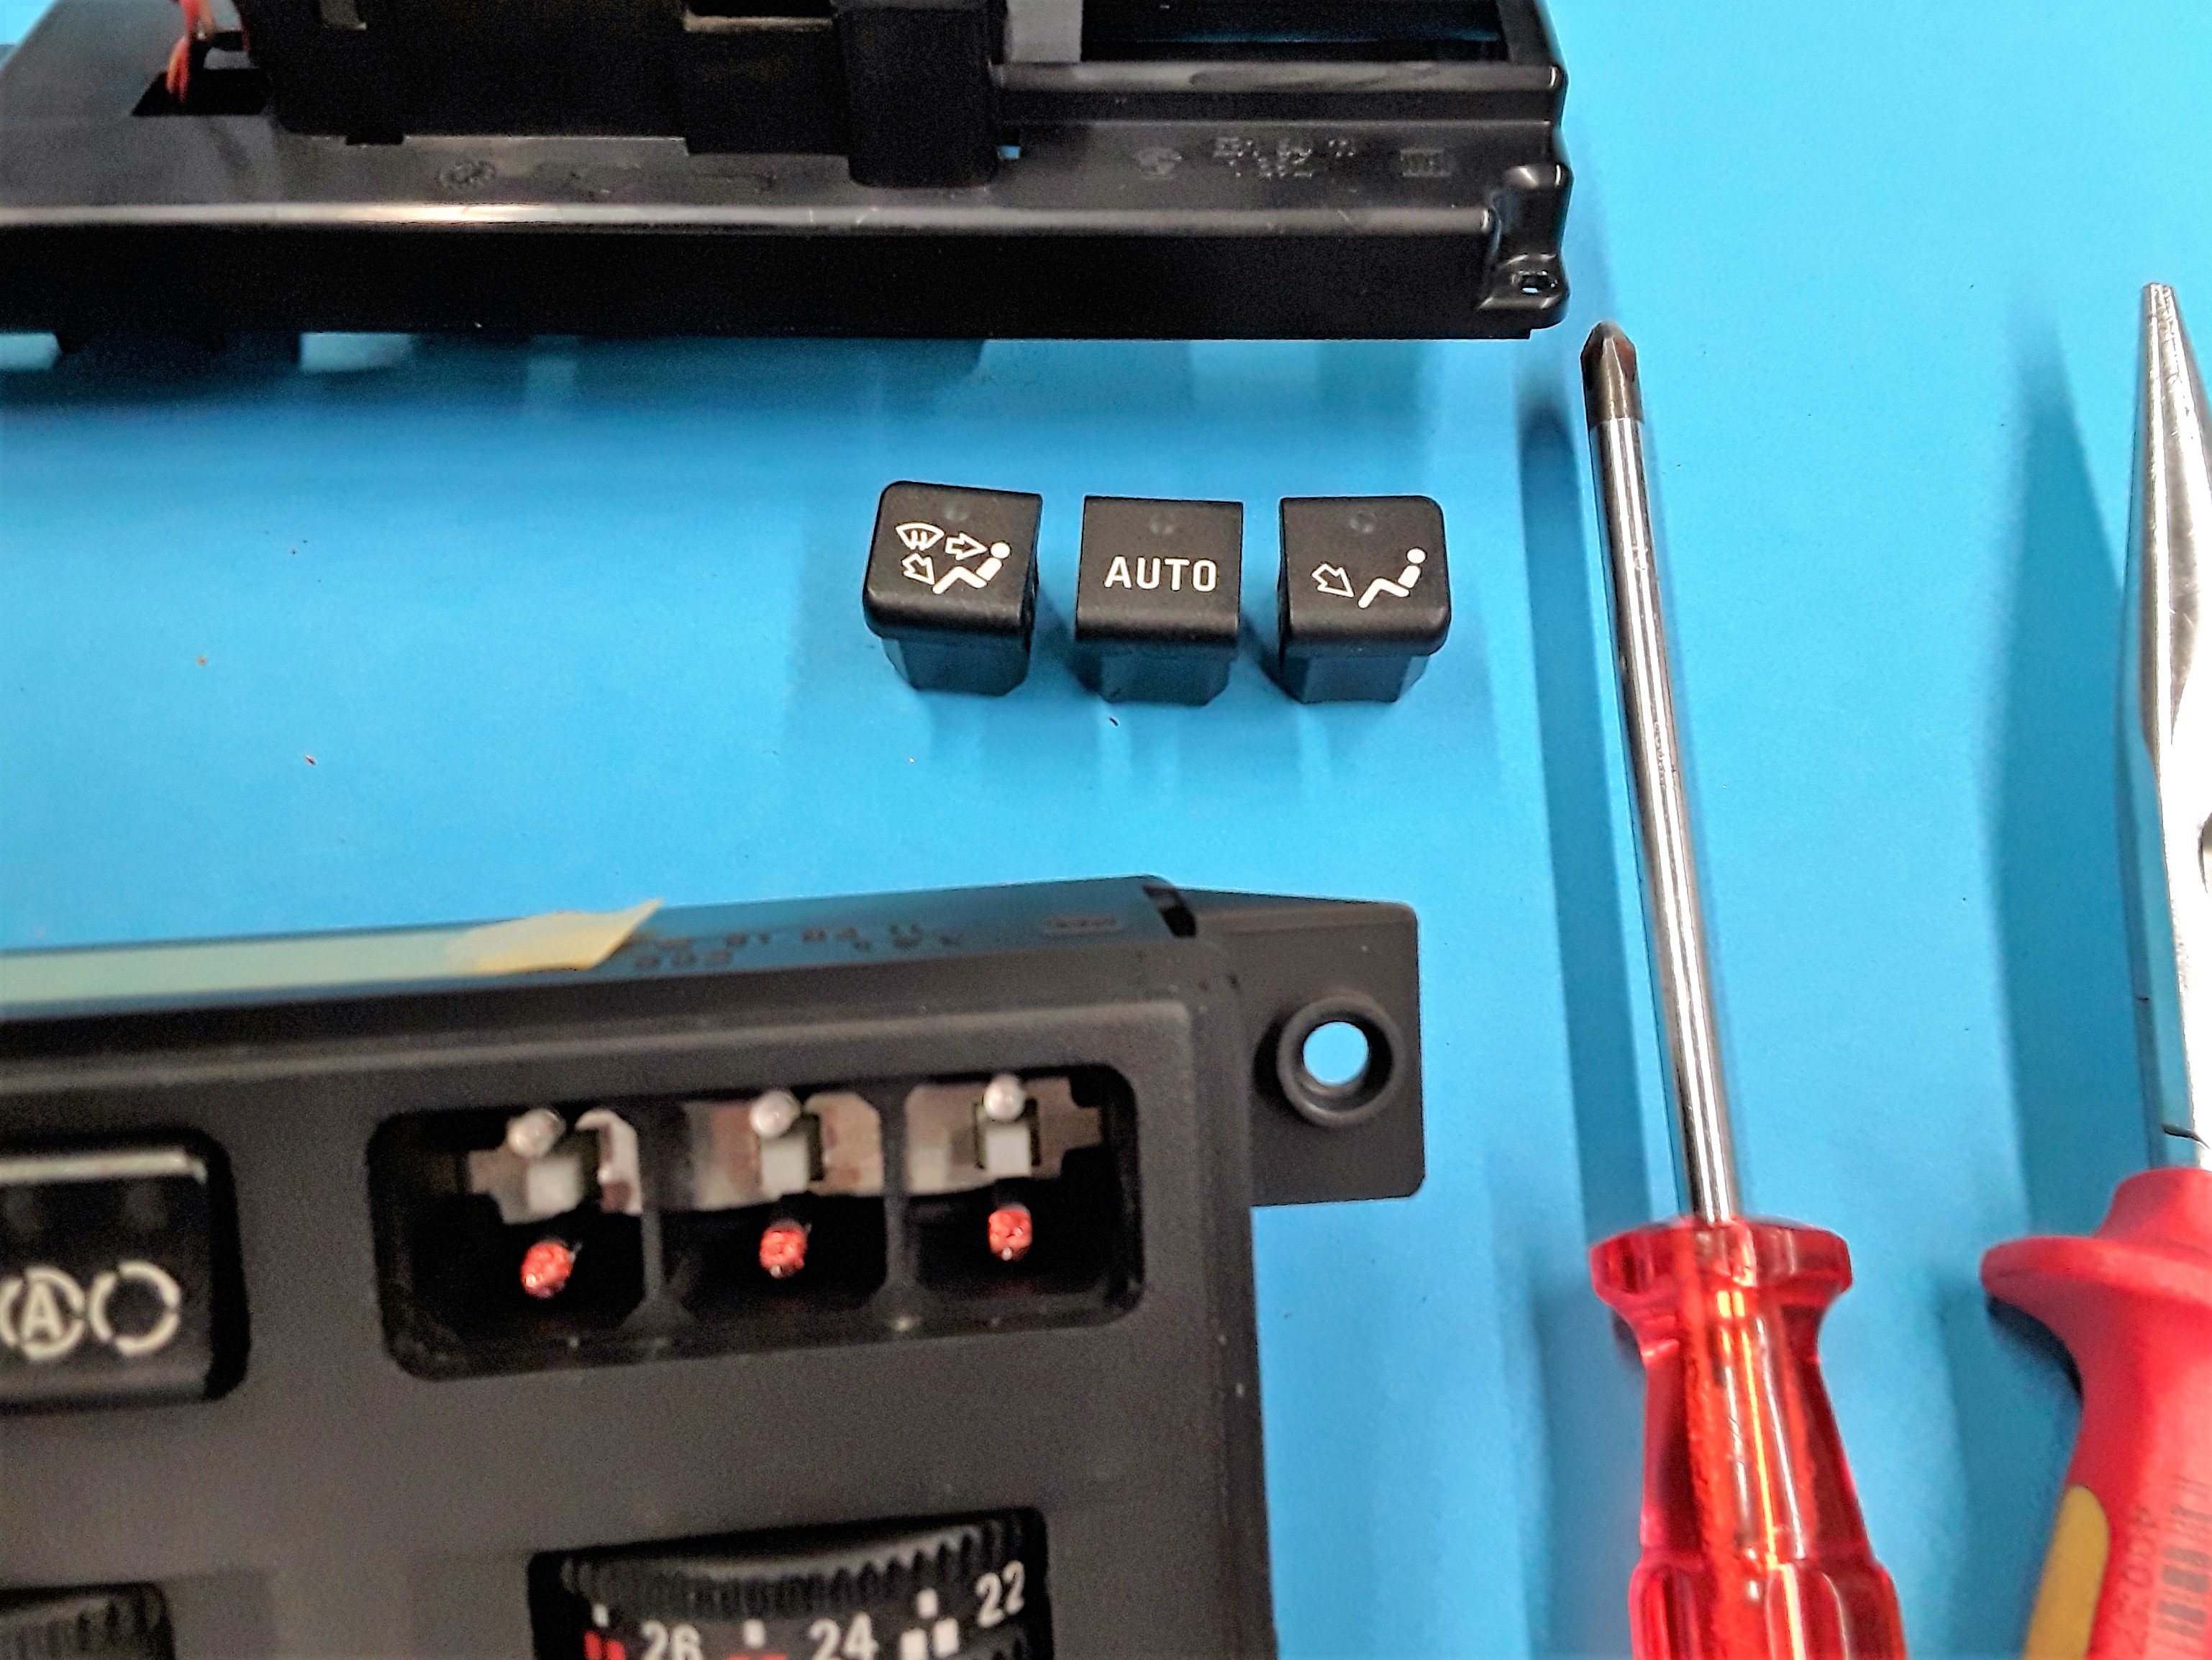
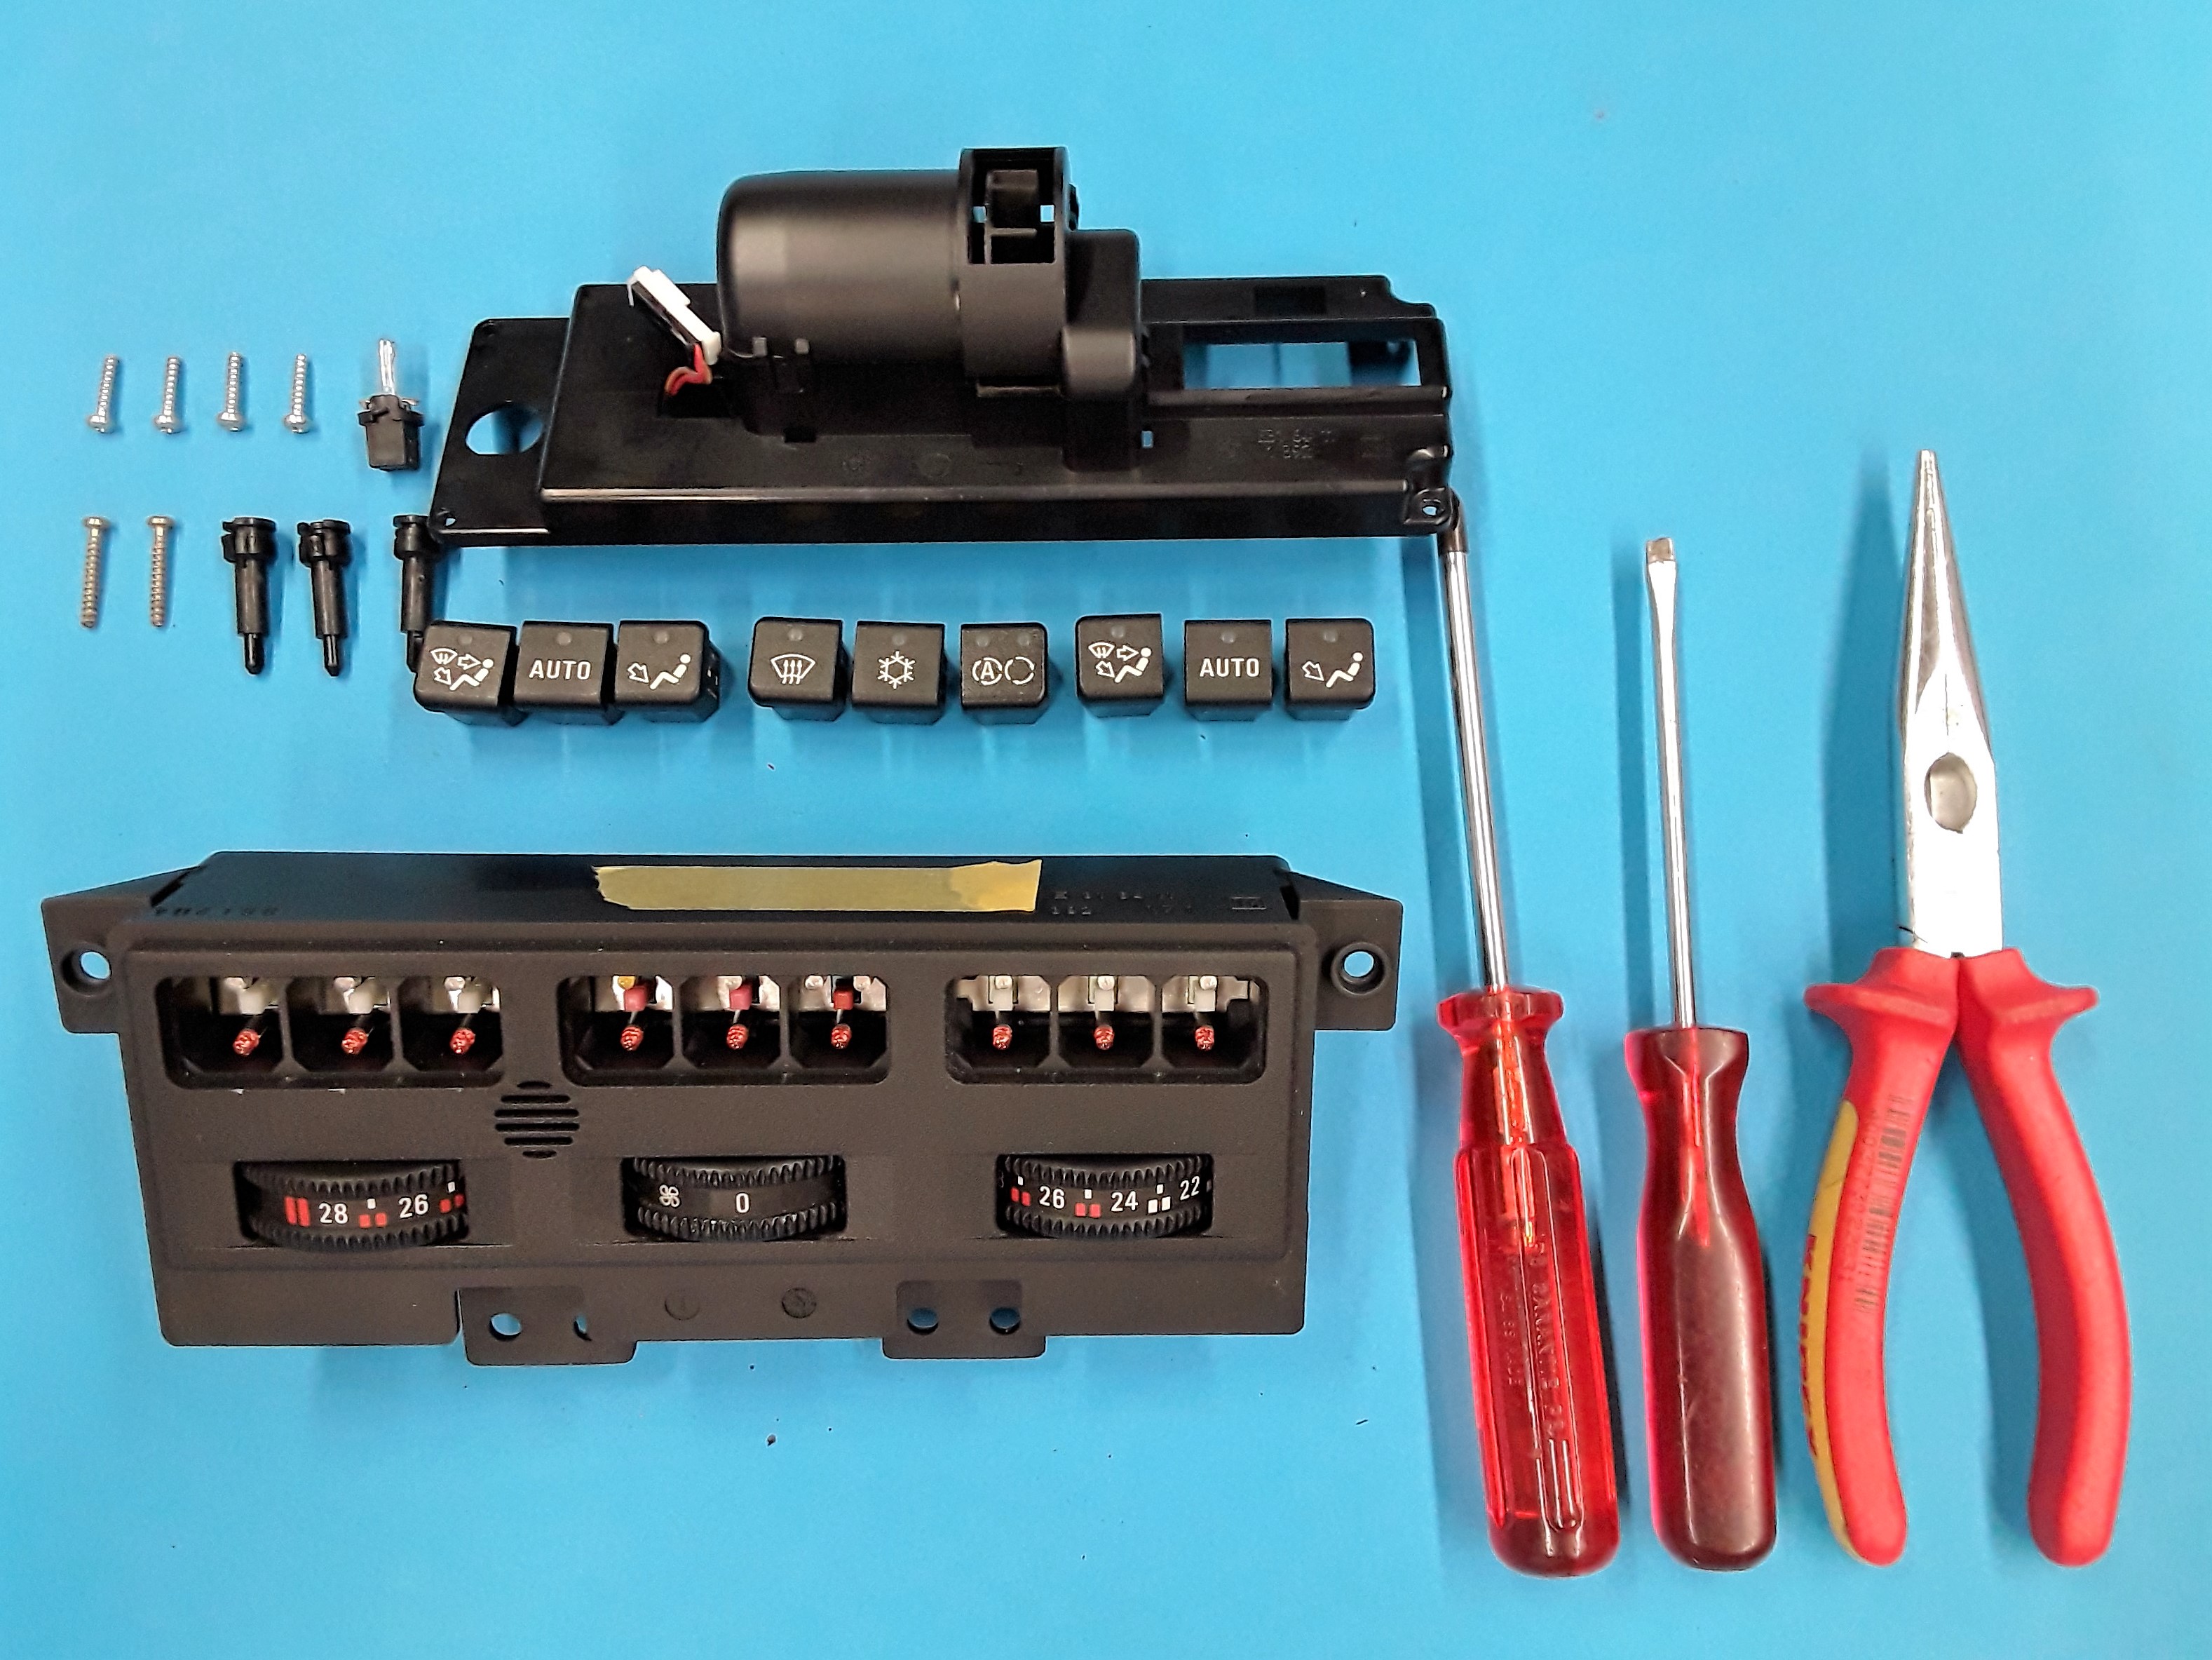
- disconnect the plug of the small blower motor at the climatic control section.
- Remove the lamp with the black socket.
(This is no longer required)
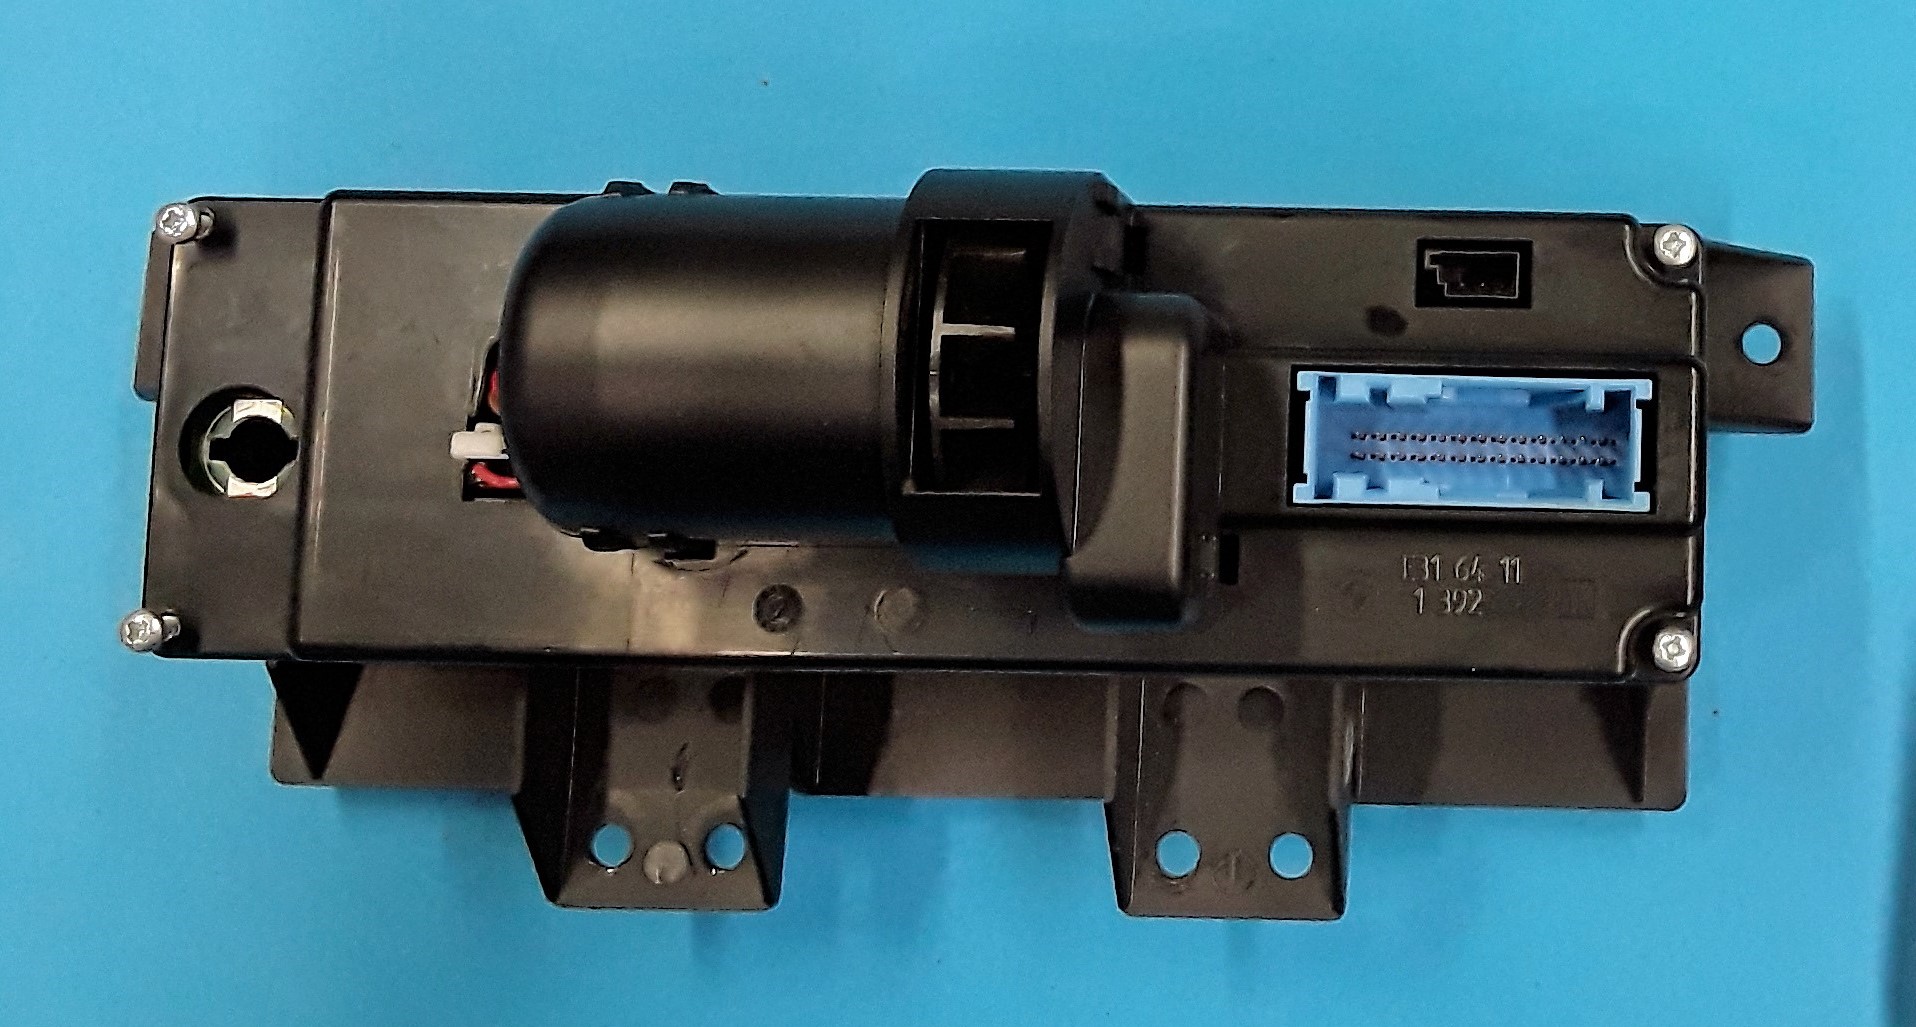
- Now remove the 4 silver cap screws
- Remove the rear cover which contains the blower motor.
- Remove the lamp by turning counterclockwise from the circuit board.
- remove the two brass-colored long screws from the board and fold them upwards.
- remove the short brass screws on the left and right out of the circuit board.
- Turn all the controls to the left to the end stop (temperature control to "16" degrees and fan to "0")
- Use the pointed tongs to remove the axes of the knobs.
To do this, bend the release pin slightly inwards and pull the axle upwards.
- Now the board can be carefully pressed from the front with a screwdriver at the metal of the switches so that the electronics are now completely removed.
- Use a small cross-screw screwdriver to remove the two small brass screws that hold the optical fiber. This can now be removed.
The light guide AND the two small SCREWS are no longer needed.
- The encoders do not need to be removed, but can be easily removed for cleaning.Installation of the new lighting unit
- Insert the new board into the climate control unit and screw it with the NEW screws ONLY.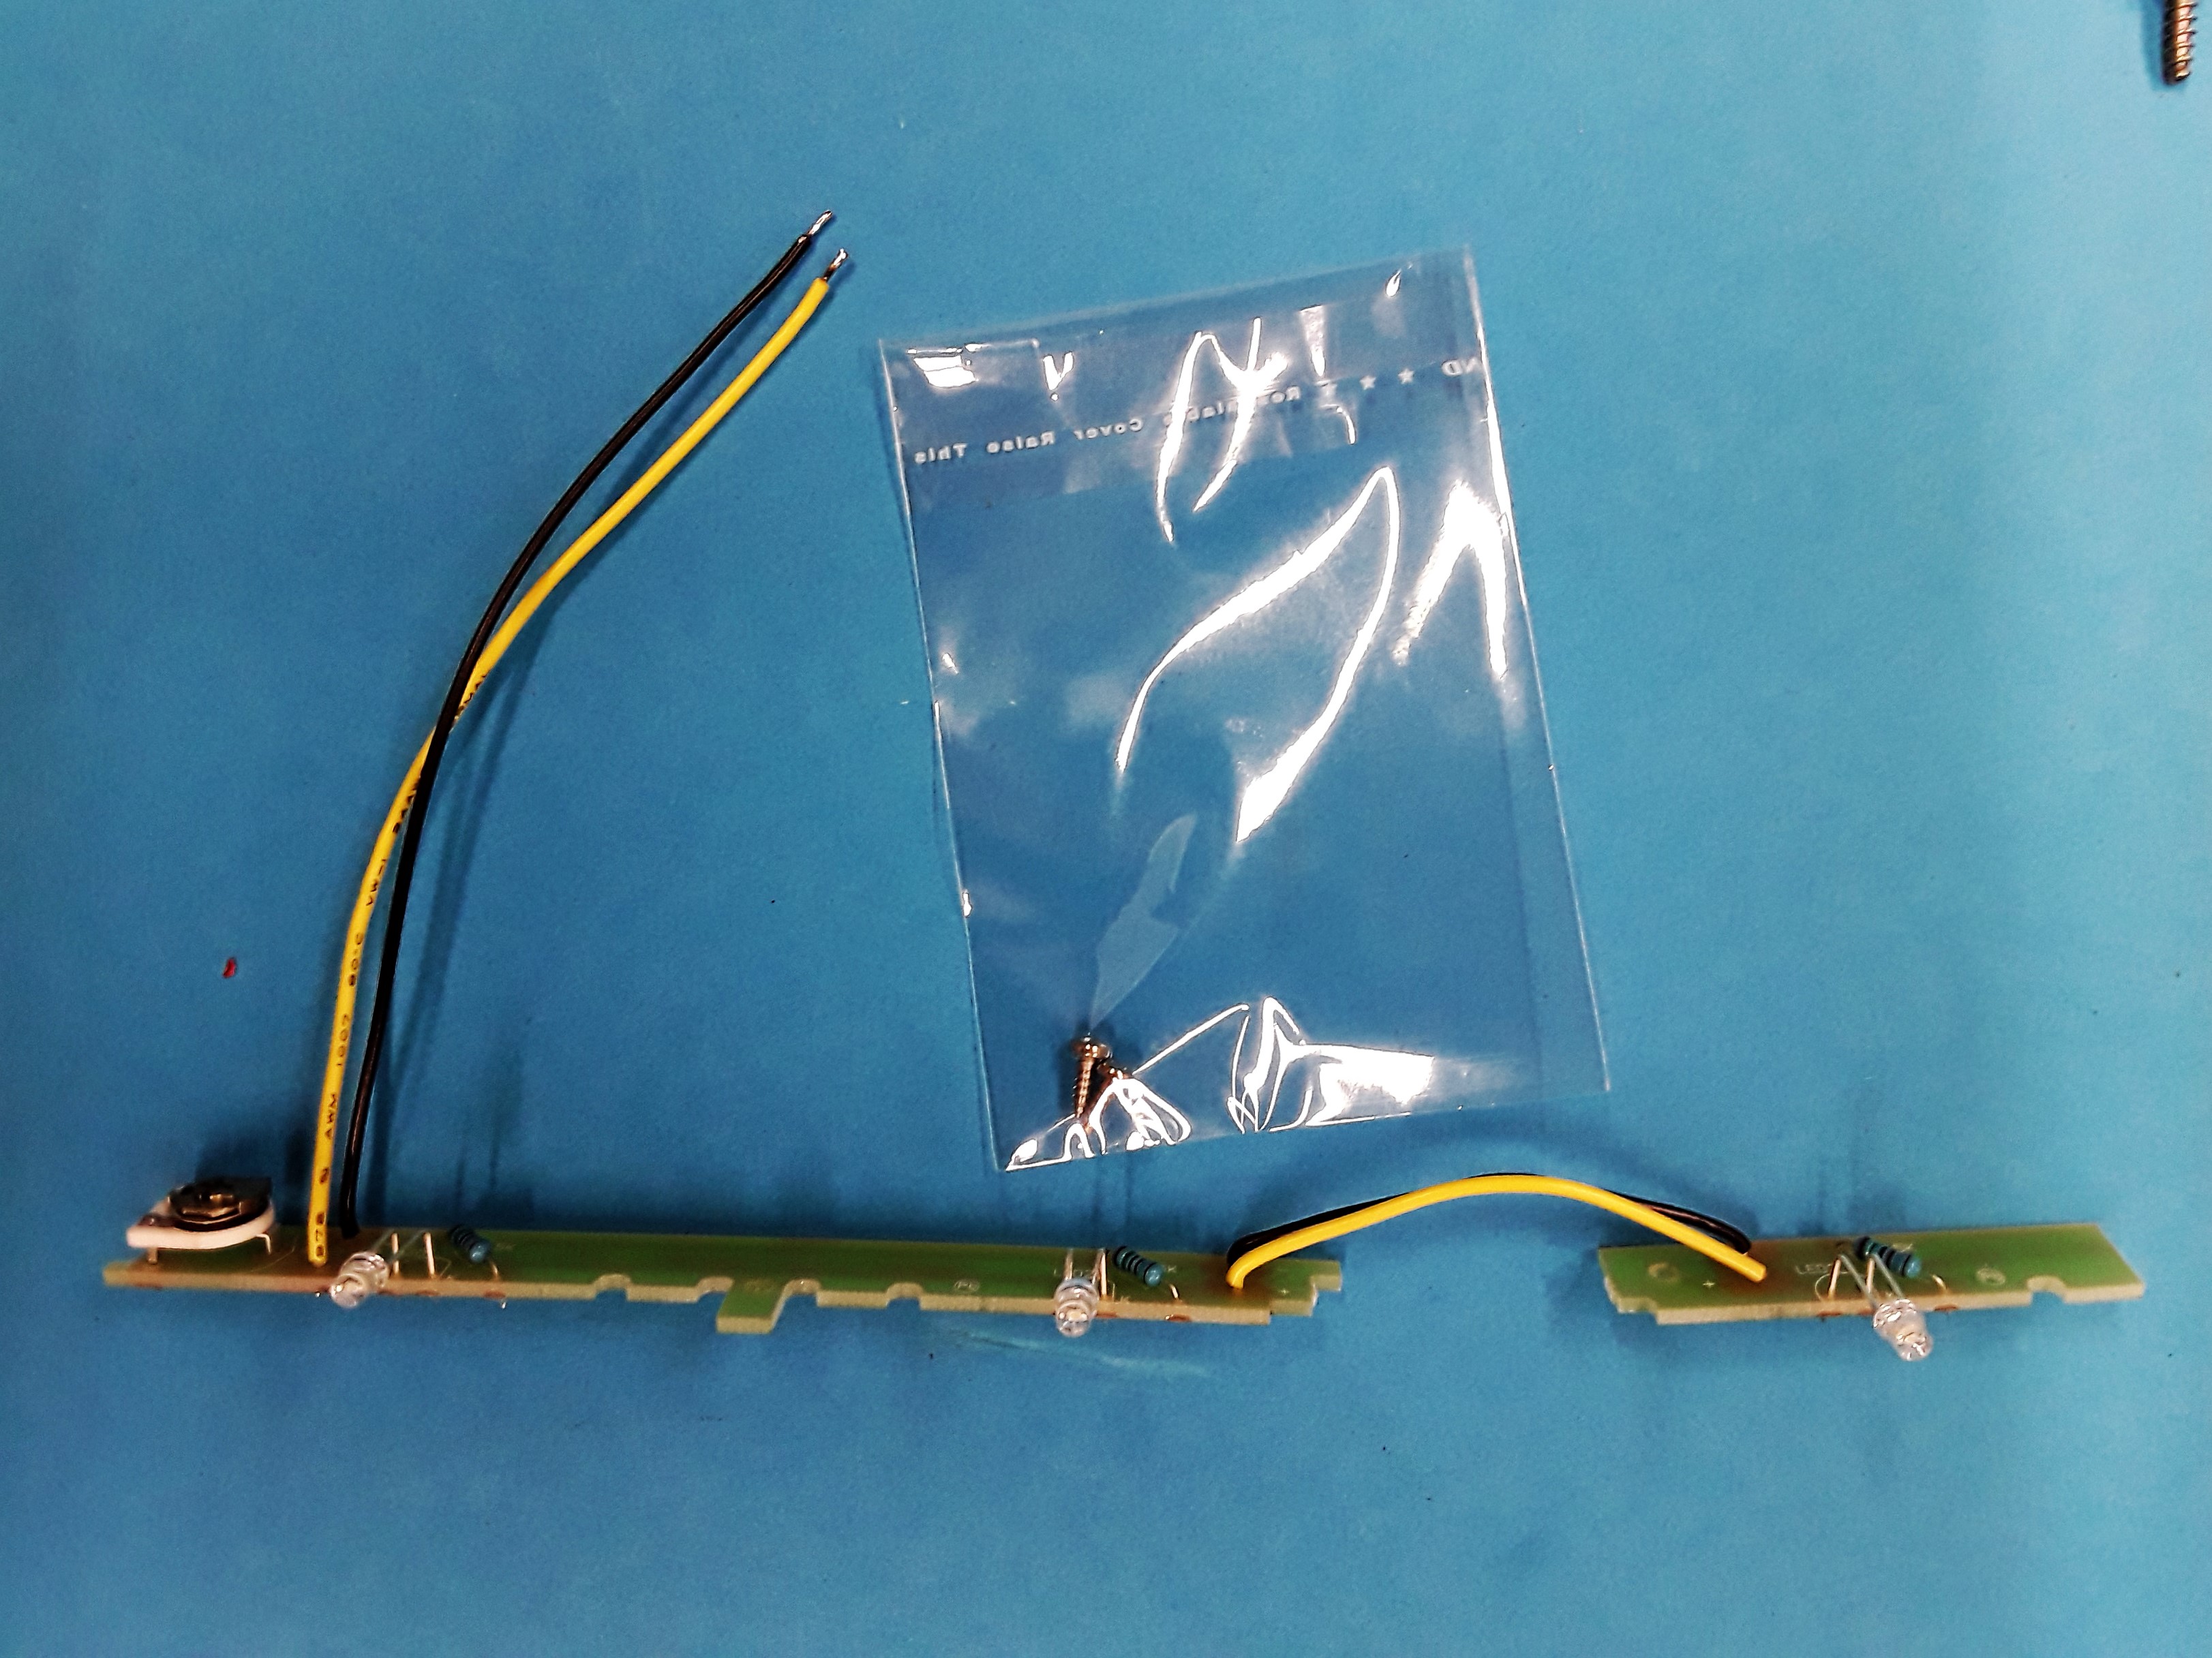
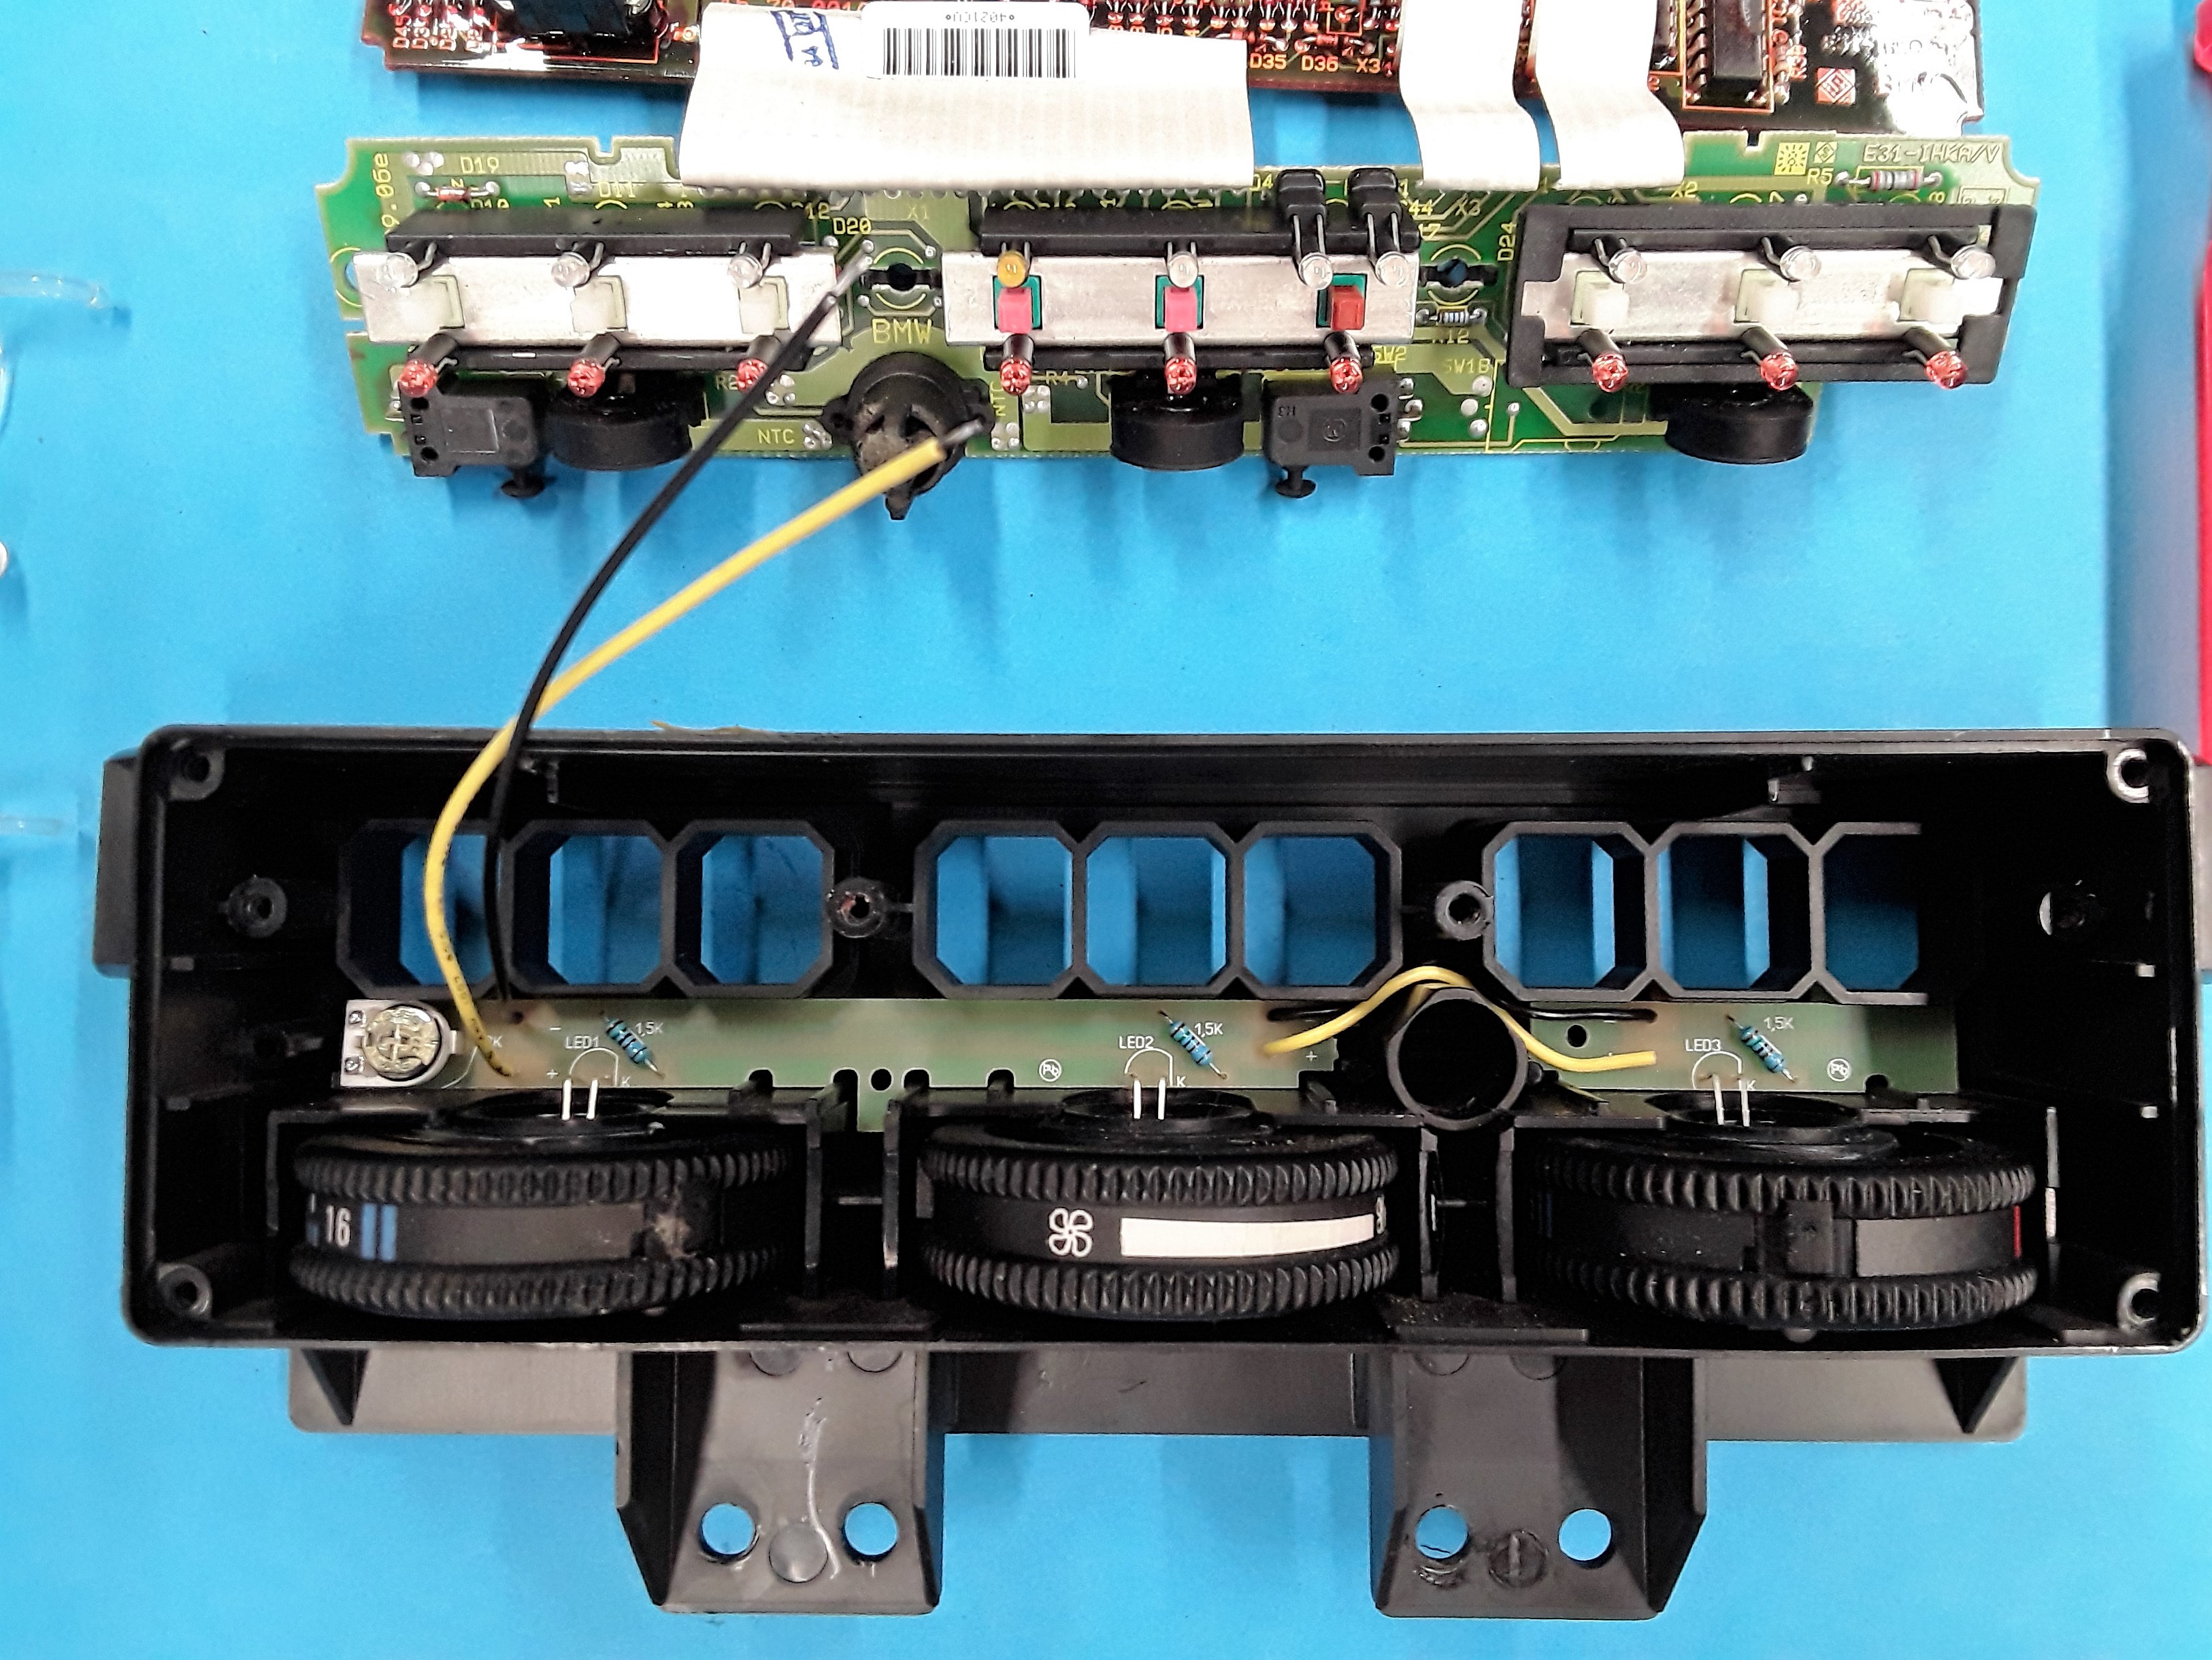
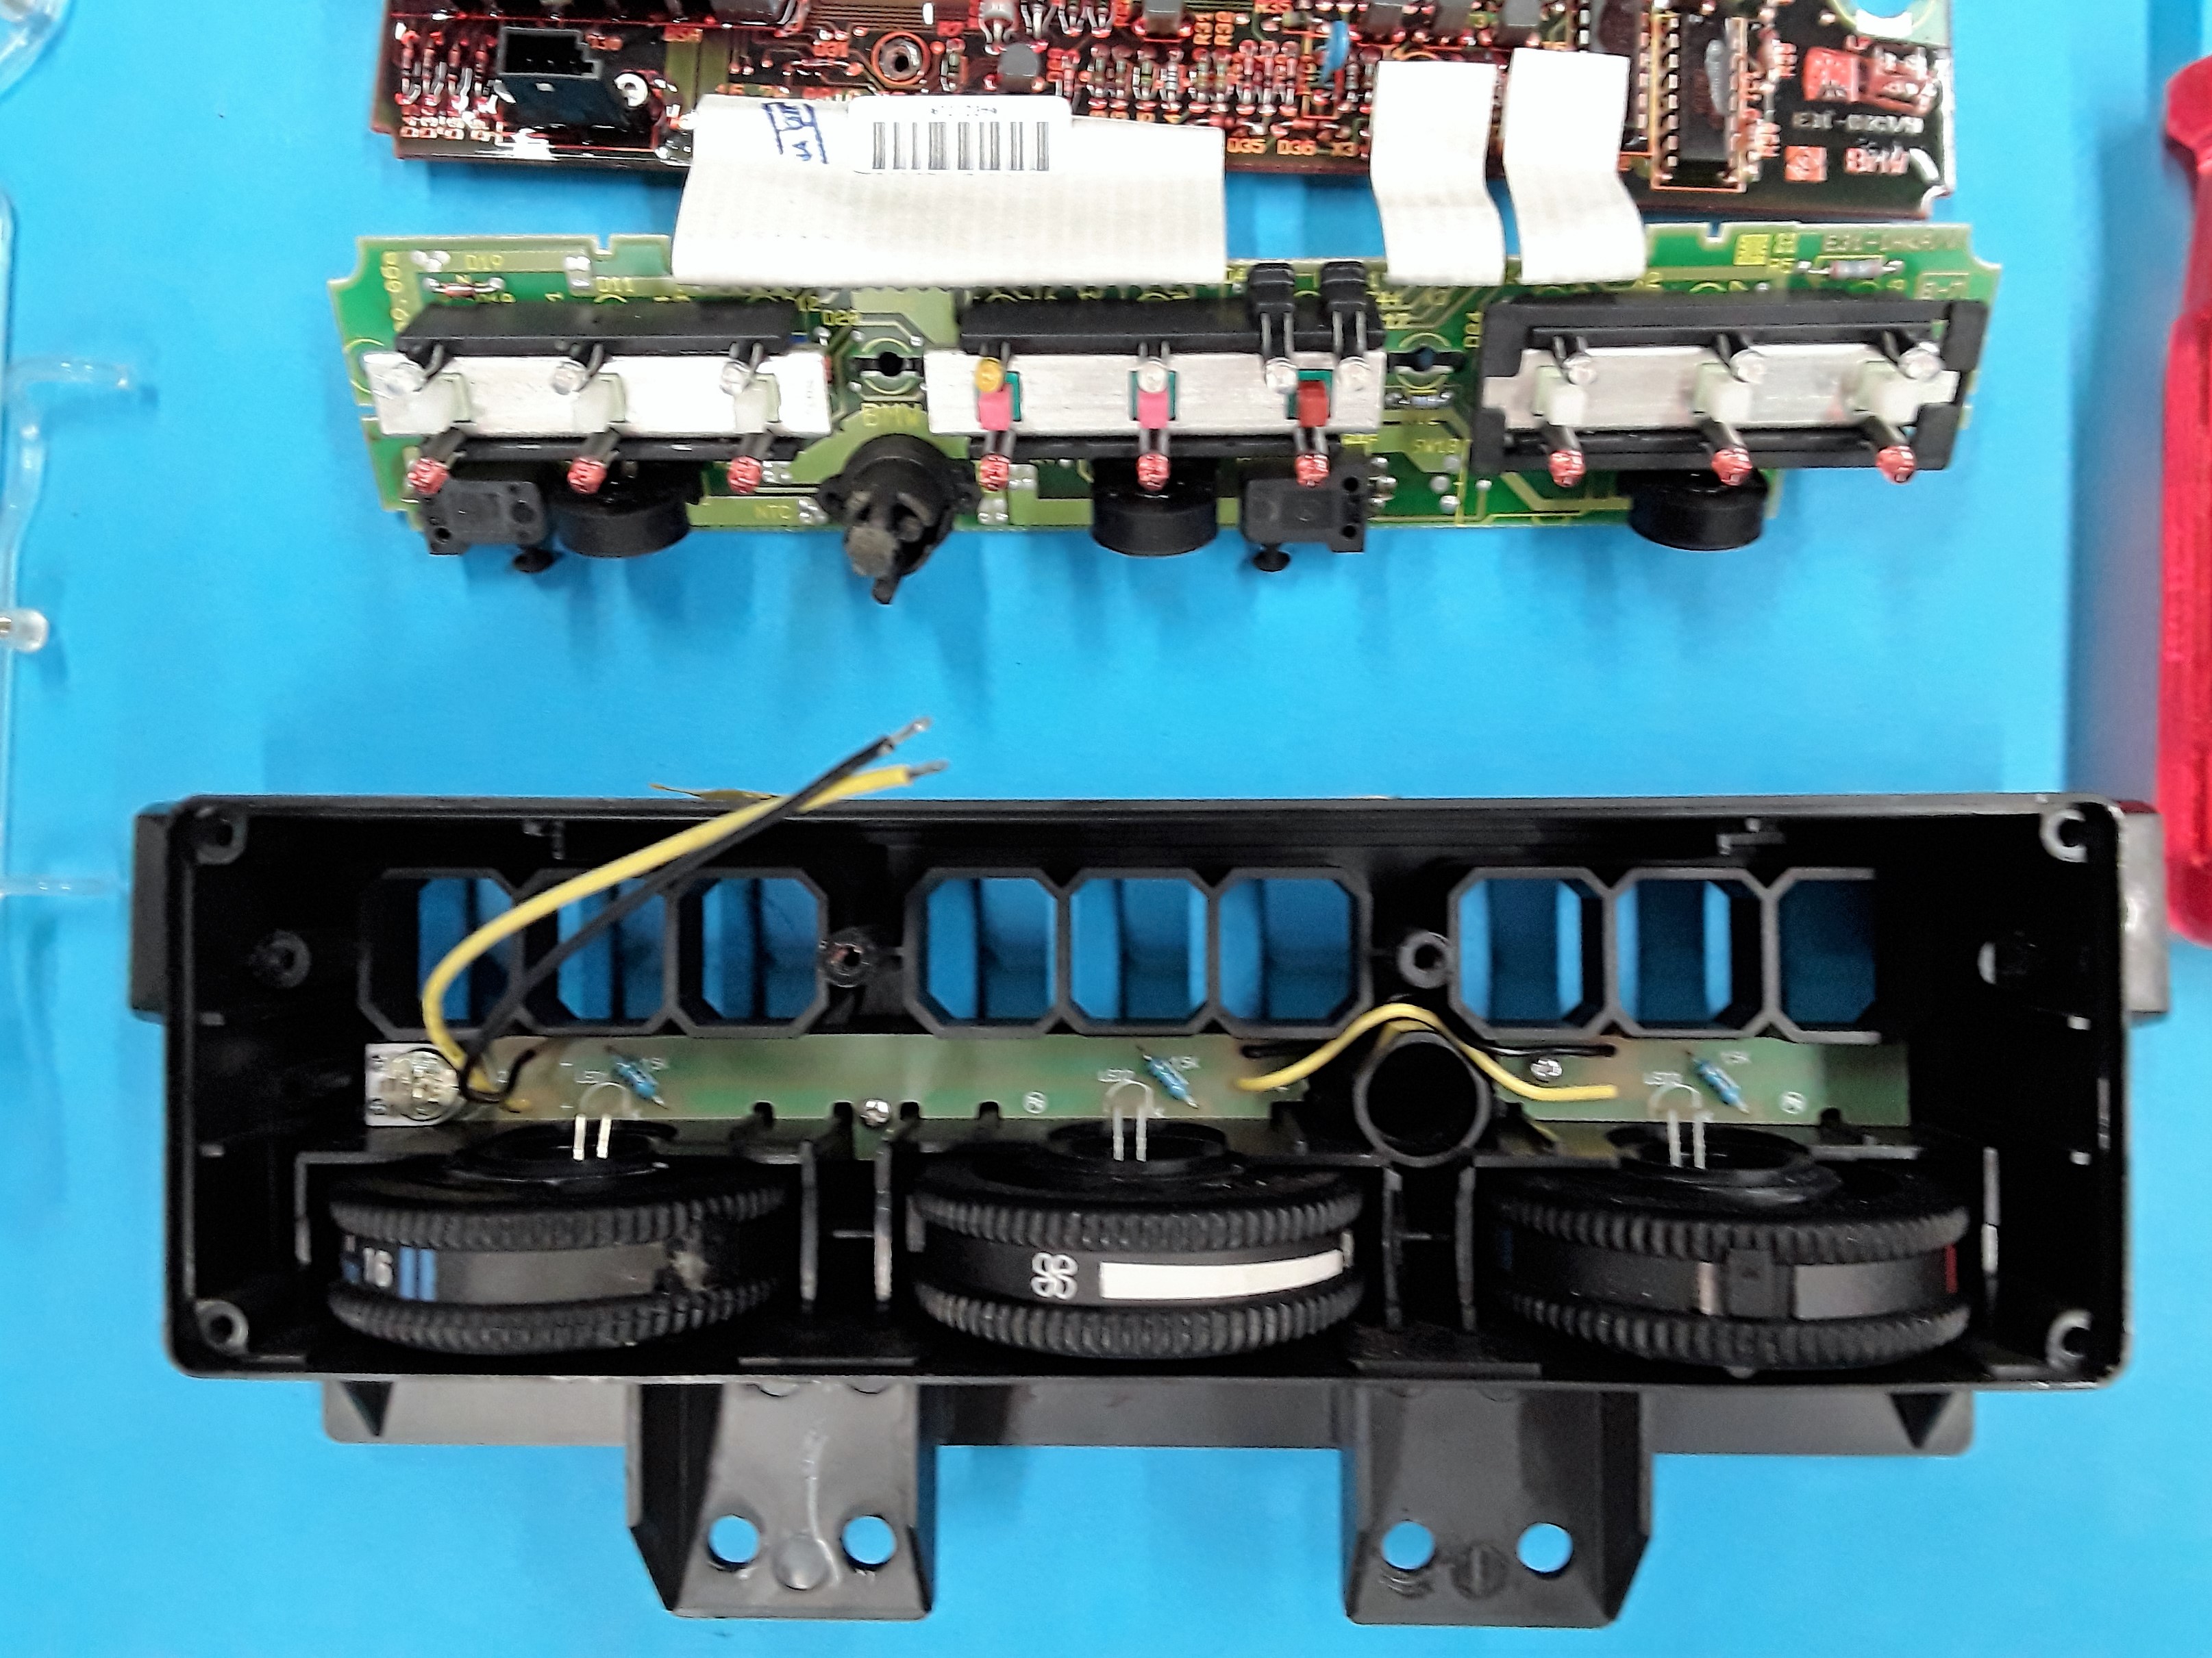
NOTE: The old screws are too long and cause damage on the front side.
- Use a soft brush to remove the dust and lint from the circuit board and the temperature sensor.
- The board is now carefully inserted into the housing and fastened with the two short brass screws.
- Now the two cables can be soldered to the underside of the folded out board
Minus is outside to the rotary control (black cable) and plus inside (yellow cable)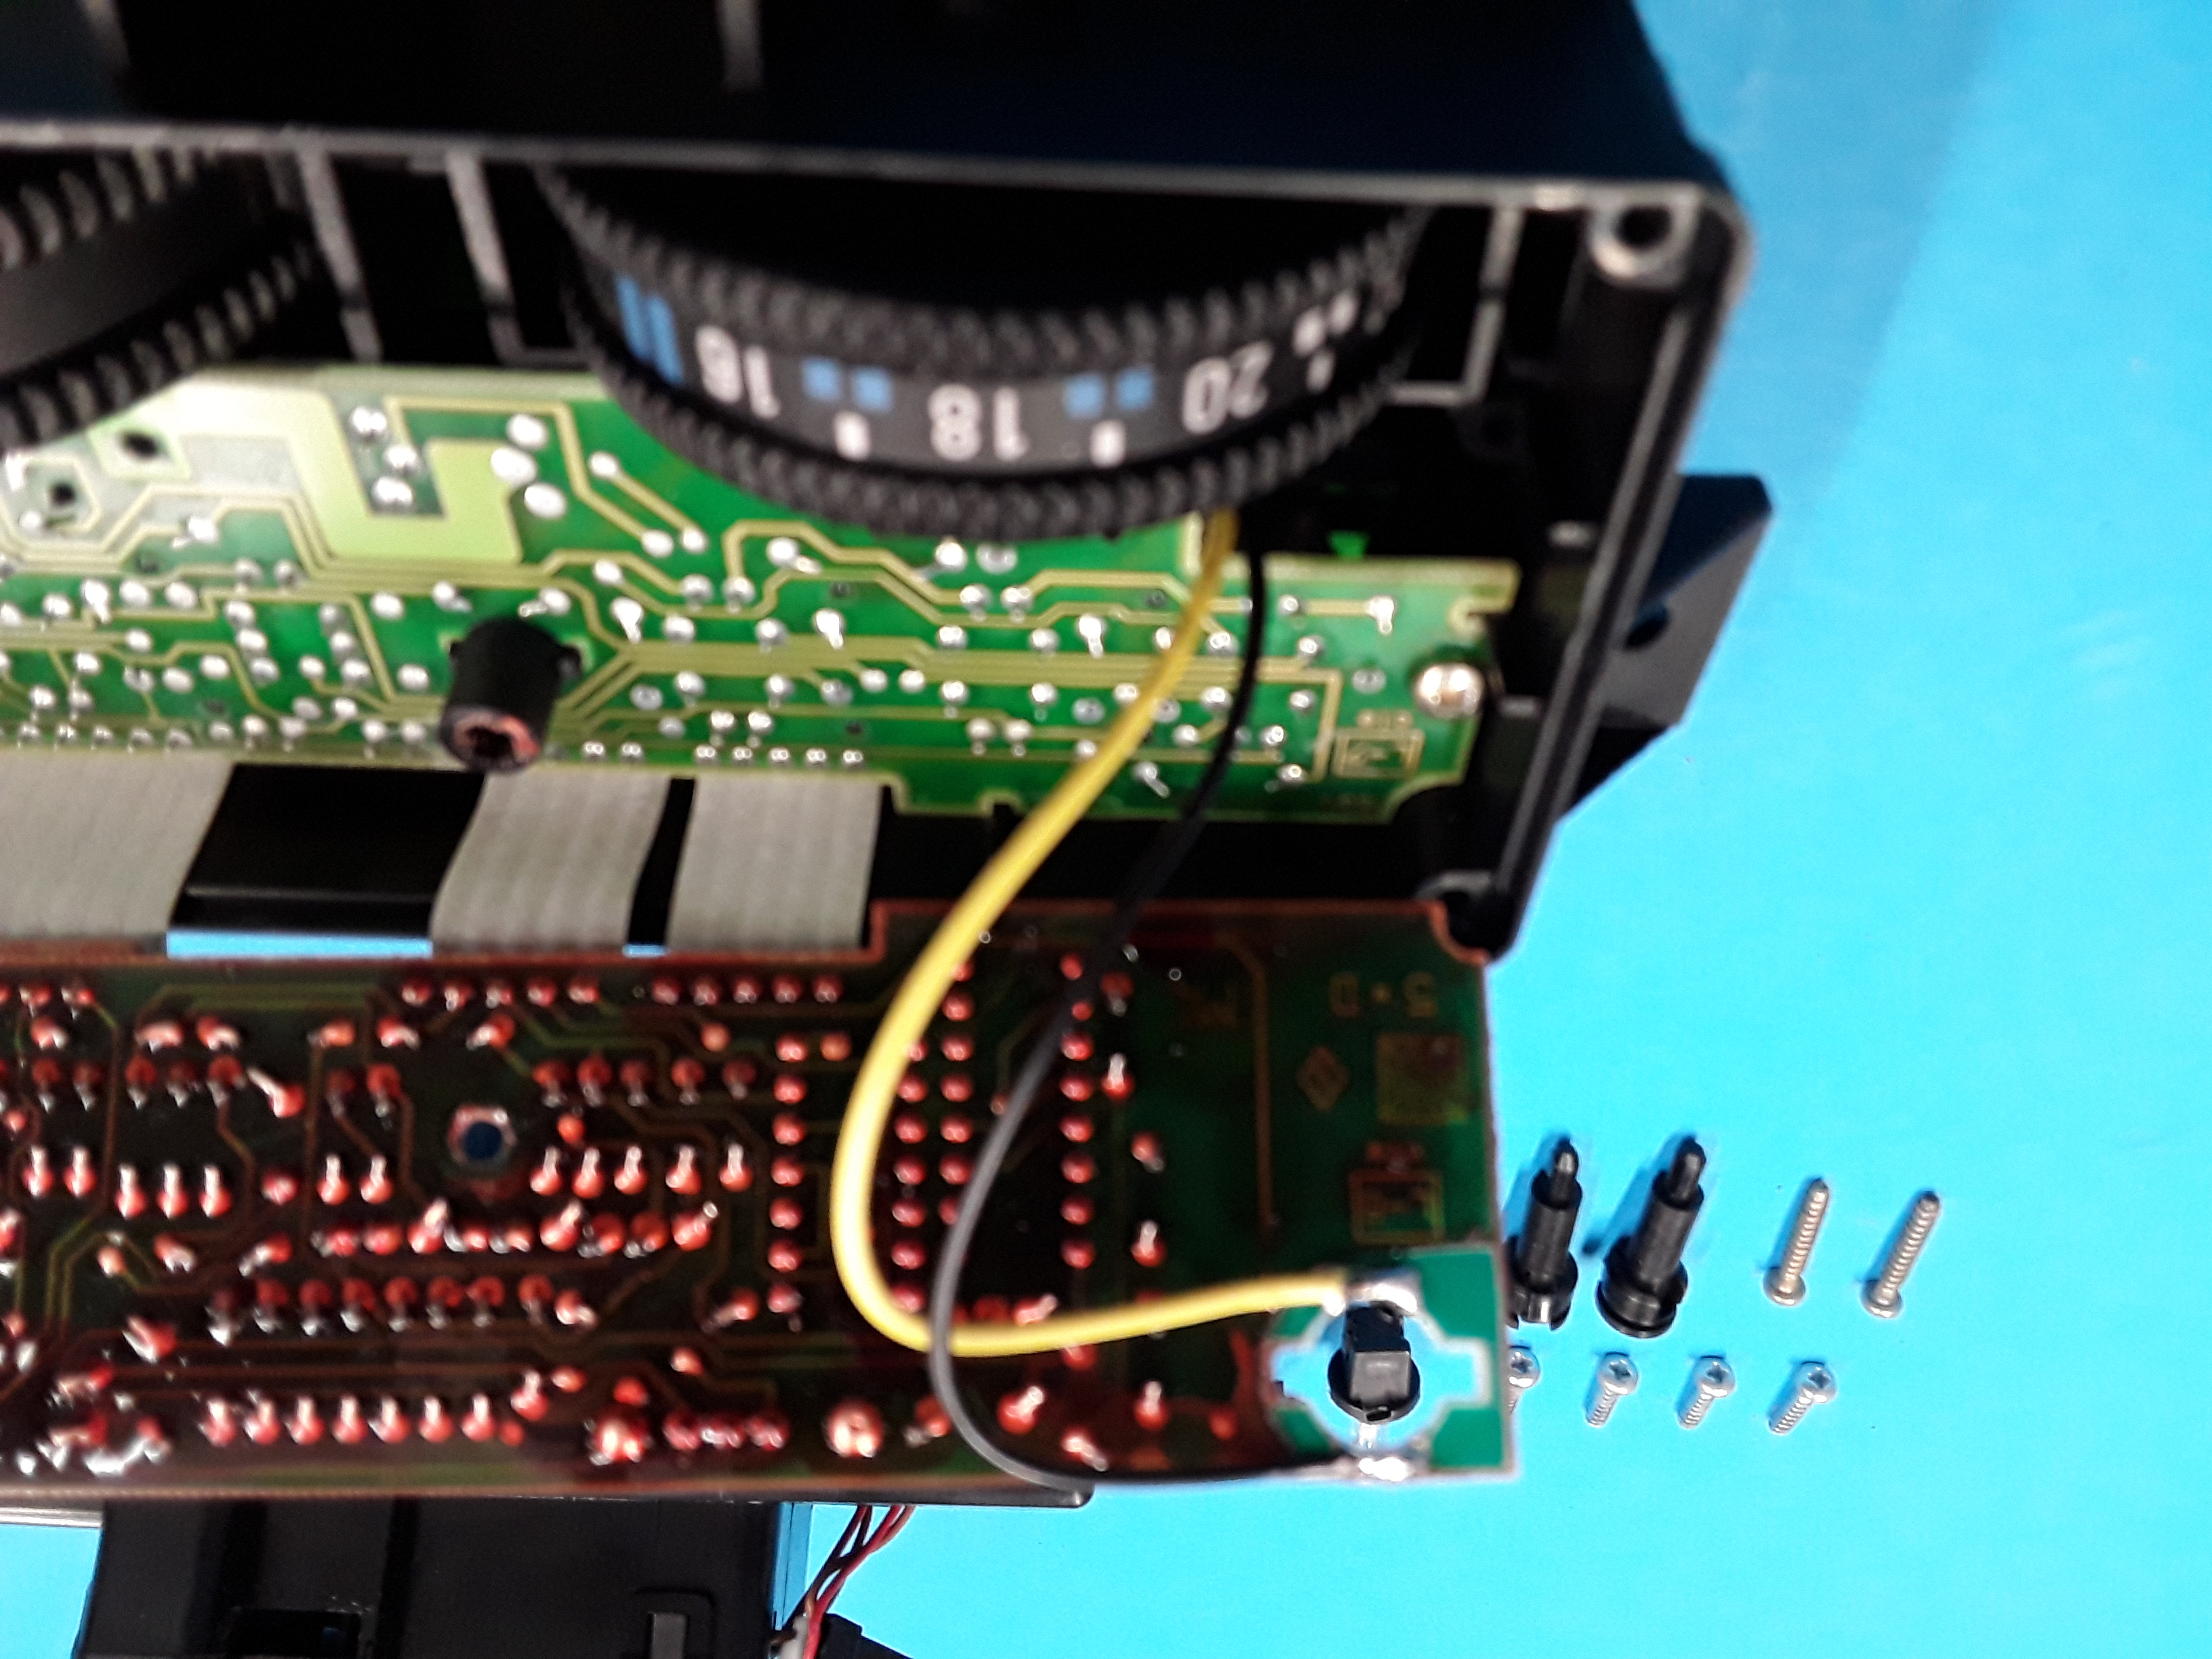
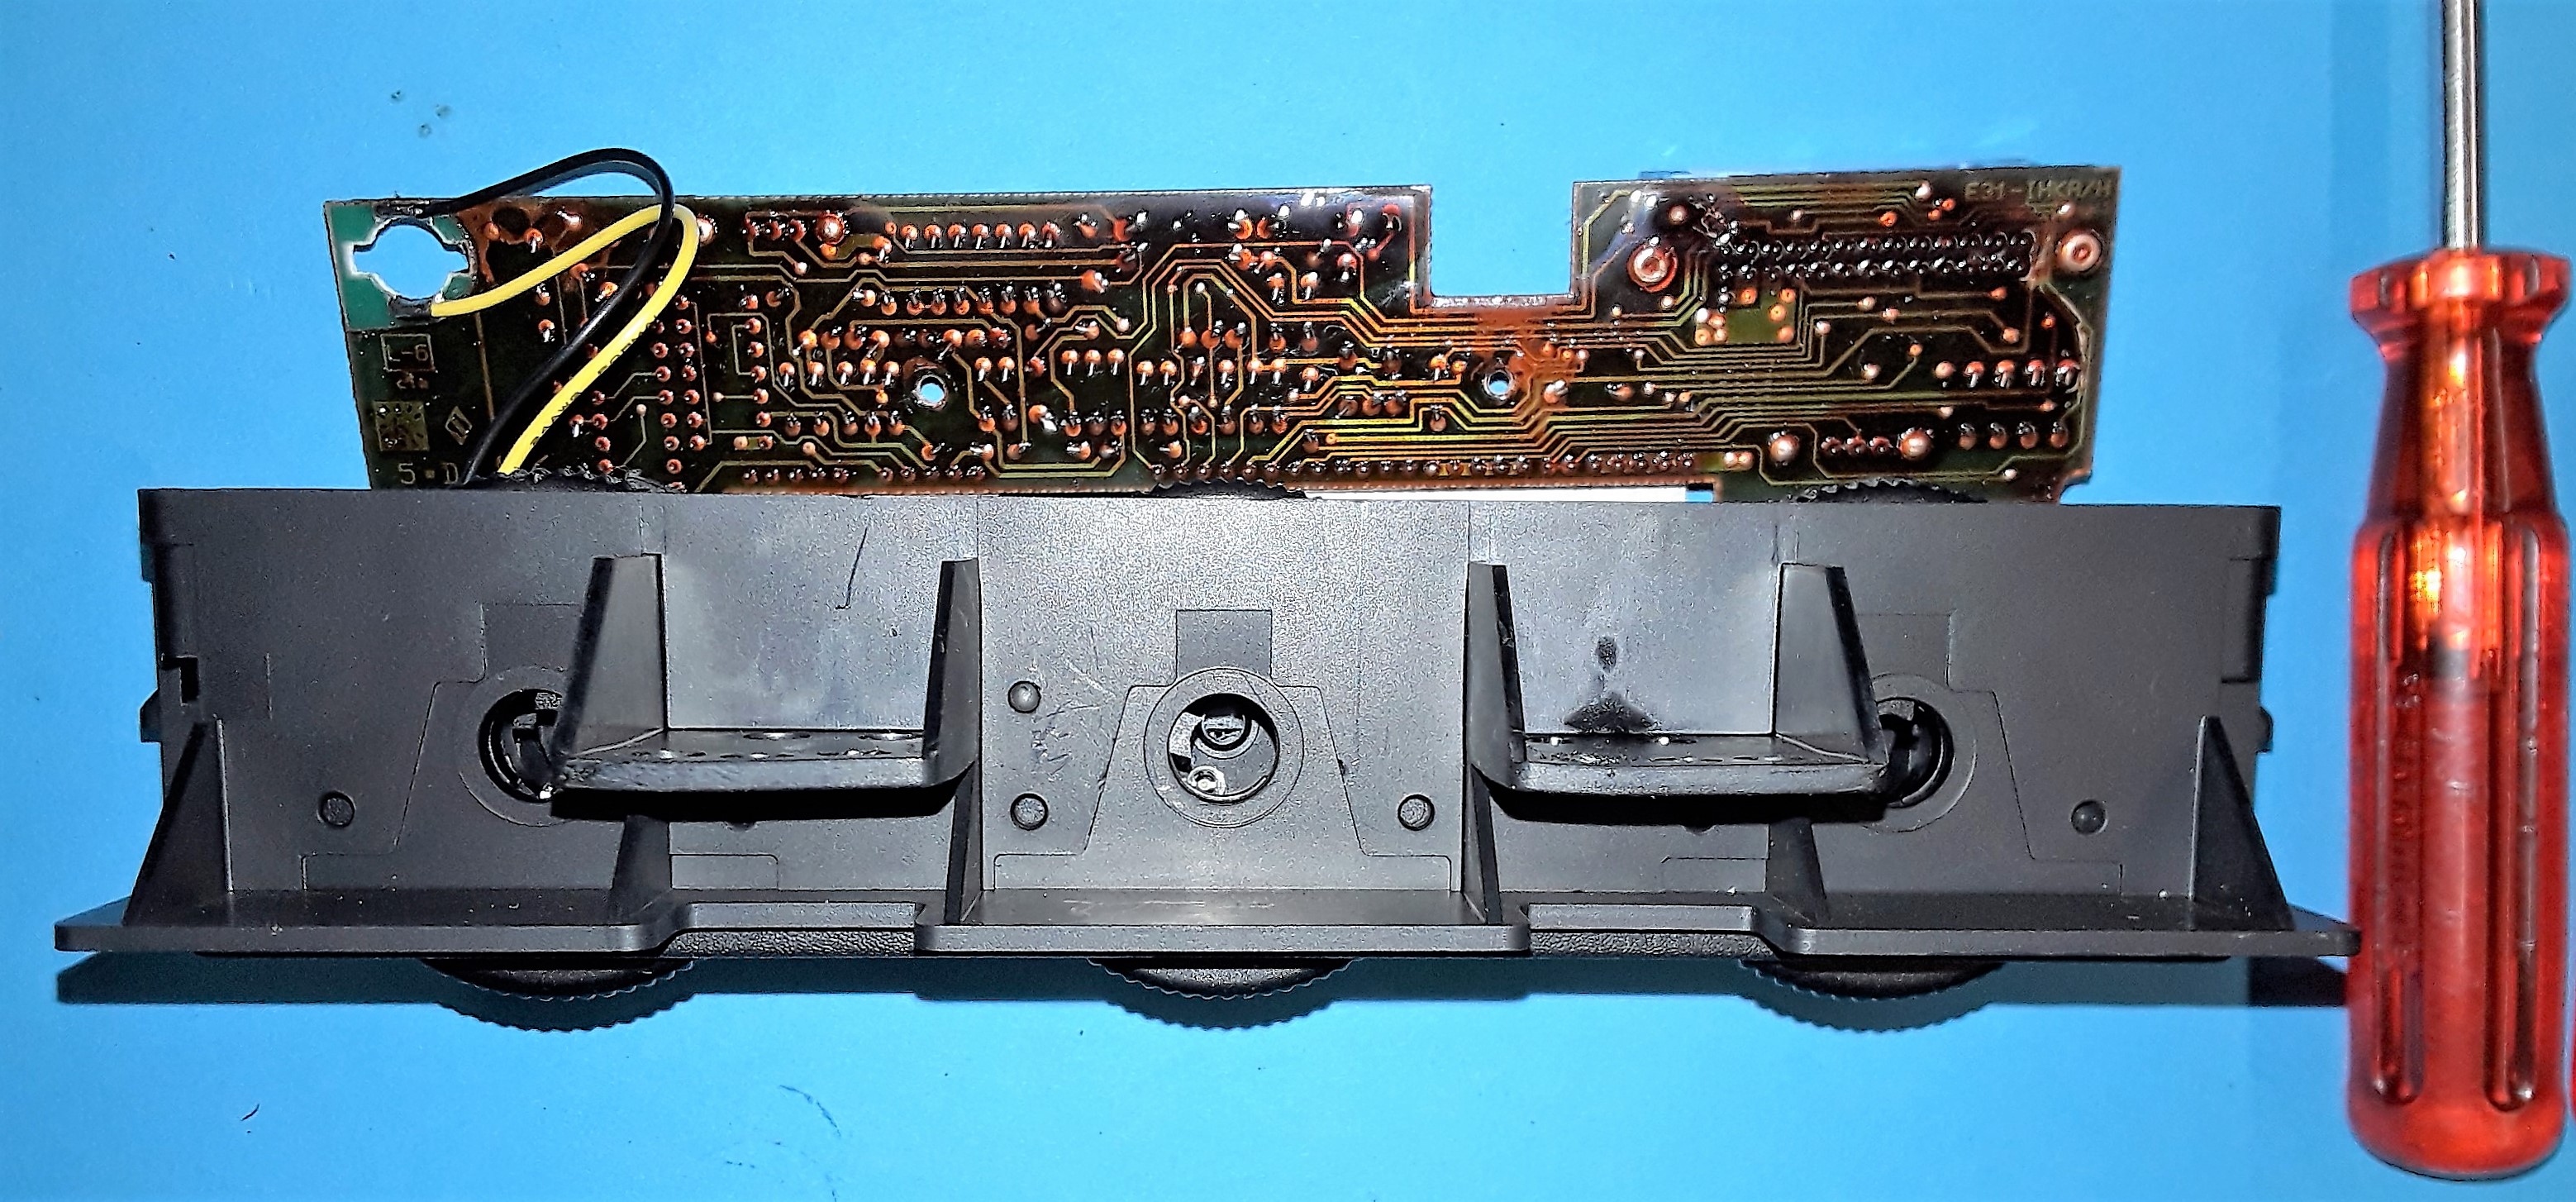
- The board can now be screwed with the two long brass screws.
- The cover is now put on and screwed with the 4 silver screws.
Do not tighten the screws, but tighten them slightly, otherwise the plastic may break.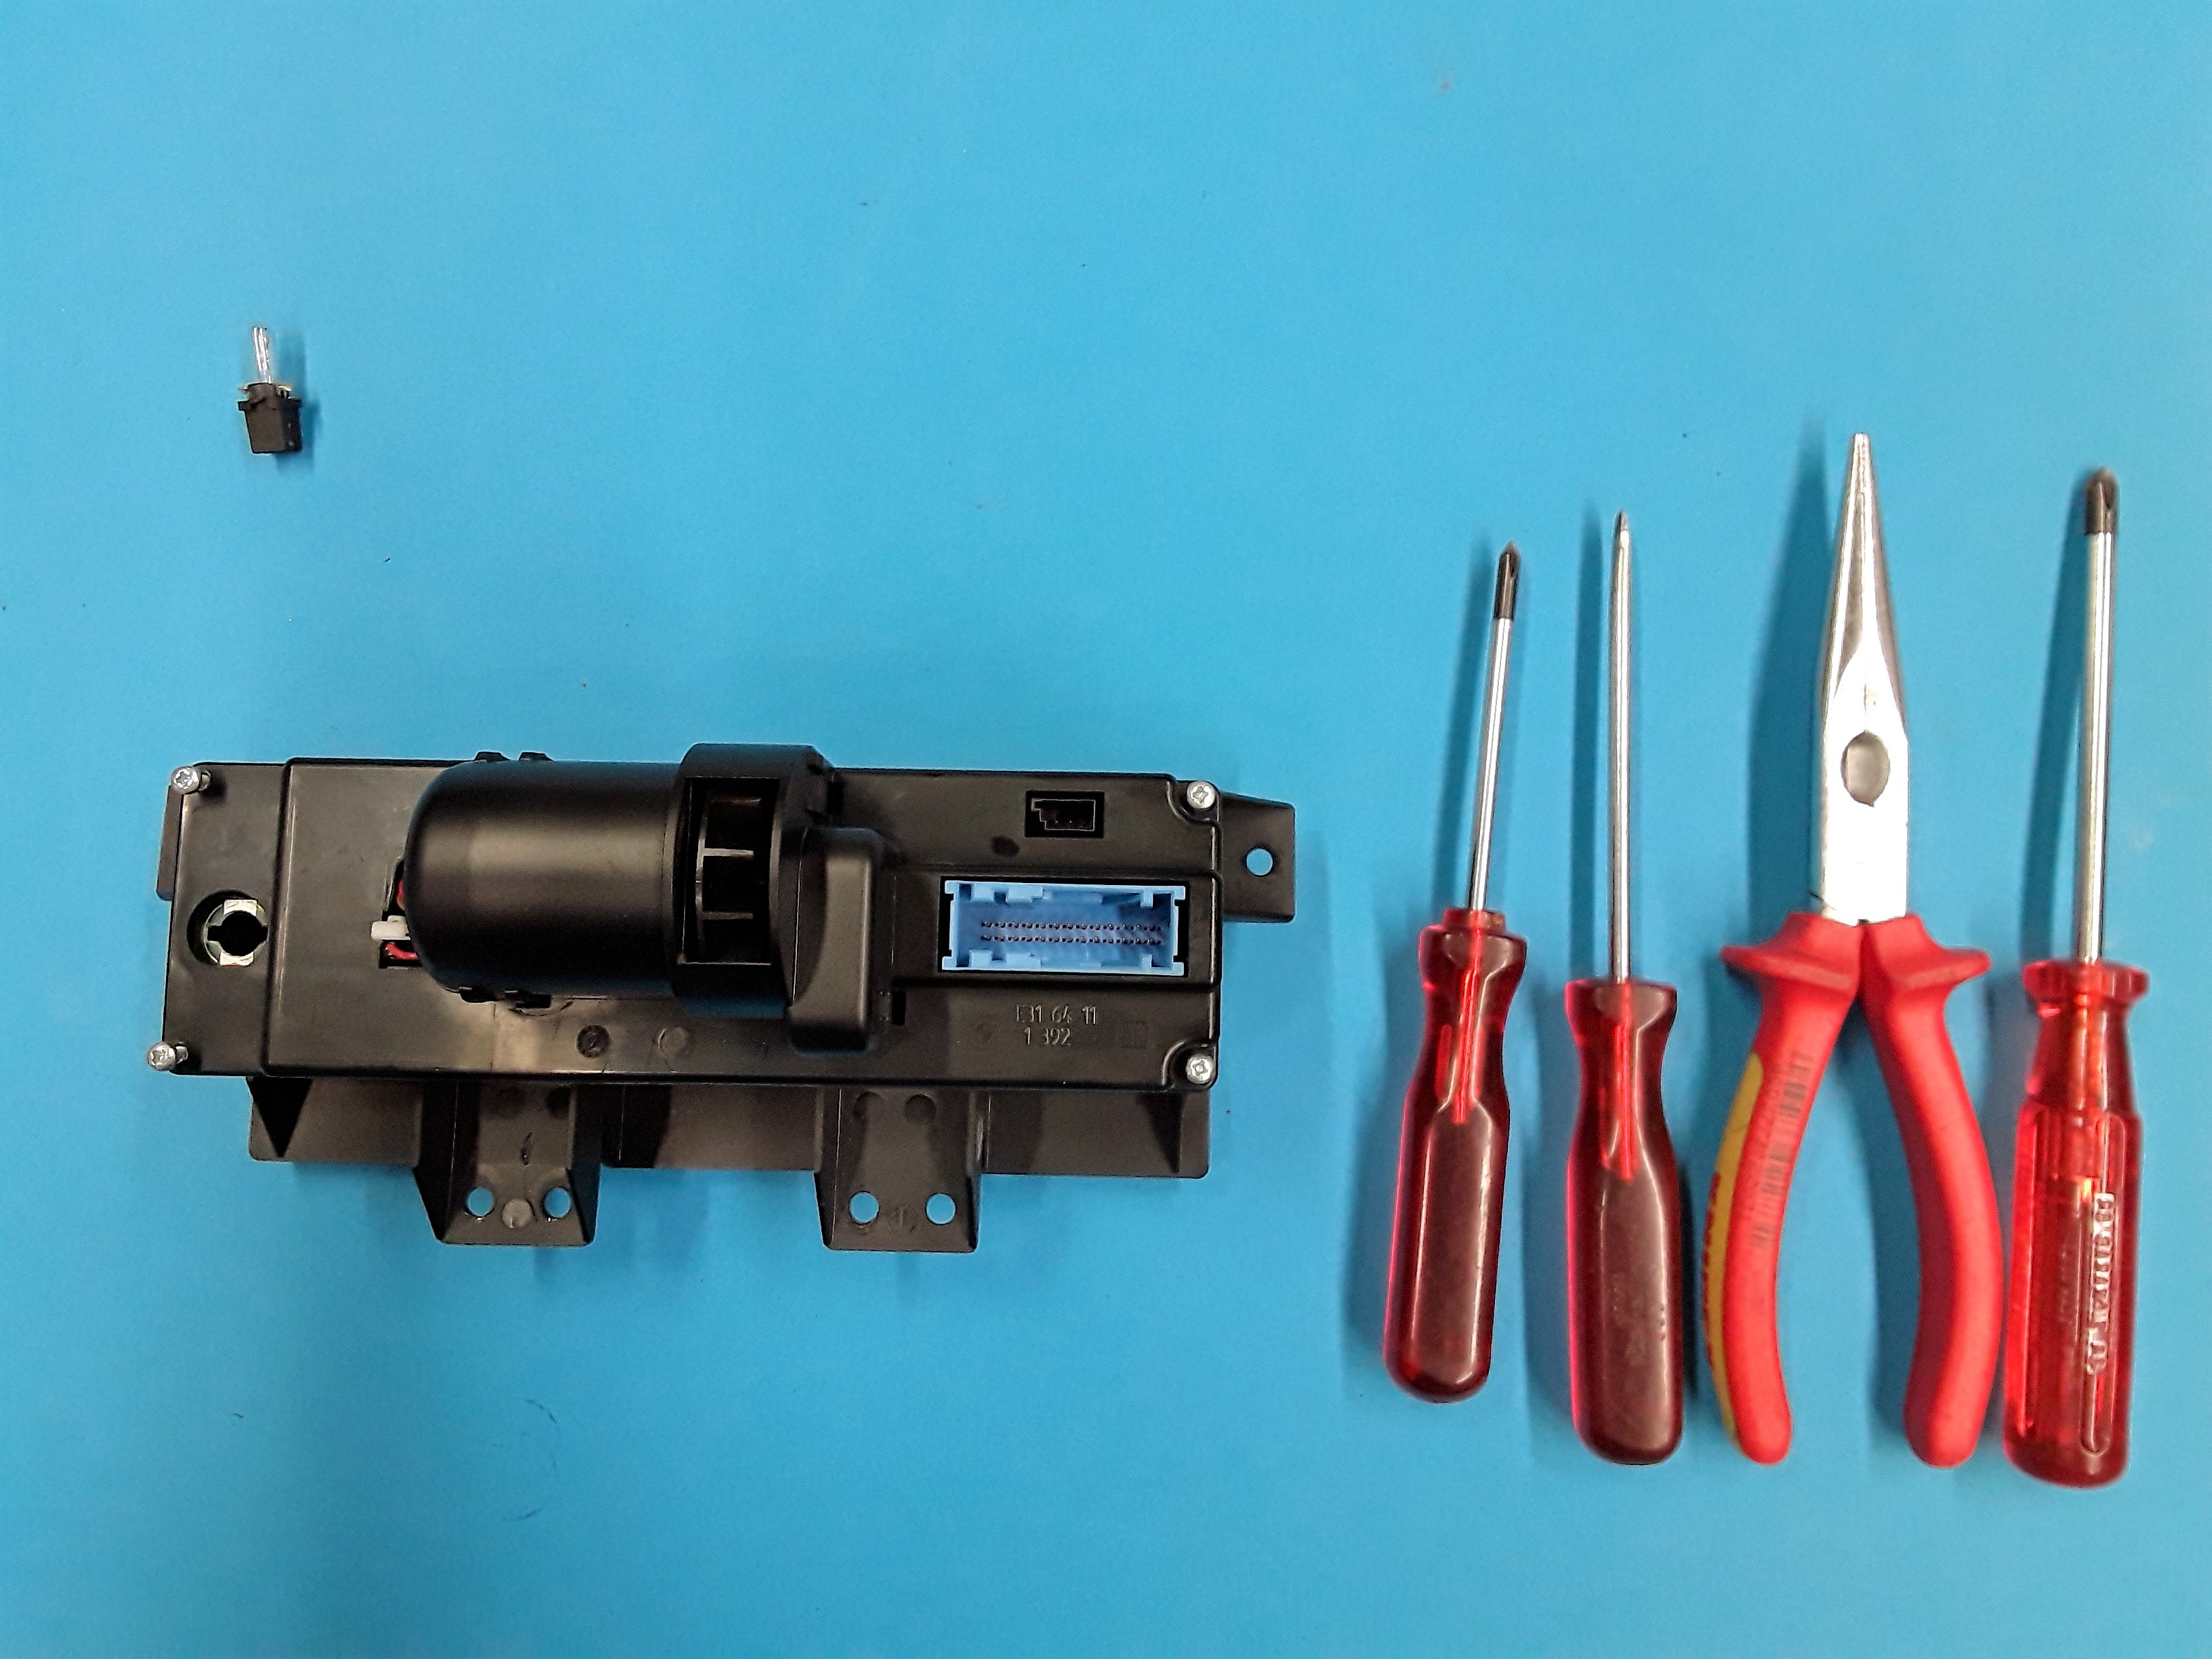
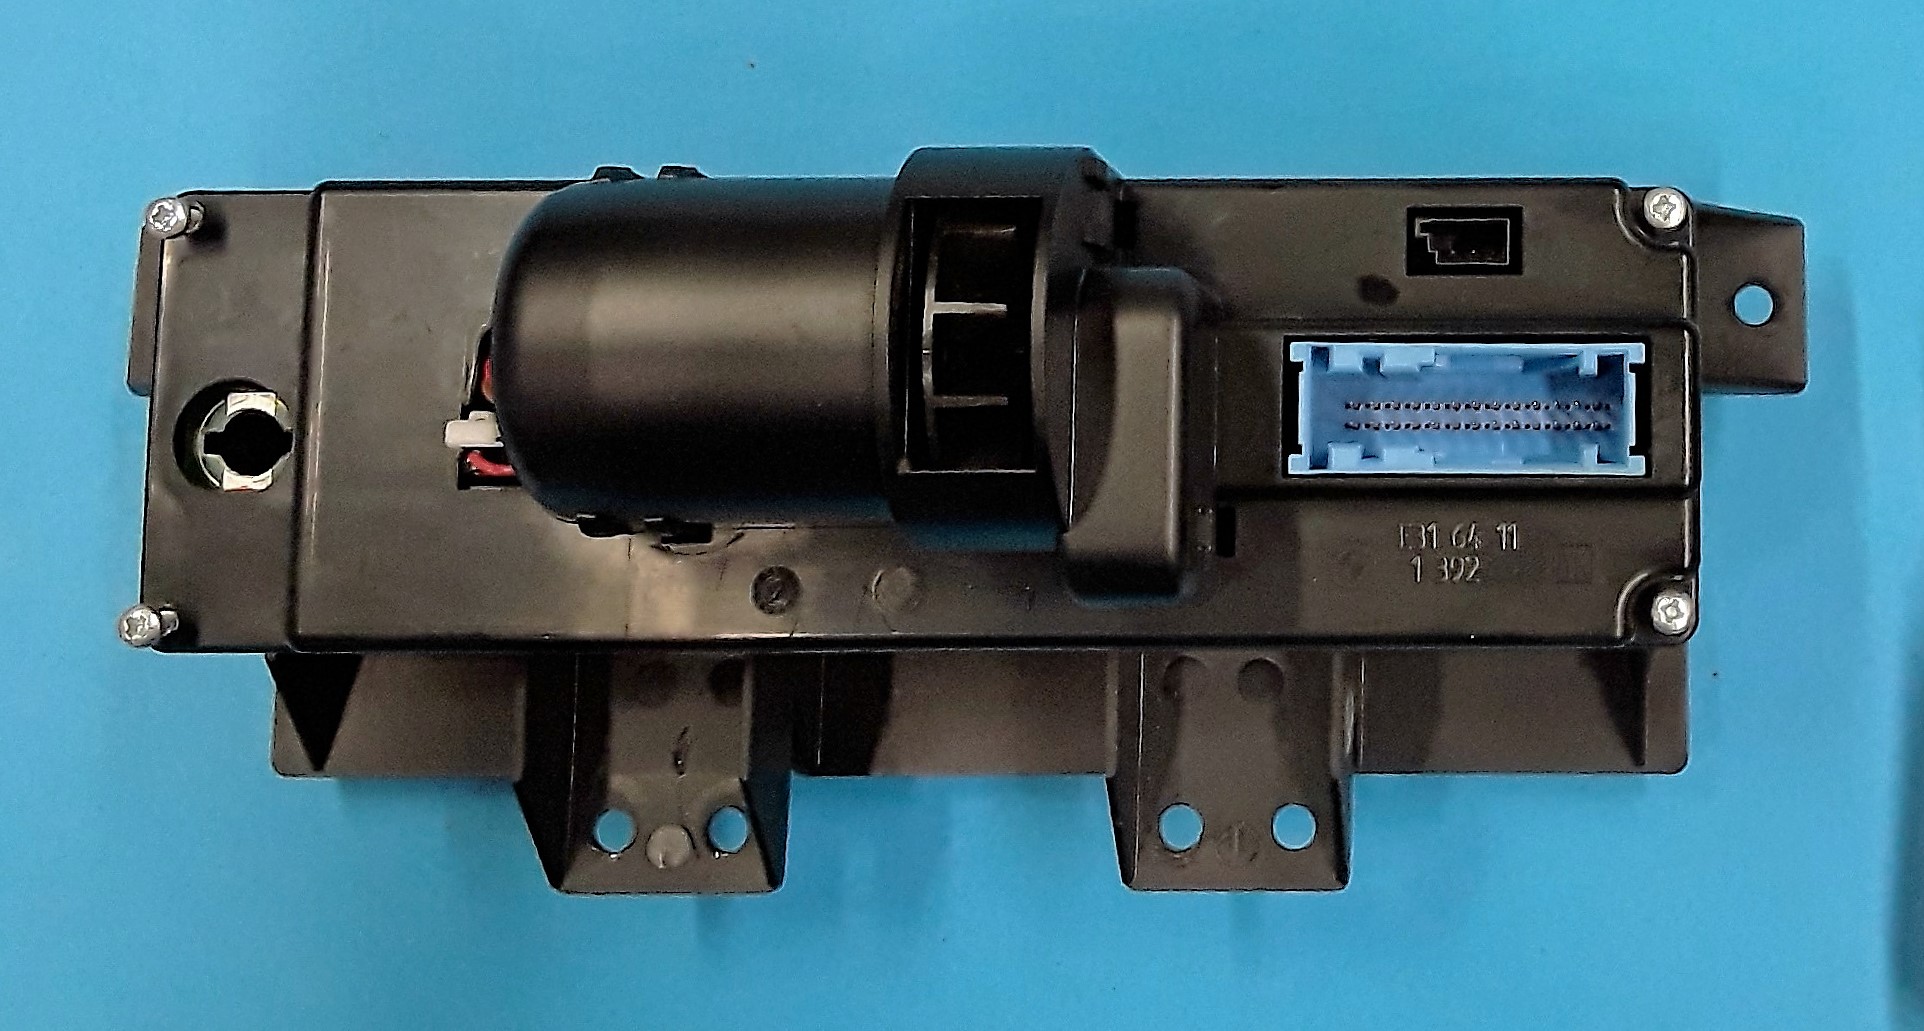
- The plug of the fan motor can now be plugged in again.
- Next, move all the controls to the left position and reinsert the axes.
Now we check whether the controls can be adjusted correctly. Do not force it!
If the controller is locked, the axis may be twisted by 180 degrees!
- It is recommended to carry out a test in the vehicle (without installing the buttons).
- The brightness of the control unit can be reduced by the hole of the now missing lamp with a small
Isolated electrician screwdriver
After a successful test, the keys can be locked again and checked for freedom of movement.
- Now the climate control unit can be installed again in the center console.
Have fun !
Further information and repair tips for the 8er BMW are available
At the ClubE31 e.V. / http://www.ClubE31.de
And on my Homeage http://www.Pusches.de
